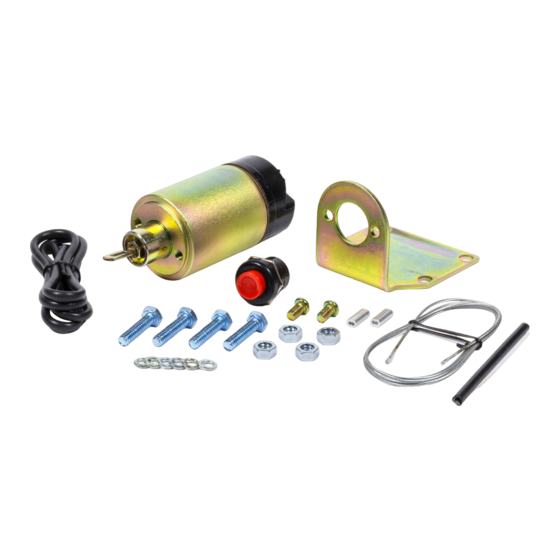
Advertisement
Quick Links
TECH SUPPORT: 503.693.1918
SHAVE DOOR HANDLE SYSTEMS
AUTSVPRO
Mount in Dry
Location
Mount your solenoid in a DRY location.
We recommend using the Autoloc Solenoid Relocation Kit
(AUTSVAEX) to mount the solenoid inside the vehicle.
Mount the relay in a dry location.
Only use a high-AMP approved relay.
(AUTRA1000)
Make sure the mounting bracket has a
good chassis ground.
For optimal performance make sure to leave slack in the
cable. Do not make the cable too tight!
Make sure to always protect your connections to the
battery, using the appropriate fuses or circuit breakers.
©2019 The Hoffman Group L. L. C. All rights reserved.
The above instructions are for reference only. THG LLC is not responsible for any inaccuracies in the above instructions. THG LLC is also not responsible for any property damage or personal injuries resulting from the
above instructions. Installation by qualified automotive professionals is highly recommended.
WWW.AUTOLOC.COM
Autoloc Shaved Door Kits set the standard for shaved doors done right,
and your kit will provide you with years of flawless operation, however
the kit must be installed properly. Follow the guidelines below and all
instructions on the following pages closely.
Install Circuit
Protection
PART #
AUTSL35
AUTSL50
AUTSL75/100 60/70 Amp CB
AUTSVPRO Rev5
1 of 4
01/22/2019
Good Ground
Use High
Required
Amp Relay
PROTECTION
30 Amp Fuse
40/50 Amp CB
CB = Circuit Breaker
Leave Slack
in Cable
1
Advertisement

Subscribe to Our Youtube Channel
Summary of Contents for AutoLoc AUTSL35
- Page 1 SHAVE DOOR HANDLE SYSTEMS AUTSVPRO Autoloc Shaved Door Kits set the standard for shaved doors done right, and your kit will provide you with years of flawless operation, however the kit must be installed properly. Follow the guidelines below and all instructions on the following pages closely.
- Page 2 Make sure to always protect your Unit VALET SWITCH connections to the battery, using the ANTENNA appropirate fuses or circuit breakers. PART # PROTECTION AUTSL35 30 Amp Fuse AUTSL50 40/50 Amp CB AUTSL75/100 60/70 Amp CB CB = Circuit Breaker MULTI-FUNCTION KITS Remote Receiver...
- Page 3 TECH SUPPORT: 503.693.1918 WWW.AUTOLOC.COM SHAVE DOOR HANDLE SYSTEMS AUTSVPRO SOLENOID INSTALLATION ALARM KITS 1. Using the 2 standard screws and washers provided, attach the bracket to the solenoid. Install the smaller screw Remote Receiver and washer on the solenoid’s rear terminal.
-
Page 4: Tips & Tricks
Pole 30 – connects to ground supply of keyless entry receiver OPTIONAL - an emergency release cable is recommended for additional fail safe security ( recommended to be installed on the passenger door ) ( AutoLoc part number: AUTSVERKD ) OVERALL DIAGRAM SOLENOID CONTROL RELAY –... - Page 5 Instructions One Spot Updates New & Old Look No Further Be In The Know Search our system for the All of the product Get notifications for product latest version of instructions information you need is changes, recalls, technical & old ones too! in one spot.


Need help?
Do you have a question about the AUTSL35 and is the answer not in the manual?
Questions and answers