Table of Contents
Advertisement
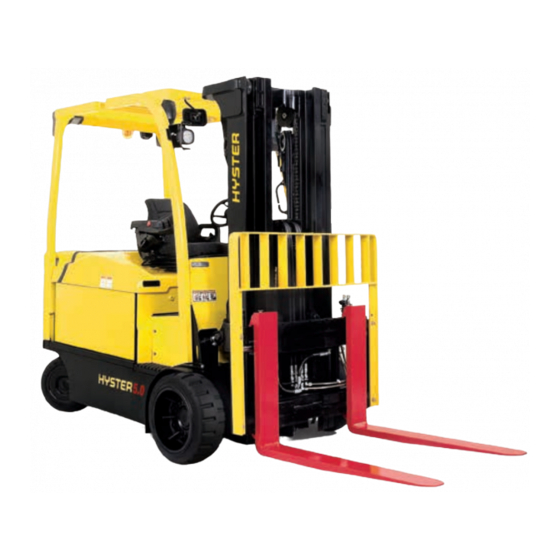
USER INTERFACE
SERVICE TECHNICIAN
A1.3-1.5XNT (A25-30XNT) [D203];
J1.5-2.0XNT (J30-40XNT) [K160];
E2.2-3.5XN (E45-70XN) [A268];
E1.6-2.0XN (E30-40XN) [A269];
J2.2-3.5XN (J45-70XN) [A276];
J1.6-2.0XN (J30-40XN) [A935];
J4.0-5.0XN (J80-100XN) [A970]
PART NO. 1688879
E4.0-5.5XN, E5.0XNS
(E80-120XN, E100XNS) [A099];
2200 SRM 1336
Advertisement
Table of Contents


Need help?
Do you have a question about the E4.0-5.5XN and is the answer not in the manual?
Questions and answers