Do you have a question about the K 510 and is the answer not in the manual?
Questions and answers
Roy Morris
May 19, 2025
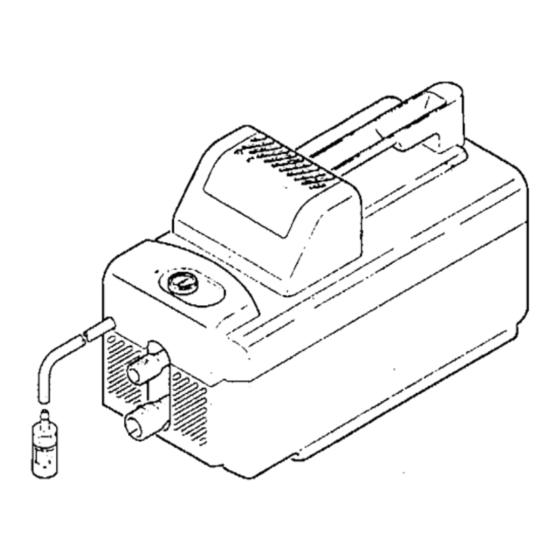
How to remove the cover to access the internal water connections .
1 comments:
Mr. Anderson
May 23, 2025
To remove the cover of a Kärcher K 510 pressure washer and access the internal water connections, follow these steps carefully:
1. Unplug the unit: Ensure the machine is turned off and disconnected from the power source for safety.
2. Disconnect hoses: Remove the high-pressure hose and water inlet hose from the device.
3. Remove screws: Use a screwdriver to remove all visible screws on the outer housing. These are typically located on the sides, bottom, and handle area of the unit.
4. Separate the housing halves: Gently pull apart the plastic casing. You may need to release internal plastic clips by carefully prying with a flat tool. Avoid using excessive force to prevent breaking the clips.
5. Lift off the cover: Once all screws and clips are disengaged, lift off the top cover to expose the internal components, including the water connections.
6. Access internal parts: You can now inspect or service the internal water connections, pump, and motor.
To reassemble, reverse the steps, ensuring all parts and screws are securely replaced.


Need help?
Do you have a question about the K 510 and is the answer not in the manual?
Questions and answers
How to remove the cover to access the internal water connections .
To remove the cover of a Kärcher K 510 pressure washer and access the internal water connections, follow these steps carefully:
1. Unplug the unit: Ensure the machine is turned off and disconnected from the power source for safety.
2. Disconnect hoses: Remove the high-pressure hose and water inlet hose from the device.
3. Remove screws: Use a screwdriver to remove all visible screws on the outer housing. These are typically located on the sides, bottom, and handle area of the unit.
4. Separate the housing halves: Gently pull apart the plastic casing. You may need to release internal plastic clips by carefully prying with a flat tool. Avoid using excessive force to prevent breaking the clips.
5. Lift off the cover: Once all screws and clips are disengaged, lift off the top cover to expose the internal components, including the water connections.
6. Access internal parts: You can now inspect or service the internal water connections, pump, and motor.
To reassemble, reverse the steps, ensuring all parts and screws are securely replaced.
This answer is automatically generated