
Related Manuals for Lifescan novo nordisk InDuo


Summary of Contents for Lifescan novo nordisk InDuo
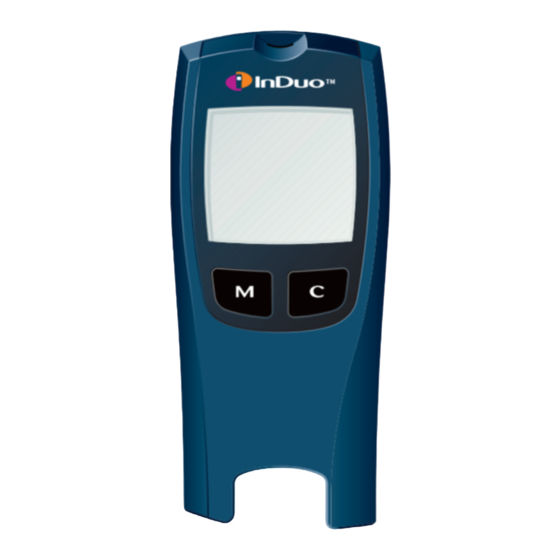
- Page 1 Quick Reference Guide See inside for instructions on using InDuo™ Important: Read detailed instructions in your InDuo™ user manual...
- Page 2 InDuo™ is designed to be used with: • OneTouch ® Ultra Test Strips • OneTouch ® Ultra Control Solution • OneTouch UltraSoft™ Adjustable ® Blood Sampler • OneTouch UltraSoft™ Sterile Lancet ® • OneTouch ® UltraClear™ Cap for alternate puncture site •...
- Page 3 CODING THE InDuo™ METER Code meter before using it for first time and every time you change to another vial of OneTouch Ultra test strips. ® Step 1 Enter code mode Start with meter turned off. Insert test strip to turn on meter. All display segments will appear, followed by code number.
-
Page 4: Test Summary
TEST SUMMARY Note: Before testing, wash hands with warm, soapy water. Rinse and dry thoroughly. See InDuo™ user manual for important information on arm testing. Step 1 Insert test strip You can touch test strip anywhere on its surface. Once inserted, meter turns on automatically. - Page 5 DISPLAY SYMBOLS AND MESSAGES A blood glucose test result with a suggestion to check your ketone levels Blood glucose level is higher than 33.3 mmol/L (600 mg/dL). Recheck glucose level and if S call your healthcare professional immediately Blood glucose level is lower than 1.1 mmol/L (20 mg/dL).
- Page 6 DISPLAY SYMBOLS AND MESSAGES Battery power is too low to run a test. Replace the battery immediately The time flashing on the display indicates the meter lost power briefly and entered setting mode. Reset time, time format, date and most importantly, unit of measure (mg/dL or mmol/L) as necessary.
- Page 7 DISPLAY SYMBOLS AND MESSAGES Error message could be caused by a used test strip or indicates a temporary or permanent electronics problem* Error message. The blood or control solution sample was applied before R appeared on the display* Three possible reasons: 1.
- Page 8 MAKING AN INJECTION Step 1 Prepare the doser Pull out the InDuo™ insulin doser. If the insulin is a suspension (cloudy insulin) you must re-suspend the insulin as described in the Penfill ® package insert. Attach a NovoFine 6 or 8 mm ®...
- Page 9 Step 3 Dial the dose Press the release button and the push button jumps out. Dial the number of units you need. Step 4 Inject the insulin Follow the injection method recommended by your healthcare professional. Press the push button completely in until it locks.
-
Page 10: Checking Your Previous Injection
CHECKING YOUR PREVIOUS INJECTION Step 1 Look at the display Pull out the InDuo™ insulin doser. The display shows your previous dose and the time passed since delivery. Example 1 You injected 6 units 2 hours ago. Example 2 You injected 70 units 10 hours ago. - Page 11 CHANGING PENFILL ® Step 1 Take out Penfill ® Make sure that the push button is pressed in completely. Open the slide. Take out the used Penfill ® Step 2 Insert a new Penfill ® Check that the new Penfill ®...
- Page 12 For assistance, call the InDuo™ Customer Care Line at 1 888 729-2299 Manufactured by: LifeScan Inc. Milpitas, California 95035, U.S.A. © LifeScan/Novo Nordisk 2002 Revision date: 06/02...
Need help?
Do you have a question about the novo nordisk InDuo and is the answer not in the manual?
Questions and answers