Advertisement
Quick Links
Advertisement

Related Manuals for ROOMS TO GO CM1014103


Summary of Contents for ROOMS TO GO CM1014103
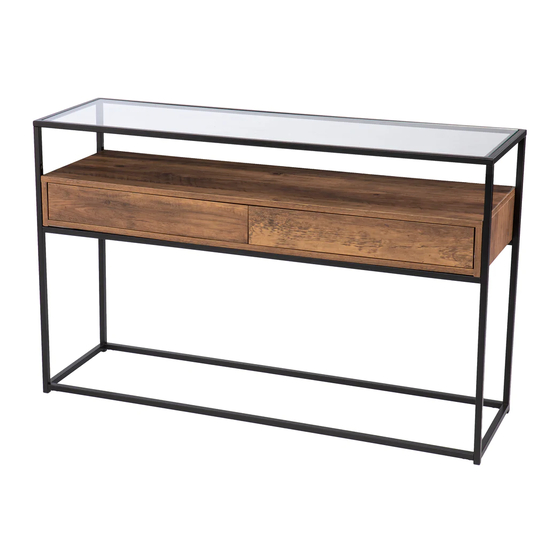
- Page 1 Please use this assembly instruction CM1014103...
- Page 4 Top panel Back Back wood rail Front wood rail wood rail Panel superior Riel de madera trasero Riel de madera trasero Riel de madera frontal Riel de madera frontal Panneau supérieur Rail arrière en bois Rail arrière en bois Rail avant en bois Rail avant en bois Back panel Vertical panel...
- Page 5 Drawer back Top frame Top frame Left frame Parte trasera del cajón Marco superior Marco superior Marco izquierdo Marco izquierdo Arrière du tiroir Cadre supérieur Cadre supérieur Cadre gauche Cadre gauche Right frame Middle rail Middle rail Bottom rail Marco derecho Carril medio Carril medio Riel inferior...
- Page 6 Short bolt Allen wrench llen wrench Screw Perno pequeño Llave Allen Llave Allen Tornillo Petit boulon 1/4"x5/8“ Clé Allen Clé Allen 6.0x1-1/2” Small screw Bolt Wood dowel Pequeño tornillo Tornillo Tornillo Taco de madera Taco de madera Petite vis 3.5x12mm Cheville en bois Cheville en bois 8.0x30mm...
- Page 7 Bracket Anchor Soporte Lazo Lazo Ancla Support L’attache L’attache Ancre Screw Screw crew Stopper Tornillo Tornillo Tornillo Detener Bouchon 4x1-3/8” 3x3/4”...
- Page 10 Do not fully tighten screws until all screws are in position. Do not fully tighten screws until all screws are in position. No apriete completamente los tornillos hasta que estén en su posición. No apriete completamente los tornillos hasta que estén en su posición. Ne serrez pas complètement les vis tant que toutes les vis ne sont pas en place.
- Page 11 Tighten all screws. Apretar todos los tornillos. Serrez toutes les vis. 11 |...
- Page 12 12 |...
- Page 13 13 |...
- Page 14 14 |...
- Page 15 Wall Pared 15 |...
- Page 16 Wall Pared Wall Pared 16 |...
- Page 17 Anti-tipping hardware must be used for this product to tipping hardware must be used for this product to avoid tipping and avoid tipping and injury. El hardware antivuelco debe usarse para este producto para evitar vuelcos y El hardware antivuelco debe usarse para este producto para evitar vuelcos y El hardware antivuelco debe usarse para este producto para evitar vuelcos y lesiones.
- Page 18 18 |...
Need help?
Do you have a question about the CM1014103 and is the answer not in the manual?
Questions and answers