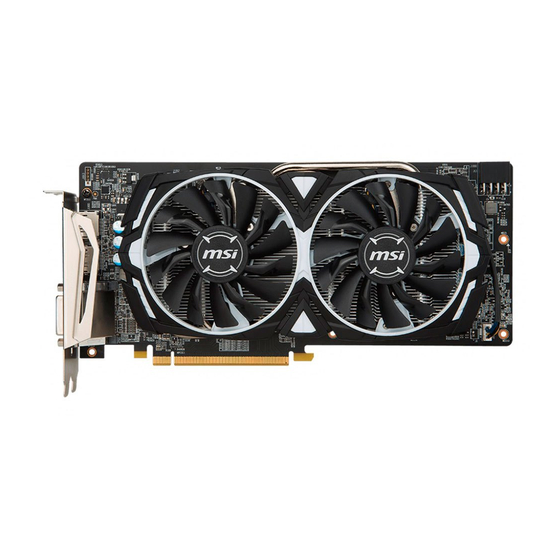
Summary of Contents for MSI ARMOR Series
- Page 1 MSI Graphics Card Quick User's Guide ARMOR Series Package Contents (Consult your agent if anything is missing or damaged.) 1. Graphics Card 2. Driver CD 3. User’s Manual (depends on the product)
- Page 2 System Requirements 1. Expansion Slot: Motherboard with one or above PCI Express x16 slot 2. Monitor: With an input connector equivalent to the output connector of your graphics card. 3. Operation System: Windows® 7 or later (depends on the product) 4.
- Page 3 2. Insert the Driver CD into the optical drive device. The Autorun program will start the Setup program, and the setup screen will be shown as Step 3. If, on your computer, the Autorun program does not execute automatically, please Enable the auto-detect function of the optical drive device from Control panel.
- Page 4 Español Zawartość opakowania (Sprawdź u przedstawiciela, czy nic nie brakuje i nie jest uszkodzone). 1. Karta graficzna 2. Dysk CD ze sterownikiem 3. Instrukcja (zależnie od produktu) Wymagania systemowe 1. Gniazdo rozszerzeń: Płyta główna z jednym lub więcej gniazdem PCI Express x16 2.
- Page 5 2. Ustaw kartę bezpośrednio nad gniazdem PCI EXPRESS i wciśnij najpierw jeden koniec karty do gniazda. Delikatnie, ale pewnie przyciśnij drugi koniec, aż do pełnego osadzenia karty. Zabezpiecz śledzia karty przed wysunięciem przykręcając go śrubą. 3. Podłącz do 6/8-pinowych złączy zasilania (jeśli są dostępne). 4.
- Page 6 5. Ponieważ wszystkie nasze produkty są nieustannie ulepszane, może zdarzyć się, że wersja sterowników znajdująca się na dołączonej płycie, nie jest najnowsza. Wystarczy wtedy odwiedzić nasza stronę WWW i pobrać aktualne. * Włóż płytę CD ze sterownikami do napędu optycznego i uruchom program Setup (Ustawienia). * wybierz zakładkę...
- Page 7 2. Tang: Deze tang kan worden gebruikt als hulpgereedschap om de voedingsconnectors uit te trekken of de haken te verwijderen. 3. Rubber handschoenen: Hiermee vermijd u snijwonden en statische lading. Hardware-installatie 1. Schakel de voeding uit en verwijder de behuizing van uw computer. Verwijder de haak die uw VGA-kaart mogelijk vasthoudt.
-
Page 8: Guida Di Installazione Rapida
3. Sistema operativo: Windows® 7 o successivo (a seconda del prodotto) 4. Unità ottica Strumenti Ausiliari 1. Cacciavite a croce: Cacciavite a croce, da utilizzarsi in gran parte delle operazioni di installazione. Se è possibile, sceglierne uno con la testa magnetizzata per migliori risultati. 2. - Page 9 Installazione software 1. Spegnere il PC 2. Inserire il CD del driver nell'unità ottica. Il programma autoavviante AutoRun avvierà il programma di configurazione e, in corrispondenza dell'Operazione 3, verrà visualizzata la schermata di configurazione. Se il computer non esegue in automatico il programma autoavviante AutoRun si prega di abilitare la funzione di rilevamento automatico dell'unità...
- Page 10 Selezionare la scheda WebSite nello schermo di setup. * Fare clic sul pulsante adeguato per lanciare il browser ed entrare nel sito web. Conţinutul pachetului (Consultaţi agentul dvs. dacă lipseşte sau se deteriorează ceva.) 1. Placă grafică 2. CD cu driver 3.
- Page 11 1. Opriţi alimentarea şi îndepărtaţi carcasa calculatorului dvs. Îndepărtaţi plăcuţa metalică ce poate exista în locul de instalare al plăcii VGA. 2. Aşezaţi placa direct deasupra slotului PCI EXPRESS şi apăsaţi mai întâi pe un capăt al plăcii pentru a introduce placa în slot. Fixaţi placa în poziţie folosind un şurub pentru suport.


Need help?
Do you have a question about the ARMOR Series and is the answer not in the manual?
Questions and answers