Table of Contents
Advertisement
Available languages
Available languages
Quick Links
GB
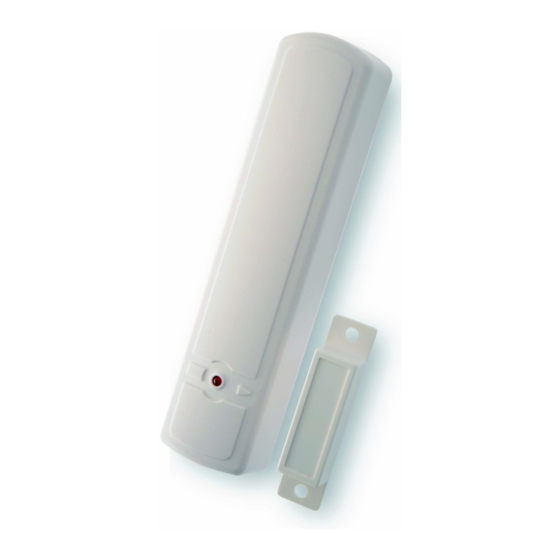
PARTS IDENTIFICATION
Remove cover by loosening the bottom fixing screw revealing the inside of the Door Contact.
LED indicator
Tamper Switch
Jumper On
The jumper link is inserted.
JP1 = Test / Normal Mode Jumper
Jumper (ON): Door Contact is in Test mode.
Jumper (OFF): Door Contact is in Normal mode (Factory default).
JP2 = Supervision Enable / Disable Jumper Switch
Jumper (ON): Supervision disabled (Factory default).
Jumper (OFF): Supervision enabled
JP3 = Internal Magnet Switch Bypass Jumper Switch
Jumper (ON): the internal magnet switch is bypassed. Only the device connected to the Extension
Terminal will activate the Door Contact.
Jumper (OFF): the internal magnet switch is in use (Factory default).
JP4 = Door Close Confirmation Enable / Disable Jumper Switch
Jumper (ON): Door Contact will not send Door Close signal to Control panel.
Jumper (OFF): Door Contact will send Door Close signal to Control panel (Factory default).
LED INDICATOR
In Normal operation mode, the LED indicator remains off except in the following situations:
o Cover is opened and the tamper switch is violated, LED will light.
o A Tamper Condition persists or Door Contact is in Low battery condition, every time the Door
Contact is activated, the LED will light.
However, if the Door Contact is in Test mode, the LED will light every time it is activated.
BATTERY
The DC200 uses two 1.5V "AAA" alkaline batteries with life expectancy of 2 years (an average of 50 day
activations).
Low battery warning typically starts 30 days before complete exhaustion.
DOOR CONTACT (DC200)
CONTACT D'OVERTURE (DC200)
TÜRKONTAKT (DC200)
Learn / Test button
Extension Terminal
Jumper Off
If the jumper link is removed or "parked" on one pin.
1/8
DS80MM80-001B
LBT80625
Advertisement
Table of Contents

Related Manuals for Elkron DC200


Summary of Contents for Elkron DC200
- Page 1 However, if the Door Contact is in Test mode, the LED will light every time it is activated. BATTERY The DC200 uses two 1.5V “AAA” alkaline batteries with life expectancy of 2 years (an average of 50 day activations). Low battery warning typically starts 30 days before complete exhaustion.
- Page 2 Note: When changing batteries, after removing the old batteries, press the Tamper Switch twice to fully discharge before inserting new batteries. SUPERVISORY SIGNAL After installation, the Door Contact will automatically, on a random basis (60 ~100 min intervals), transmit Supervisory signals to the Control Panel. ...
- Page 3 USING THE EXTENSION TERMINAL. If the Door Contact cannot be mounted on the door frame, you can connect an additional “extension magnet switch” to the “Extension Terminal” and mount the Door Contact remotely. More than one window and door can be protected by a Door Contact using an additional magnet and extension magnet switch.
- Page 4 PILE Le DC200 utilise deux piles alcalines « AAA » de 1,5 2 V d'une durée de vie supérieure à 2 ans avec une moyenne de 50 activations par jour. La détection de pile faible fonctionne généralement lorsque le détecteur d’ouverture peut encore fonctionner pendant un mois avant épuisement complet.
- Page 5 Remarque: L'aimant ne doit pas être éloigné de plus de 15 mm du détecteur lorsque la porte est fermée. Vérifiez que le ressort du commutateur anti-sabotage est placé de sorte à être en contact avec la surface de montage à travers l'ouverture correspondante. ...
- Page 6 Wenn sich der Türkontakt jedoch im Testbetrieb befindet, leuchtet die LED jedes Mal auf, wenn dieser aktiviert wird. BATTERIE Der DC200 nutzt als Spannungsquelle zwei 1,5 V “AAA” Alkaline Batterien mit einer Batterielebensdauer von 2 Jahren (ein Durchschnittsverbrauch von 50 Tagesaktivierungen). Die „niedrige Batterie“ Warnung startet normalerweise 30 Tage bevor die Batterien komplett aufgebraucht sind.
- Page 7 MONTAGEARTEN Es gibt zwei Arten den Türkontakt zu montieren: Selbsthaftende Installation oder Schraubbefestigung. Selbsthaftende Montage 1. Säubern Sie die Oberfläche mit einem geeigneten Fettlöser. 2. Entfernen Sie die Schutzschicht von einer Seite der doppelseitigen Klebefolie und tragen Sie sie fest an der Rückseite des Bauteiles auf. 3.
- Page 8 SIMPLIFIED EU DECLARATION OF CONFORMITY Hereby, URMET S.p.A. declares that the radio equipment type: DOOR CONTACT - DC200 is in compliance with Directive 2014/53/EU. The full text of the EU declaration of conformity is available at the following internet address: www.elkron.com...
Need help?
Do you have a question about the DC200 and is the answer not in the manual?
Questions and answers