
Related Manuals for Theben LUXORliving


Summary of Contents for Theben LUXORliving
- Page 1 Manual for Training Case LUXORliving Smart Home System & KNX Programming with ETS 2021-10-01_309946 01...
-
Page 2: Table Of Contents
Installing LUXORplug/LUXORplay Install LUXORplug on the PC Install LUXORplay Preparation – using the case as a LUXORliving smart home system Resetting a smart home project to the factory settings Preparation – usage for KNX training The KNX database for LUXORliving devices Resetting the devices to the factory settings 11.1 BUS reset... -
Page 3: Further Information On Theben Luxorliving Is Available At
Further information on Theben LUXORliving is available at: 1 Further information on Theben LUXORliving is available at: Further information on Theben LUXORliving is available at: https://www.luxorliving.de/ The functions of the operating controls of individual devices are described in the operating instructions provided at https://www.luxorliving.de/... -
Page 4: Case Views
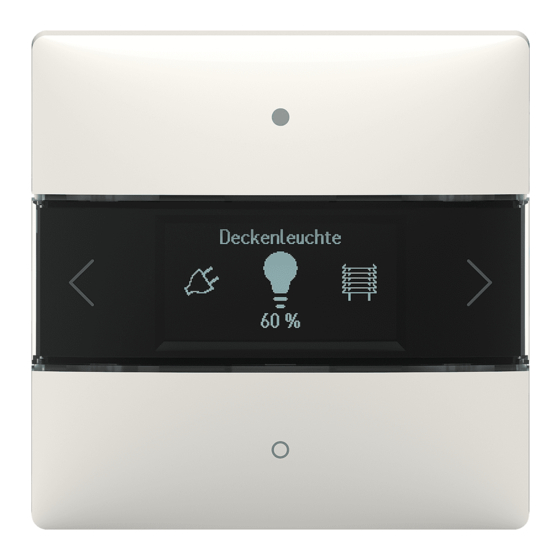
Case views 2 Case views 2.1 Case lid showing rooms / functions 2.2 Case base with view of devices Manual for the case... -
Page 5: Safety Information And Instructions On Preparing The Case Safely
Safety information and instructions on preparing the case safely 3 Safety information and instructions on preparing the case safely 3.1 Setting up the case Please make sure that the case is placed fully on a stable work surface. This helps to avoid any injuries which could occur if the training case were to fall from the work surface as well as any associated damage to the training material. -
Page 6: Key To Symbols
Theben AG herewith declares that this type of radio installation complies with Directive 2014/53/EU. The complete text of the EU Declaration of Conformity is available at the following Internet address: www.theben.de/red-konformitaet... -
Page 7: Proper Use
Safety information and instructions on preparing the case safely 3.4 Proper use − The case − may only be used inside buildings. − may only be used at altitudes up to 2000 m. − may only be used in environments with a relative humidity up to 80 % RH (non-condensing). -
Page 8: Default Setting For The Installed Ip Router
Default setting for the installed IP router 4 Default setting for the installed IP router Each training case has an IP router integrated in the base, meaning that every trainee has their own WiFi network available to complete the exercises. The IP router is preconfigured with access settings and can therefore be used straight away. -
Page 9: Access Data For The Router In The Case
Password: admin 4.3.1 Making changes We recommend copying and archiving the default settings for the router (Theben factory setting). 4.3.2 Key advice for the trainer Before starting the general training, please change the password for the router configuration to prevent unauthorised access. -
Page 10: Changing The Wifi Router Settings (Training-Specific Settings)
Changing the WiFi router settings (training-specific settings) 5 Changing the WiFi router settings (training- specific settings) Have the case-specific card ready to make the change. Connect the case to the power supply. Connect the PC to the router’s WiFi. Manual for the case... - Page 11 Changing the WiFi router settings (training-specific settings) Read the password from the WiFi configuration card and enter it in the “Network security key” field: The key is hidden (by asterisks) in the input field. To check that you have entered it correctly, click on the eye icon to the right of the input field.
- Page 12 Changing the WiFi router settings (training-specific settings) Log in to the router via the web browser Launch the web browser and enter the following URL: http://192.168.0.1 The website of the router will then open: Enter the following login details: Username: admin Password: admin ...
- Page 13 Changing the WiFi router settings (training-specific settings) Set a new password 1 Click the “System Tools“ button. 2 Click the “Administrator” button. 3 Enter the old password (default password is admin). 4 Enter a new password. 5 Re-enter the new password. 6 Save the change.
-
Page 14: Installing Luxorplug/Luxorplay
To install the software on Windows, simply start the exe file and run the installation with the default values. 6.2 Install LUXORplay LUXORplay is the user interface for LUXORliving. It enables a LUXORliving system to be operated and includes time functions, scenes, presence simulation, threshold settings and many more functions. -
Page 15: Preparation - Using The Case As A Luxorliving Smart Home System
Preparation – using the case as a LUXORliving smart home system 7 Preparation – using the case as a LUXORliving smart home system The following preparations must be made for the training with the LUXORliving smart home system: The short network cable must be connected as shown. -
Page 16: Resetting A Smart Home Project To The Factory Settings
Resetting a smart home project to the factory settings 8 Resetting a smart home project to the factory settings If the device programming is to be deleted once the training unit has been completed, we recommend that you take the following steps: Procedure ... -
Page 17: Preparation - Usage For Knx Training
Preparation – usage for KNX training 9 Preparation – usage for KNX training You will need a PC with a current ETS licence. This ETS licence is not included in the training case. To prepare the training case for the KNX training / exercises, the network cable must be plugged in as follows: ... - Page 18 This step is necessary to ensure that the devices will be found again during scanning when the case is next used as a LUXORliving system (see “Resetting the devices to the factory settings“).
-
Page 19: The Knx Database For Luxorliving Devices
10 The KNX database for LUXORliving devices For KNX programming with the aid of ETS, the current KNX database for the LUXORliving devices installed in the case also has to be imported into the ETS catalogue. Manual for the case... -
Page 20: Resetting The Devices To The Factory Settings
Resetting the devices to the factory settings 11 Resetting the devices to the factory settings The programming button (Set Phy Adr) for resetting the devices is clearly visible / accessible for all devices apart from the two iON buttons (see image below). -
Page 21: Locations Of The Programming Button For The Devices
Resetting the devices to the factory settings 11.3 Locations of the programming button for the devices 11.3.1 T8 button interface (temperature sensor) 11.3.2 REG actuators 11.3.3 Weather station on the button 11.3.4 KNX IP interface Manual for the case... - Page 22 Resetting the devices to the factory settings 11.3.5 Roomcontroller iON 8 Here, the iON 8 / iON 4 has to be lifted at the top (released) as shown and the Prog button on the back has to be pressed. Manual for the case...
-
Page 23: Ip1 Master Reset
Resetting the devices to the factory settings 11.4 IP1 master reset When an IP1 master reset is performed, the password is reset to “admin“. All saved data / projects will then be deleted. 11.4.1 Procedure for IP1 master reset Using the arrow button select the “RESET“... -
Page 24: Extending The Case With Other Devices
KNX bus and KNX auxiliary voltage may be connected. In LUXORliving mode, it is not possible to integrate third-party devices. Other LUXORliving devices (e.g. H6 24 V, J1, S1, D1 and H1 flushed- mounted actuators, andw LX media couplers) can however be connected via this socket. -
Page 25: Support
Support 13 Support If you require technical assistance, our colleagues from the service or training departments would be happy to help you. Hotline@theben.de Telephone: +49 7474 692369 Christoph.Kienzle@theben.de Telephone: +49 7474 692109 Elmar.Loeffler@theben.de Telephone: +49 7474 692208 Manual for the case... -
Page 26: Contact
Contact 14 Contact Theben AG Hohenbergstr. 32 72401 Haigerloch GERMANY Tel. +49 7474 692-0 Fax +49 7474 692-150 Hotline Tel. +49 7474 692-369 hotline@theben.de Addresses, telephone numbers etc. www.theben.de Manual for the case...
Need help?
Do you have a question about the LUXORliving and is the answer not in the manual?
Questions and answers