
Related Manuals for Livoo DOM449


Summary of Contents for Livoo DOM449
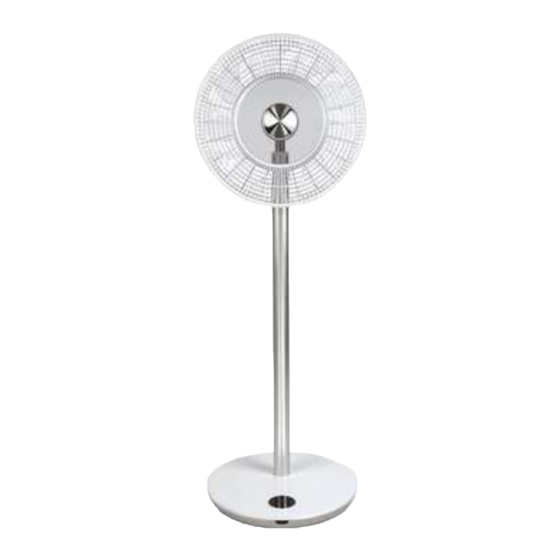
- Page 1 Instruction Manual Stand wireless fan Reference: DOM449 Version: Language: English WWW.LIVOO.FR...
-
Page 2: Safety Instructions
Instruction Manual You have purchased a LIVOO brand product and we thank you for it. We give great attention to the design, ergonomics and ease of use of our products. We hope that this product will give you complete satisfaction. - Page 3 Instruction Manual and knowledge if they have been given supervision or instruction concerning use of the appliance in a safe way and understand the hazards involved. Children shall not play with the appliance. Cleaning and user maintenance shall not be made by children without supervision.
- Page 4 Instruction Manual 19. Do not use the appliance in the presence of explosive or inflammable vapours. 20. Never try to disassemble or repair your appliance yourself. In case of repair by an unqualified person, the guarantee is cancelled. 21. For reducing the risk of electric shock, never use this product with wet hands, never spill a liquid on the product or submerge it in water.
-
Page 5: Special Safety Instructions
In any case, you must send the appliance to this electrician. This instruction manual is available too on our website www.livoo.fr SPECIAL SAFETY INSTRUCTIONS Information : - NEVER COVER THE APPLIANCE, even temporarily, because it may overheat and generate a risk of fire. - Page 6 Instruction Manual Parts list: Power Cord Base Remote control Rear protective grille Rear Guard nut Fans blades Nut of fan blades Front protective grille Connecting tube Fan head Allen wrench Allen screw M6 Screw (protective grid)
- Page 7 Instruction Manual EXPOSION VIEW Signal receiver ASSEMBLY Installation of the protective grilles • Mount the front guard grille as shown in the device overview and then rotate it clockwise to bring the positioning point into a vertical position. • Tighten the screws to complete the installation.
- Page 8 Instruction Manual Installing the base Place the connecting tube on the base. Insert the Allen screw M6 into the base from below and tighten the screw clockwise with the Allen wrench. Installing the power supply • Plug one side of the power cord into the rectangular connector on the base of the unit. •...
- Page 9 Instruction Manual Installing of the fan head • Place the fan head on the capillary tube by aligning the groove on the capillary tube (see the image on the left side). • Tighten the capillary tube nut. Finish installing the fan head by making sure it does not wobble.
- Page 10 Instruction Manual Display SWING ANGLE LEVEL NATURAL MODE SLEEP MODE BATTERY LEVEL NORMAL MODE TIMER / SPEED TIMER OSCILLIATION POWER Remote control Transmitter On/Off Timer Increase Speed Swing Mode Decrease Speed...
-
Page 11: Operation
Instruction Manual OPERATION Before the first use Read these instructions before use and keep them safe. If you give this fan to someone, also give them the instructions. Remove all the packaging but retain them till you are satisfied that the fan works. Completely unwind the supply cord and insert the electric plug in an earthed plug point on the wall. - Page 12 Instruction Manual TIMER: Press the TIMER button on the fan head. As soon as the time indicator lights up after the beep, you can set the off timer. Press the button repeatedly to set the timer between 0 to 12 hours. •...
- Page 13 Instruction Manual Remote control: • The remote control is supplied with 1 battery CR2032L. Do not use other types of batteries. • In case of prolonged non-operation, remove the battery from the remote control. Description Symbol Value Unit Maximum fan flow rate 25,52 m3/min Fan power input 29,23 W...
-
Page 14: Cleaning And Maintenance
Instruction Manual CLEANING AND MAINTENANCE 1. First ensure that the fan is off and remove the electric plug from the outlet. 2. Do not clean until the appliance is completely cold. 3. Cleaning of the external body: Wipe the external body with a soft cloth. 4. - Page 15 The symbol of the crossed out dustbin is marked on all products to remind the obligations of separate collection. Consumers should contact their local authority or retailer for information concerning the correct disposal of their product. LIVOO BP 61071 67452 Mundolsheim cedex - FRANCE •...
Need help?
Do you have a question about the DOM449 and is the answer not in the manual?
Questions and answers