Advertisement
Quick Links
Advertisement

Related Manuals for Qudo Typhoon QUTYULTE15


Summary of Contents for Qudo Typhoon QUTYULTE15
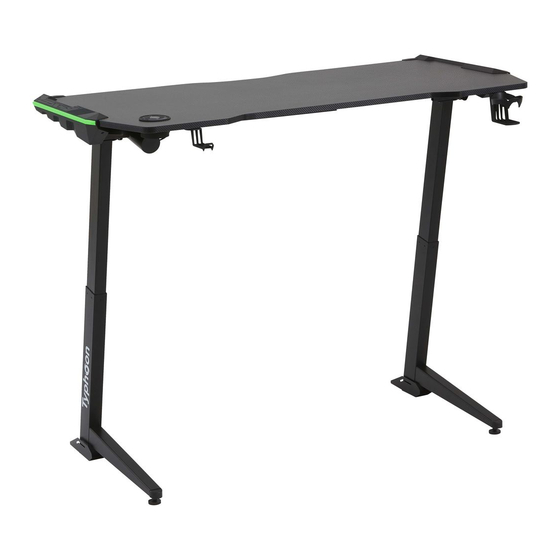
- Page 1 ULTIMATE GAMING ELECTRIC SIT STAND DESK QUTYULTE15 c i f 1 Carton For spare parts or hardware call 1300 OFFICE 1 / 18...
- Page 2 50 minutes People Required 2 / 18...
-
Page 3: Tools Required
Tools Required CAUTION: Do not use tools other than those required, as this can damage your new item NOTE Please check you have all hardware before assembling. If you are missing any hardware, please contact 1300 OFFICE (1300 633 423). Please ensure you have the name of the item, required hardware part and quantity. -
Page 4: Safety And Warnings
Safety and Warnings •This table complies with the prescribed safety regulations. Inappropriate use may cause damage to persons and table. •Please read the operation manual prior to start using the table. It provides you with important information about safety, use, installation and maintenance of the table, and thus protecting you and your children and avoiding damage on the table. - Page 5 Upper left light strip Bottom left light strip 5 / 18...
- Page 6 Upper left right strip Bottom right light strip 6 / 18...
- Page 7 ST4.2x13mm M6x12mm Cx20 M4x12mm 7 / 18...
- Page 8 9 10 8 / 18...
- Page 9 Step 1 Insert part 7 into part 6 as shown in the diagram below Note: Two sets Step 2 Connect part 8 with part 4 and 5 9 / 18...
- Page 10 Step 3 Connect the base to the leg Note: Verify the base is facing Note: Two sets the correct direction as shown in the diagram Step 4 Connect legs to desktop Note: Verify both legs and table top are facing the correct direction as shown in the diagram 10 / 18...
- Page 11 Step 5 Install headphone hook and cup holder 11 / 18...
- Page 12 Step 6 Install cable management tray 12 / 18...
- Page 13 Step 7 Install left and right light strips Light cable Insert the light cable through here 13 / 18...
- Page 14 Step 8 Install control panel 14 / 18...
-
Page 15: Connect Cables
Step 9 Connect cables Ⅰ Ⅱ 15 14 Ⅲ Ⅲ Ⅲ Ⅰ Ⅱ cable management is completed 15 / 18... - Page 16 Lighting control instructions Light switch Power switch Light switching instructions: After the USB is powered on, the light strip turns on for 3 seconds and then you can switch the light. Light switch options: green/blue/red /cyan/yellow purple/white/seven-color gradient light/flashing light. Touch control.
- Page 17 How to use control panel Button Height Adjustment Function: If the LED display shows the current height, long press " "or " " button can adjust the table height. Height Memory Function: Click “M” button and LED display shows " ".
- Page 18 Warranty 8 years Product Warranty – valid for Australian customers only Officeworks Ltd warrants that this product will be free from defects and work as intended for 8 years from the date of purchase by the original customer. If the product has any defects or does not work as intended during the Warranty Period, Officeworks will, at its election and at its expense, repair or replace the product.
Need help?
Do you have a question about the Typhoon QUTYULTE15 and is the answer not in the manual?
Questions and answers