Advertisement
Quick Links
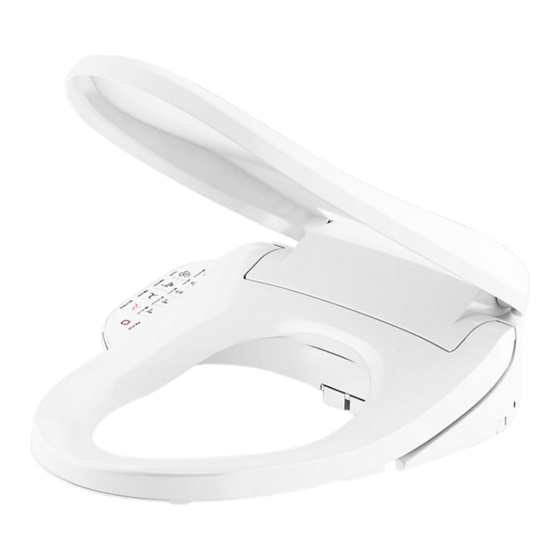
K-8297KR-HC-0
Kohler China Investment Co., Ltd.
No.158, Jiangchangsan Road, Jing'An District, Shanghai, PRC Post Code : 200436
Manufacturer: Shanghai Kohler Electronics., Ltd.
No. 1955, Fengxiang Road, Baoshan Area, Shanghai, PRC Post Code : 200444
2-7
8-13
1500353-KR2-A
Advertisement

Related Manuals for Kohler K-8297KR-HC-0


Summary of Contents for Kohler K-8297KR-HC-0
- Page 1 K-8297KR-HC-0 Kohler China Investment Co., Ltd. No.158, Jiangchangsan Road, Jing'An District, Shanghai, PRC Post Code : 200436 Manufacturer: Shanghai Kohler Electronics., Ltd. No. 1955, Fengxiang Road, Baoshan Area, Shanghai, PRC Post Code : 200444 8-13 1500353-KR2-A...
-
Page 2: Tools And Materials
Thank You For Choosing Kohler Company We appreciate your commitment to Kohler quality. Please take a few minutes to review this manual before you start installation. If you encounter any installation or performance problems, please don't hesitate to contact us. Thanks again for choosing Kohler Company. - Page 3 1. Mounting hole dimension: 140mm 2. Mounting hole to water tank dimension: > 20mm 3. Mounting hole to toilet ring distance: < 70mm 4. Mounting hole to toilet top distance: 460-490mm 5. Toilet ID dimension: 370-390mm 6. The electrical outlet should be located within 1 m of the toilet to accommodate the length of the power cord.
- Page 4 Bolt Washer (Left) Mounting Plate Washer (Right) Note: Align the left/right washer with mounting holes, bent side of washer upwards. □ Position the mounting plate over the mounting holes on the bowl. □ Insert screw into washer separately. Note: Some toilet base plate has already equipped with threaded insert, no nut required for such toilet.
- Page 5 Mounting Plate Release Button 1500353-KR2-A...
- Page 6 Water tank inlet hose T-Valve Bidet seat inlet hose 1500353-KR2-A...
-
Page 7: Installation Checkout
1 /3 from the front of the seat (as illustrated). □ Continue reference "Operation" section within user's manual to checkout different functions. 1500353-KR2-A Kohler Co. - Page 8 1500353-KR2-A...
- Page 9 140mm 20mm 70mm 1500353-KR2-A...
- Page 10 볼트 와셔(좌측) 장착 플레이트 와셔(우측) 참고: 좌측/우측 와셔를 와셔의 구부러진 면이 위로 오도록 장착 구멍과 정렬합니다. 볼의 장착 구멍 위에 장착 플레이트를 놓습니다. 나사를 와셔에 별도로 삽입합니다. 참고: 일부 변기 베이스 플레이트에는 이미 나사식 인서트가 장착되어 있으므로,이러한 변기에는 너트가 필요하지 않습니다. 나사식...
- Page 11 장착 플레이트 릴리스 버튼...
- Page 12 물탱크 주입 호스 T-밸브 비데 시트 주입 호스...
- Page 13 전원케이블을 전원 소켓에 연결하면 변기덮개에서 부저음이 1차 울린 후 노즐관이 한차례 신축되면 키보드위의 배광등 및 조명등이 초기화 끝날 때까지 깜빡입니다. 1500353-KR2-A...
Need help?
Do you have a question about the K-8297KR-HC-0 and is the answer not in the manual?
Questions and answers