Table of Contents
Advertisement
Quick Links
Advertisement
Table of Contents

Subscribe to Our Youtube Channel
Summary of Contents for Roksan Audio K3 CD Di
- Page 1 K3 CD Di Set Up Guide and Product Manual roksan.com...
- Page 2 Roksan is a member of...
-
Page 3: Table Of Contents
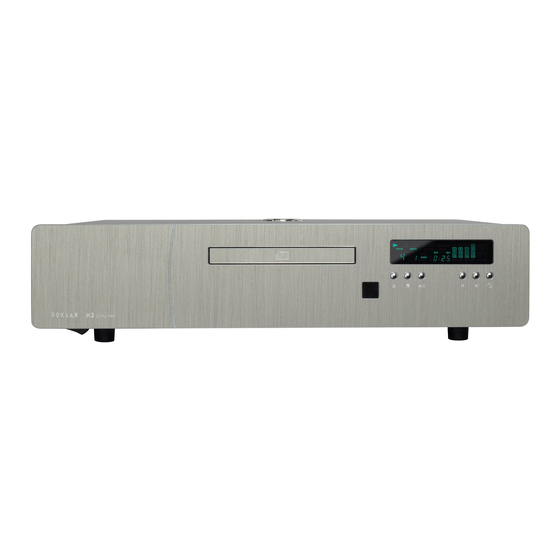
I N T R O D U C T I O N Congratulations on your purchase of the Roksan K3 CD Di, CD player. This CD player is designed and manufactured to the highest specification and rigorously tested to reward you with many years of listening pleasure. -
Page 4: Eu Directives
A C M A I N S S U P P L Y Your K3 CD Di is set to operate from a fixed supply voltage which is marked on a label next to the mains input plug. Before connecting the mains lead please check that your... -
Page 5: Location
L O C A T I O N Your K3 CD Di should be located in a well ventilated area and kept away from sources of heat, dust, humidity and direct sunlight. The CD player may be positioned either as a free standing unit or alongside other audio/video product(s). -
Page 6: R7 Remote Control
R 7 R E M O T E C O N T R O L Integrated Amplifier Functions. AMP: Puts the R7 Remote Control into Amplifier mode to control the K3 Integrated Amplifier DAC: Puts the R7 into DAC operating mode STREAMER BT: Select the Bluetooth input INPUT... -
Page 7: Connecting Mains Power
• 1 x Toslink Optical Any device with a digital output can be connected to the K3 CD Di and the signal will be fed to the analogue outputs of the player into the relevant amplification. If the digital source device you wish to connect has either coaxial, optical (or both) digital output(s) it can be connected to the K3 CD Di to utilise the player’s circuit for superior... -
Page 8: Using The Front Panel Controls
U S I N G T H E F R O N T P A N E L C O N T R O L S Loading a Disc: Press the Open/ Close Button once to open the disc loading tray (the display will indicate: open). -
Page 9: Display
O P E R A T I N G T H E D I G I T A L I N P U T If you wish to use an external digital source, it should be connected to the K3 CD Di by either the coaxial or optical digital input options on the rear of the K3 CD Di. -
Page 10: Warranty
W A R R A N T Y There are no user-serviceable parts inside your K3 CD Di. If a fault should develop, refer any servicing to your appointed Roksan dealer, distributor or Roksan approved service agent. Both the craftsmanship and the performance of this product are covered by the manufacturer’s warranty against manufacturing defects provided that the product was... -
Page 11: Troubleshooting
Remote Control signal path • Remove obstruction, move erratic or not is obstructed handset working. • Remote Control • Operate handset in front transmission angle too of CD Player wide • Darken room. • Room lighting/sunlight excessive. K3 CD Di... -
Page 12: Specifications
S P E C I F I C A T I O N S Operating System: CD digital audio system (CD, CD-R, CD-RW) Frequency Response: 20 Hz – 20 kHz ± 0.2 dB Harmonic Distortion: < 0.002% @ 0 dB, 1 kHz <... - Page 16 Designed and built in Great Britain. Roksan roksan.com 24 Brook Road, info@roksan.com Rayleigh, Essex Version 3.1. 2020 SS6 7XJ, UK ROK-1219 +44 (0)1268 798900...


Need help?
Do you have a question about the K3 CD Di and is the answer not in the manual?
Questions and answers