Advertisement
Quick Links
ATTENTION
Please unpack and assemble in an area away from children's activities. Remove all tools
and excess materials from work area after assembly of unit is complete. Dispose of pallet
and packaging materials in an environmentally friendly manner. If any parts are missing
or damaged, please call Stevens for immediate parts replacement (1-800-350-3270).
When ordering parts, give the Model Number and Color of the unit.
CAUTION – CHOKING HAZARD
Adult assembly required due to presence
by Stevens Industries, Inc.
of small parts and sharp edges.
704 West Main St.
Teutopolis, IL 62467
P: 800.350.3270
P: 217-857-7100 • F: 217-857-7101
www.totmate.com
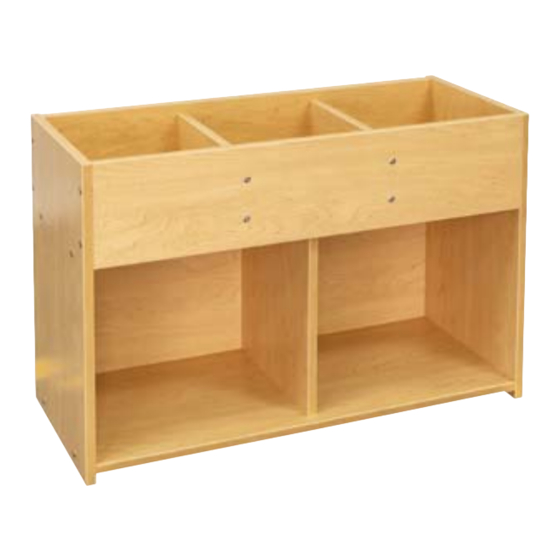
TMS501R
TMS501R
Book / Toy Storage
2-PERSON ASSEMBLY RECOMMENDED.
IMPORTANT!
Be sure to keep all parts supported
during assembly to avoid damage.
Do not over-tighten screws or it will
damage the pre-drilled holes;
snug fit is adequate.
HARDWARE / TOOLS INCLUDED
(Phillips screwdriver required but not included.)
Hex Wrench
Confirmat Bolt (8)
(Screw Conn HxDc Ni 7mmx50mm)
Back Screw (9)
(Screw Tapp PhWh Zinc #8x1.25)
©2018 Stevens Industries, Inc.
1
3594.TMS501.9/26/18
#0964-3152
Due to continuing product development, Stevens reserves the right to change specifications without notice.
Advertisement

Related Manuals for Stevens Tot mate TMS501R


Summary of Contents for Stevens Tot mate TMS501R
- Page 1 (Phillips screwdriver required but not included.) Hex Wrench Confirmat Bolt (8) (Screw Conn HxDc Ni 7mmx50mm) Back Screw (9) (Screw Tapp PhWh Zinc #8x1.25) ©2018 Stevens Industries, Inc. 3594.TMS501.9/26/18 #0964-3152 Due to continuing product development, Stevens reserves the right to change specifications without notice.
- Page 2 Repeat Step 4 to secure Front-Back (3) to Upper STEP Dividers (6). This will be referred to as the Front/ Back Assembly in Step 8. ©2018 Stevens Industries, Inc. #0964-3152 3594.TMS501.9/26/18 Due to continuing product development, Stevens reserves the right to change specifications without notice.
- Page 3 End (2), making sure side with the most holes is facing toward Upper Shelf (1). Press firmly into place. thru-holes ©2018 Stevens Industries, Inc. 3594.TMS501.9/26/18 #0964-3152 Due to continuing product development, Stevens reserves the right to change specifications without notice.
- Page 4 Front/Back Assembly, Upper Shelf (1) and Bottom (4) align with holes on End (2). Press firmly into place. Front/Back Assembly ©2018 Stevens Industries, Inc. #0964-3152 3594.TMS501.9/26/18 Due to continuing product development, Stevens reserves the right to change specifications without notice.
- Page 5 Bottom and Lower Divider and inserted straight into both panels. This is necessary to prevent Back Screws from protruding through and damaging panel surfaces. ©2018 Stevens Industries, Inc. #0964-3152 3594.TMS501.9/26/18 Due to continuing product development, Stevens reserves the right to change specifications without notice.
- Page 6 Divider (7) with one Confirmat Bolt (8) each Carefully stand unit upright. STEP Ensure that all joints, bolts and screws are tight. STEP This completes the assembly. ©2018 Stevens Industries, Inc. #0964-3152 3594.TMS501.9/26/18 Due to continuing product development, Stevens reserves the right to change specifications without notice.
Need help?
Do you have a question about the Tot mate TMS501R and is the answer not in the manual?
Questions and answers