Fisher & Paykel WH8060J Installation Manual
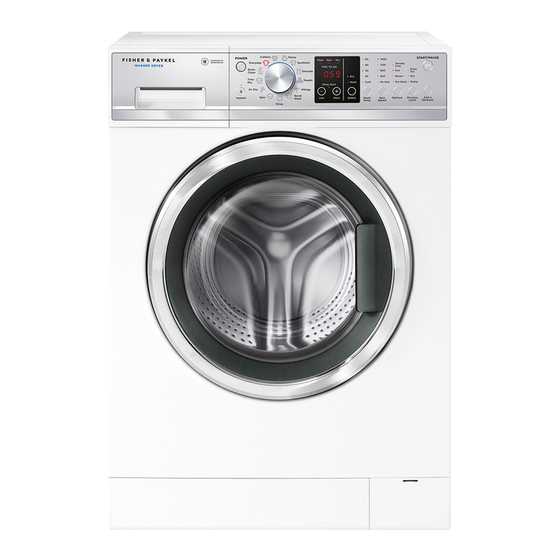
Front loader washing machine
Hide thumbs
Also See for WH8060J:
- Installation manual/user manual (64 pages) ,
- User manual (56 pages) ,
- Installation instructions and user manual (48 pages)

Related Manuals for Fisher & Paykel WH8060J


Summary of Contents for Fisher & Paykel WH8060J
- Page 1 FRONT LOADER WASHING MACHINE WH8060J, WH8060P, WH8560P, WH9060J, WH9060P, WH1060P3, and WM1490P models INSTALLATION GUIDE NZ AU SG BI EU...
-
Page 3: Safety And Warnings
SAFETY AND WARNINGS SUPPLIED PARTS Keep all packing materials until the unit has been inspected. WARNING! Inspect the product to ensure there is no shipping damage. If any damage is detected contact the dealer or retailer you bought the product from to report the damage. Electric Shock Hazard Fisher &... -
Page 4: Product Dimensions
PRODUCT DIMENSIONS WH8060P, WH8560P, WH9060J, WH9060P, WH1060P3, WM1490P models FRONT PROFILE PRODUCT DIMENSIONS A Overall height* B Overall width C Overall depth** D Depth with door open 1075 * Exact height is dependent on foot adjustment ** Including dial and door (when closed) Actual product dimensions may vary by ±... - Page 5 CAVITY & CLEARANCE DIMENSIONS WH8060P, WH8560P, WH9060J, WH9060P, WH1060P3, WM1490P models * Front panel of the product ISOMETRIC FRONT PROFILE CAVITY DIMENSIONS CLEARANCE DIMENSIONS A Minimum cavity height A Minimum washer door clearance to adjacent wall B Minimum gap clearance to adjacent product or cabinetry* B Minimum cavity width * Applies to sides, top and rear C Minimum cavity depth...
- Page 6 PRODUCT DIMENSIONS WH8060J FRONT PROFILE PRODUCT DIMENSIONS A Overall height* B Overall width C Overall depth** D Depth with door open 1015 * Exact height is dependent on foot adjustment ** Including dial and door (when closed) Actual product dimensions may vary by ± 2 mm.
- Page 7 CAVITY & CLEARANCE DIMENSIONS WH8060J * Front panel of the product ISOMETRIC FRONT PROFILE CAVITY DIMENSIONS CLEARANCE DIMENSIONS A Minimum cavity height A Minimum washer door clearance to adjacent wall B Minimum gap clearance to adjacent product or cabinetry* B Minimum cavity width...
- Page 8 ELECTRICAL & PLUMBING CONNECTION CONNECTION LOCATIONS / LENGTHS DRAINAGE HEIGHTS Water Hoses Power Cord 1500mm 1500mm 1000mm max* 600mm Drain Hose 1500 or 1600mm (model dependant) * Recommended standpipe height is 800mm SPECIFICATIONS ELECTRICAL Supply 220 – 240 V, 50 Hz Service 10 amp circuit PLUMBING max 1 MPa (150psi)
-
Page 9: Water Supply
UNPACKING WATER SUPPLY Water supply requirements If you have an uncontrolled water heating source (eg a wet back or solar heating system) you should fit a tempering valve. This will ensure the hot water temperature remains within safe limits. Contact your registered plumber to select and install the tempering valve. Your cold water should not exceed 35°C and your hot water should not exceed 65°C. -
Page 10: Removing Transit Bolts
DRAINING REMOVING TRANSIT BOLTS In multi-storey apartments or any upper floor, the washer should be installed on a floor The clothes washer is fitted with transit safety bolts at the rear to avoid possible damage equipped with a drain. Draining must comply with local by-laws. to the internal components of the washer during transportation. -
Page 11: Levelling The Washer
LEVELLING THE WASHER COMPLETE INSTALLATION It is IMPORTANT to level the washer. Having a level washer set up in its cavity will Turn on the water and check all hose connections for leaks. Make sure there are no kinks in ensure best performance for spinning, minimising noise, vibrations and wear and tear on the hose(s). -
Page 12: Installer Checklist
COMPLETE INSTALLATION INSTALLER CHECKLIST TO BE COMPLETED BY THE INSTALLER … Have the packaging and transit bolts and rods been removed? … Is the washer correctly levelled, feet are extended and cabinet corners are clear of Wait until you see water in the bottom of the floor? the drum. -
Page 13: Spare Parts
SPARE PARTS SPARE PARTS* PART NO. Hose(s) inlet long (2 m) 422680P Hose(s) inlet large bore 426123P * Available from your Fisher & Paykel dealer or a Fisher & Paykel trained and supported service technician... - Page 16 FISHERPAYKEL.COM © Fisher & Paykel Appliances 2021. All rights reserved. The models shown in this guide may not be available in all markets and are subject to change at any time. The product specifications in this guide apply to the specific products and models described at the date of issue.
Need help?
Do you have a question about the WH8060J and is the answer not in the manual?
Questions and answers