Advertisement
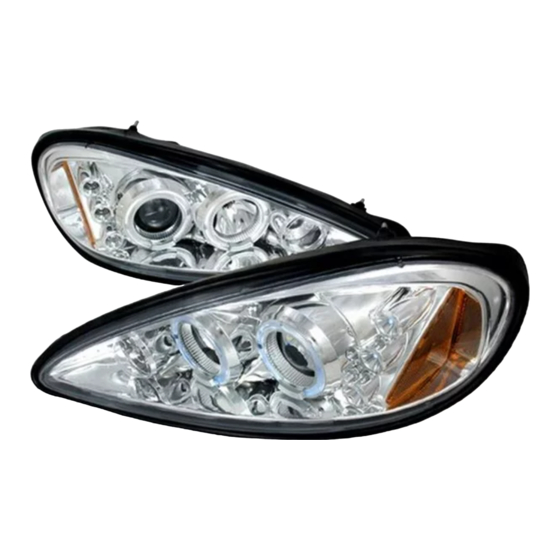
1999-2005 PONTIAC GRAND-AM HEADLIGHTS
*If you experience any difficulties that the instruction did not cover, Please seek local auto shop for advise.
*
Please wear protection before you work on your vehicle.
*An assistant is helpful when removing the front bumper.
*Please be careful while working with the bumper or body part to avoid scratching.
* Do not make direct contact with the halogen bulb or the wire assembly until the unit has cooled down after use .
TOOLS AND SUPPLIES REQUIRED
Phillips Screwdriver
Trim Pad Remover
Flat Tip Screwdriver
Pliers
Wire Crimper
Wire Stripper
2LHP-GAM99JM-TM
2LHP-GAM99-TM
2LHP-GAM99JMB-TM
2LHP-GAM99B-TM
4 Blue Quick Splice Wire Connectors
4 Blue Male Quick Wire Connectors
4 Blue Female Quick Wire Connectors
2 Red Wires (8 inch)
2 Black Wires (8 inch)
Drill with 3/8 Drill Bit
W W W . S P E C D T U N I N G . C O M
Dremel Rotary Tools
Advertisement
Table of Contents

Summary of Contents for SPEC-D Tuning 2LHP-GAM99JM-TM
- Page 1 2 Red Wires (8 inch) Wire Crimper 2 Black Wires (8 inch) Wire Stripper Drill with 3/8 Drill Bit 2LHP-GAM99JM-TM 2LHP-GAM99-TM 2LHP-GAM99JMB-TM 2LHP-GAM99B-TM W W W . S P E C D T U N I N G . C O M...
- Page 2 1999-2005 PONTIAC GRAND-AM HEADLIGHTS INSTALLATION INSTRUCTIONS W W W . S P E C D T U N I N G . C O M *If you experience any difficulties that the instruction did not cover, Please seek local auto shop for advise. Please wear protection before you work on your vehicle.
- Page 3 6. Then pull the outer latch up 5. Pull the inner latch out first 8. Disconnect all the connectors and remove the headlight 7. Gently pull out the headlight slightly, just enough to see the back of the light 9. After you remove the headlight, it should look the same as 10.
- Page 4 18. Connect the harness from the headlight 17. After you modify the area, it should look same as the picture please see the “Halo and L.E.D. installation instructions” shown above If your headlights don’t have HALO or L.E.D. You can skip the installation instructions.
- Page 5 23. The installation is now complete W W W . S P E C D T U N I N G . C O M...


Need help?
Do you have a question about the 2LHP-GAM99JM-TM and is the answer not in the manual?
Questions and answers