Advertisement
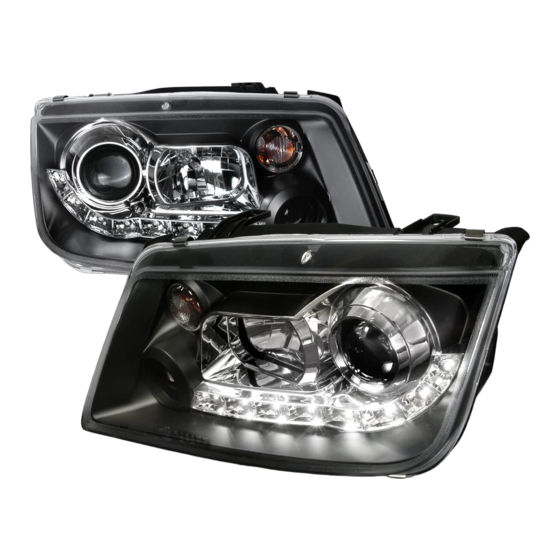
1999-2004 VOLKSWAGEN JETTA PROJECTOR HEADLIGHTS
INSTALLATION INSTRUCTIONS
*If you experience any difficulties that the instruction did not cover, Please seek local auto shop for advise.
*
Please wear protection before you work on your vehicle.
*An assistant is helpful when removing the front bumper.
*Please be careful while working with the bumper or body part to avoid scratching.
* Do not make direct contact with the halogen bulb or the wire assembly until the unit has cooled down after use .
TOOLS AND SUPPLIES REQUIRED
3/8" Drive Ratchet
¼" Drive Ratchet
T30 Socket
T25 Socket
LHP-JET99JM-8-TM
LHP-JET99-8-TM
6" Long 3/8" Drive Extension
6" Long ¼" Drive Extension
Phillips Screwdriver
Flathead Screwdriver
W W W . S P E C D T U N I N G . C O M
Advertisement
Table of Contents

Summary of Contents for SPEC-D Tuning LHP-JET99JM-8-TM
- Page 1 3/8” Drive Ratchet 6” Long ¼” Drive Extension ¼” Drive Ratchet Phillips Screwdriver T30 Socket Flathead Screwdriver T25 Socket LHP-JET99JM-8-TM LHP-JET99-8-TM W W W . S P E C D T U N I N G . C O M...
- Page 3 6. There are two clips that needs to be removed 5. After you pull the grille up, it should look the same as the picture shown above 7. Remove the top clip 8. Then remove the bottom clip 10. Remove the bolts from the fog light opening 9.
- Page 4 12. After you pull the bumper slightly, it should look the same 11. Gently pull out the bumper slightly, just enough to see as the picture shown above the bottom of the headlight bolts 13. Use a flat tip screwdriver to disconnect the connector from 14.
- Page 5 18. Gently install the projector headlight to its original spot 17. Connect the connector with thr headlight and install the bolts to fasten the headlight please see the “Halo and L.E.D. installation instructions” If your headlights don’t have HALO or L.E.D. You can skip the installation instructions.


Need help?
Do you have a question about the LHP-JET99JM-8-TM and is the answer not in the manual?
Questions and answers