Advertisement
Quick Links
Thank you for your purchase!
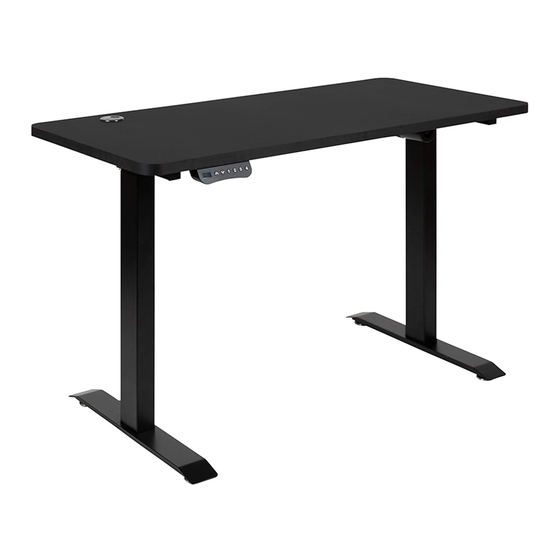
Standing Desk
ASSEMBLY INSTRUCTIONS
Before You Begin:
Please identify all component parts and hardware pieces required before you begin.
Carefully remove all of the components from the packaging and set aside
for assembly. Assemble on a soft surface to prevent scratching during assembly.
Note: Phillips Screwdriver Required (Not Included)
Caution:
Tighten all components securely before use. Failure to do so may result in
personal injury.DO NOT use any sharp objects to open plastic wrapped
components as damage to product or competitor may result.
Warning:
CHOKING HAZARD - Small Parts. Adult Assembly Required.
Serious or fatal crushing injuries can occur from furniture tipping over.
DO NOT ALLOW CHILDREN TO CLIMB ON FURNITURE
46-R-GG
Advertisement

Related Manuals for Flash Furniture NAN-TG-2046-BK-GG


Summary of Contents for Flash Furniture NAN-TG-2046-BK-GG
- Page 1 Thank you for your purchase! Standing Desk ASSEMBLY INSTRUCTIONS Before You Begin: Please identify all component parts and hardware pieces required before you begin. Carefully remove all of the components from the packaging and set aside for assembly. Assemble on a soft surface to prevent scratching during assembly. Note: Phillips Screwdriver Required (Not Included) Caution: Tighten all components securely before use.
- Page 2 Components ....................................................................................................................................................Thank you for your purchase!
- Page 3 ...................................... Thank you for your purchase!
- Page 4 Bolts Note: Loosen top bolts then extend the hexagonal rod to the appropriate length. Hexagonal Rod (see figure 7), ...................................... Thank you for your purchase!
- Page 5 The drive tube is inserted into the bottom of the hexagonal bar Tighten the bolts at both ends ...................................... Thank you for your purchase!
- Page 6 Remove adhesive backing from part "T" cable clamp and place on underside of table behind the button control panel. Insert cords and lock clamp Insert button control into power adapter cord on the right then into power cord on the left ......................................
- Page 7 Height Adjustment Controller Operation ...................................... Thank you for your purchase!
- Page 8 ...................................... Thank you for your purchase!
Need help?
Do you have a question about the NAN-TG-2046-BK-GG and is the answer not in the manual?
Questions and answers