Advertisement
OWNER'S MANUAL
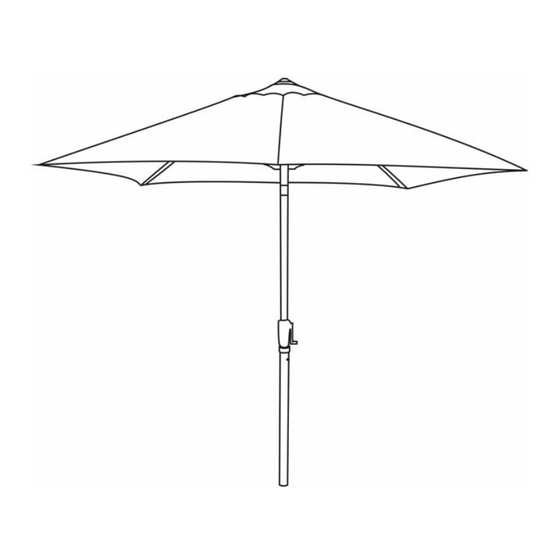
Sears Peyton 9' * 6.5' Rectangular Crank Tilt Market Umbrella
Product Code: D71 M80907
UPC Code: 7-22938-07958-2
Date of Purchase: __ / __ / __
If you have any problems with this product, DO NOT RETURN IT TO THE STORE.
CALL OUR CUSTOMER SERVICE HOT-LINE AT
866-391-4868
8am-5pm (EST), Monday-Friday.
View the expanded assortment of outdoor living product on-line at
WWW.lazboyoutdoor.com
and
WWW.sears.com
Page 1 of 4
Advertisement
Table of Contents

Related Manuals for LAZBOY D71 M80907


Summary of Contents for LAZBOY D71 M80907
- Page 1 OWNER’S MANUAL Sears Peyton 9' * 6.5' Rectangular Crank Tilt Market Umbrella Product Code: D71 M80907 UPC Code: 7-22938-07958-2 Date of Purchase: __ / __ / __ If you have any problems with this product, DO NOT RETURN IT TO THE STORE.
- Page 2 W A R R A N T Y This warranty is a limited warranty, and applies to the original purchase only. Proof of purchase is required. This is a residential warranty and does not apply to commercial use. This collection carries a 5 year limited warranty and is valid from original date of purchase to the original owner (proof of purchase required): NOTE: Glass breakage is not a warranted item.
- Page 3 Customer Service: Monday-Friday 8:00 a.m.-5:00 p.m. EST By FAX: 502-410-0702 By PHONE:(866)391-4868 Address: 2700 Stanley Gault Parkway, Suite 130, Louisville, KY 40223 Read all the instructions before assembly. Failure to do so may result in faulty assembly and CAUTION: potential injury! Assembly product on a soft, non-abrasive surface such as a carpet or cardboard to avoid damaging the item .
- Page 4 Figure 2 Step 5. Before opening the umbrella (B) turn it upside down and shake gently to separate ribs. Step 6. Carefully insert umbrella (B) into support Tube (A), until button rest on top of support tube. (See Figure 2) Step 7.
Need help?
Do you have a question about the D71 M80907 and is the answer not in the manual?
Questions and answers