Advertisement
1.
Having fun with photos!
Capture still images with FlexC@m and archive a wide range of dazzling special effects with
easy-to-use photo retouching tools. The included software is easy to learn, and your photo
editing skills will grow quickly. You'll be able to make your own professional-looking calendars,
greeting cards, invitations, posters and much, much more. The possibilities with the FlexC@m are
endless!
2.
Package Contents
Please check the contents of the package before reading the instruction manual. It should contain
the following:
-
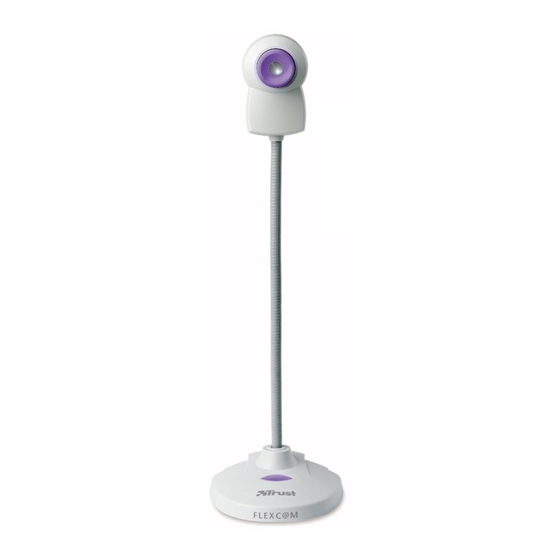
FlexC@m
USB cable
-
-
CD-ROM with drivers and software
-
This quick user manual
If anything is missing or damaged, please contact one of the Trust Care Centres. You can find
more information at the back of this instruction manual.
3.
What can you do with your FlexC@m?
1.
Scan pictures: Capture photos and images with the touch of a button. Easily create
albums or send video e-mail.
2.
Scan documents: Instantly acquire and file documents, articles and clippings for use at
home or in the office.
3.
Scan 3-D objects: Acquire 3-D objects beyond the limitations of a scanner: gifts,
collectibles, product samples, etc.
4.
Videoconferencing: Use videoconferencing software such as NetMeeting to talk to family
and friends over the Internet.
5.
Video e-mail: Use the video e-mail software provided, VideoLive Mail, to send more
personalised e-mail to family, friends and clients.
6.
And more...:Image editing: photo fun, photo album, calendar, post cards, web design,
Video guard etc.
4.
FlexC@m Installation
Thank you for purchasing the FlexC@m. This guide will walk you through the steps on how to
install your FlexC@m onto your computer system.
Note:
The FlexC@m works with Windows 98/ME/2000 only
Before you begin, please make sure your computer is turned off.
4.1
Hardware Installation
For the fastest and easiest installation of your FlexC@m, we suggest NOT to connect your USB
camera until prompted to do so by the FlexC@m Manager driver installation.
1.
Place the CD into your CD-ROM and click on the FlexC@m Manager Icon to begin the
installation. If the CD does not automatically display the screen below, simply go to
"Start" then "Run" and select the path "D:\Setup.exe". You may replace "D" with the
corresponding letter of your CD-ROM drive.
Trust FlexC@m
1
Advertisement
Table of Contents

Related Manuals for Trust FlexCam


Summary of Contents for Trust FlexCam
- Page 1 CD-ROM with drivers and software This quick user manual If anything is missing or damaged, please contact one of the Trust Care Centres. You can find more information at the back of this instruction manual. What can you do with your FlexC@m? Scan pictures: Capture photos and images with the touch of a button.
- Page 2 Once your FlexC@m is installed, you may continue installing the rest of the software included. • Click on the icon of the program you wish to install (figure 1) and follow the on-screen instructions for each of the programs. • You are now ready to begin having fun using your Trust FlexC@m camera.
- Page 3 To start using your FlexC@m Manager, simply click on the "Start" menu and go up to "Programs" then go to the folder named "TRUST FLEXC@M" and click on "TRUST FLEXC@M". This is the program that will allow you to begin using your camera.
- Page 4 Trust FlexC@m Taking Snapshots With FlexC@m, taking still snapshots is as easy as a click of a button. You can send your photos over the Internet, import them into documents, enhance them using a photo editor, or even print them in full, rich colour.
Need help?
Do you have a question about the FlexCam and is the answer not in the manual?
Questions and answers