
Related Manuals for DS18 NXL-X10TPNEO


Summary of Contents for DS18 NXL-X10TPNEO
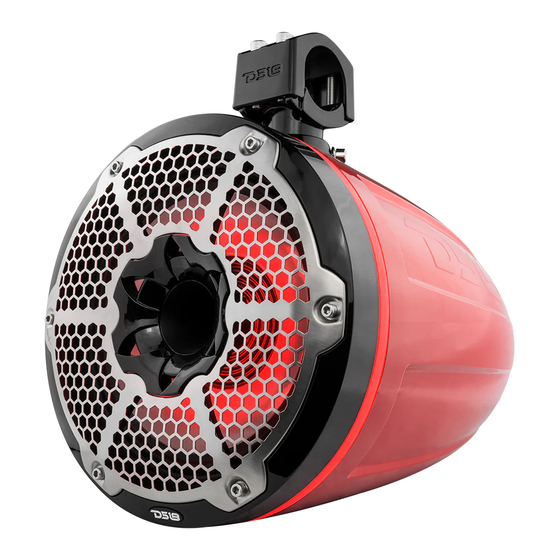
- Page 1 OWNER’S MANUAL NXL-x10tpneo MANUAL DEL USUARIO 10" MARINE TOWER NEODYMIUM SPEAKER WITH BULLET TWEETER & PASSIVE RADIATOR TORRE MARINA DE 10" CON ALTAVOZ DE NEODIMIO CON TWEETER BALA Y RADIADOR PASIVO...
-
Page 2: Specifications
SPECIFICATIONS NXL-x10tpneo SPECIFICATIONS Nominal Diameter ............. 10”... -
Page 3: Especificaciones
ESPECIFICACIONES NXL-x10tpneo ESPECIFICACIONES Diametro Nominal................10”... -
Page 4: Dimensions / Dimensiones
White / Blanco ........ -
Page 5: Setup / Configuración
SETUP / CONFIGURACIÓN LEER ANTES DE LA INSTALACIÓN READ BEFORE INSTALLATION 1. Asegúrese de leer detenidamente y entender las 1. Be sure to carefully read and understand the instrucciones antes de intentar instalar estos instructions before attempting to install these altavoces. -
Page 6: Packaging Includes
SETUP / CONFIGURACIÓN LA CAJA INCLUYE PACKAGING INCLUDES 1 par de altavoces de torre para wakeboard de 10” 1 Pair 10” Wakeboard Pod Tower Speaker 1 Llave hexagonal de 6 mm Cromada 1 Piece 6 mm Hex wrench Chromed 1 pieza Llave hexagonal de 4 mm Cromada 1 Piece 4 mm Hex wrench Chromed 1 par de almohadillas NBR para tubos de 1 "a 3"... - Page 7 INSTALLATION & CONNECTION OPTIONS / OPCIONES DE CONEXIÓN E INSTALACIÓN Para conectarse sin el módulo de control LED To connect without LED Control (LED-BTC), conecte como se muestra en el Module (LED-BTC), Connect as siguiente diagrama: Shown in the Following Diagram: •...
-
Page 8: Installation / Instalación
INSTALLATION / INSTALACIÓN COMENZANDO EL MONTAJE BEGINNING MOUNTING Paso 1: Retire los altavoces de torre del embalaje y TODO Step 1: Remove tower speakers from the el hardware. packaging and ALL hardware. Paso 2: Encuentre una BUENA ubicación que permita el Step 2: Find a GOOD location that allows for easy cableado fácil del altavoz (y las luces LED) - ADEMÁS wiring of the speaker (and LED lights) -PLUS does... - Page 9 INSTALLATION / INSTALACIÓN Paso 7: Envuelva la almohadilla de goma alrededor de Step 7:Wrap the rubber pad around the pipe and la tubería y alinee el orificio de salida del cable de align wire out hole According to the diagram. acuerdo con el diagrama.
- Page 10 INSTALLATION / INSTALACIÓN Step 11: During the mounting process, you should have located the spot to drill your tower Wire NBR bar for the 6 conductor wire (Speaker and RGB Plug lightning wiring) insertion. Or NOT (see Tie-wrap Enchufe del solution below) cable NBR Paso 11: Durante el proceso de montaje, debería haber...
- Page 11 INSTALLATION / INSTALACIÓN FRONT LOGO CAR ROTATION / EL LOGO FRONTAL PUEDE GIRAR 30 DEGREE ROTATION Rotación FLAT MOUNTING de 30 grados Montaje Plano Step 13: When you want to install a flat mounting, remove the clamp and take out the 6 core through it into the flat mounting bracket, then assemble it, see depiction below.
Need help?
Do you have a question about the NXL-X10TPNEO and is the answer not in the manual?
Questions and answers