Cisco 7940G User Manual
Unified ip phones/ for cisco unified communications manager express
Hide thumbs
Also See for 7940G:
- Administration manual (122 pages) ,
- Manual (35 pages) ,
- User manual (15 pages)

Related Manuals for Cisco 7940G


Summary of Contents for Cisco 7940G
- Page 1 UIDE Cisco Unified IP Phones 7905G/7912G, 7906G/7911G, 7940G/7960G, and 7941G/7961G for Cisco Unified Communications Manager Express Version 7.1 Overview, page 2 Operating Your Phone, page 10 Phone Features Index, page 22...
-
Page 2: Physical Layout
Overview This guide provides phone, soft key, and feature descriptions for the following Cisco Unified IP Phone models: • 7905G/7912G • 7906G/7911G • 7940G/7960G • 7941G/7961G Cisco Unified IP Phones 7905G/7912G and 7906G/7911G Physical Layout The Cisco Unified IP phones 7905/7912 and 7906/7911 phones are single-line phones. The 7906/7911 phones provide a higher resolution display than the 7905/7912 phones, and are similar in operation. -
Page 3: Connecting Your Phone
6 Hold button 7 Keypad 8 Volume button 9 Handset with indicator light Connecting Your Phone This section shows and explains the connectors on your Cisco IP phone. Network port (10BASE-T) Handset port DC adapter port (DC48V) Description Places an active call on hold. Resumes a held call. -
Page 4: Adjusting The Handset Rest
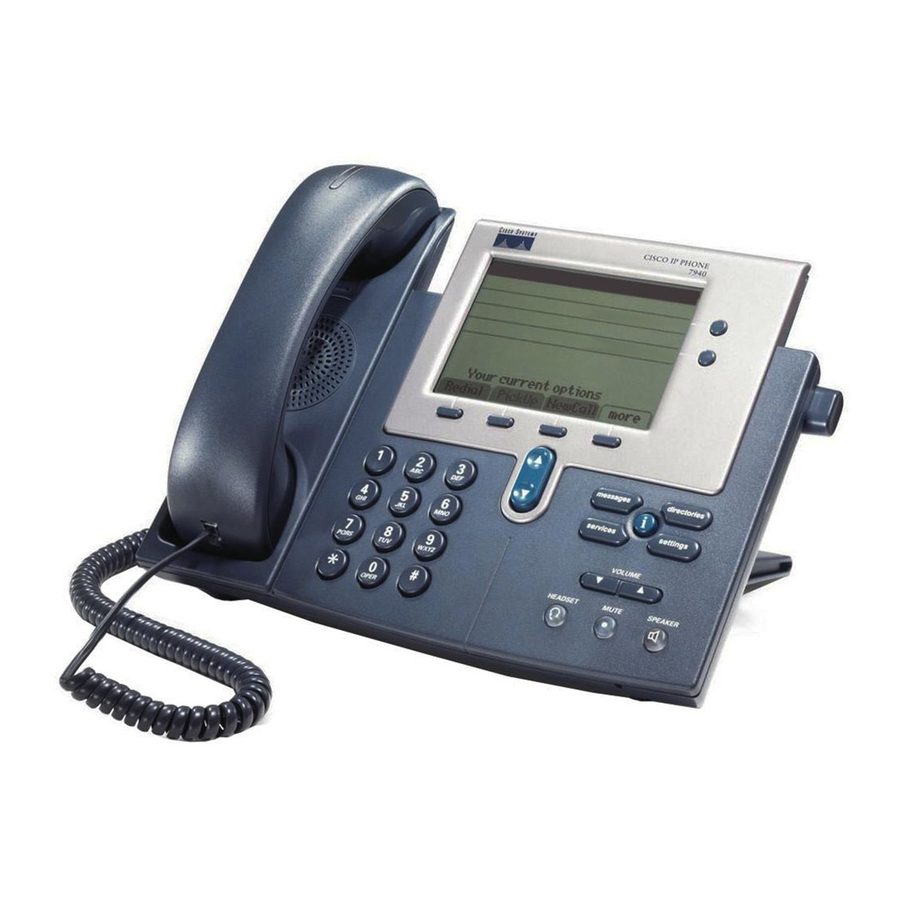
3. Slide the tab back into the handset rest. An extension protrudes from the top of the rotated tab. Return the handset to the handset rest. Cisco Unified IP Phones 7960G, 7940G, 7961G, and 7941G The Cisco Unified IP phones 7940/7960 and 7941/7961 are multiline phones. The 7940 and 7941 have two lines; the 7960 and 7961 have 4 lines. - Page 5 Opens a new line, speed-dials a phone number, or ends a call. The Cisco Unified SIP IP Phone 7940G has two lines, and the Cisco Unified SIP IP Phone 7960G has six lines. Allows you to adjust the angle of the phone base.
- Page 6 Connecting Your Phone This section shows and explains the connectors on your Cisco Unified IP phone. 10/100 SW 10/100 PC DC48V DC adapter port (DC48V) for phones not provided with inline power AC-to-DC power supply AC power cord Network port (10/100 SW) for connecting to the...
- Page 7 Adjusting the Handset Rest When you connect your phone, you can adjust the handset rest so that the receiver will not slip out of the cradle: 1. Set the handset aside and pull the square plastic tab from the handset rest. 2.
-
Page 8: Soft Key Descriptions
Soft Key Descriptions Your Cisco Unified IP phone is equipped with soft keys for call features and options. soft keys are displayed along the bottom of the LCD screen and are engaged using the corresponding buttons. Soft keys can change according to the state of the phone. - Page 9 Soft Key Description (continued) NewCall Opens a new line on the speakerphone to place a call. Number Toggles character input mode from alphanumeric to numeric. Confirms the selection. Park Forwards calls to a location from the calls can be retrieved by anyone in the system. PickUp Selectively picks up calls to another extension.
-
Page 10: Operating Your Phone
Operating Your Phone Basic: Place a Call To place a call: • Lift the handset and dial the number. • Dial the number and then lift the handset. • Press the line button for your extension, dial the number, and then lift the handset. •... -
Page 11: Mute A Call
Retrieve Voice Mail Messages To access voice messages: 1. Select an available Cisco Unified IP phone line lifting the handset, pressing the speakerphone button, or by pressing a line button. Listen for the dial tone. 2. Press the Messages button, and follow the voice instructions. -
Page 12: Transfer A Call
2. Enter the PIN that is associated with the phone. Contact your system administrator for your personal identification number (PIN). Note Transfer a Call To transfer a selected call to another number: • Blind transfer—Immediately redirects the call without allowing you to speak to the transfer recipient (the person to whom you are transferring the call). -
Page 13: Activate Do Not Disturb
• Press the Park soft key. The Cisco Unified Communications Manager Express system automatically selects an available call park slot and displays the number on the Cisco Unified IP phone screen. To park a call to a specific call park slot: •... -
Page 14: Place A Conference Call
2. Dial the extension number of the Cisco Unified IP phone that you want to pick up. Control of the call is transferred to your phone. To selectively pick up a call ringing at a number that belongs to a pickup group: •... - Page 15 Ad Hoc Conference Call Ad hoc conferences, which support up to eight parties, are created when one party calls another, then either party decides to add another party to the call. This is the default behavior. Your system can be configured so that only the conference creator can add parties to the conference.
-
Page 16: Enable Privacy On Shared-Line
Join a Shared Line Call (SIP) Users can join a non private call on a shared line call by using either the Barge or cBarge soft keys. • Barge allows you to add yourself to the call by hosting the conference on your phone and does not allow others to join the conference. -
Page 17: Place A Call From Your Local Directory
Place a Call Using Your Extension Mobility Profile Cisco Extension Mobility (EM) allows the user to temporarily configure a Cisco Unified IP phone to function as the user’s own phone. After the user is logged-in to EM, the phone adopts the user’s profile, including the line buttons, features, and established... -
Page 18: View Call History
To log-in to Extension Mobility: 1. Press the Services button and select Extension Mobility. 2. Enter your User ID and password. 3. Press Submit. The phone temporarily configures user profile and settings. Your system administrator must configure Cisco Extension Mobility for you. Note Place a Call from Your Personal Speed-Dial To place a call from your Personal Speed-Dial using My Phone Apps:... -
Page 19: Use Audio Paging
1. Select an available phone line by lifting the handset. Listen for the dial tone. 2. Dial the designated paging group number. Each idle IP phone that has been configured with the paging number answers automatically in speakerphone mode, and the phone displays the caller ID. -
Page 20: Use The Intercom Feature
3. Use the Navigation button to select Speed Dial. 4. Select intercom Speed Dial. The called IP phone automatically answers the call in speakerphone mode with mute activated. A beep alerts the recipient to the incoming call. To respond to an intercom call, press the Mute button, or lift the handset. -
Page 21: Adjust The Volume For The Current Call
High priority (flash) call Highest priority (flash override) or Executive Override call Higher priority calls are displayed at the top of your call list. If you do not see an MLPP icon, the priority level of the call is normal (routine). Contact your system administrator for a list of corresponding precedence numbers for calls. -
Page 22: Adjust The Display Contrast
Phone Features Index This section provides an alphabetical list of features for your Cisco Unified IP phone. Features supported in both SIP and SCCP protocols are marked as “Supported” and features not supported in either one of the protocols are marked as “Not Supported”. - Page 23 Cisco has more than 200 offices worldwide. Addresses, phone numbers, and fax numbers are listed on the CCVP, the Cisco logo, and Welcome to the Human Network are trademarks of Cisco Systems, Inc.; Changing the Way We Work, Live, Play, and Learn is a service mark of Cisco Systems, Inc.; and Access Registrar,...
Need help?
Do you have a question about the 7940G and is the answer not in the manual?
Questions and answers