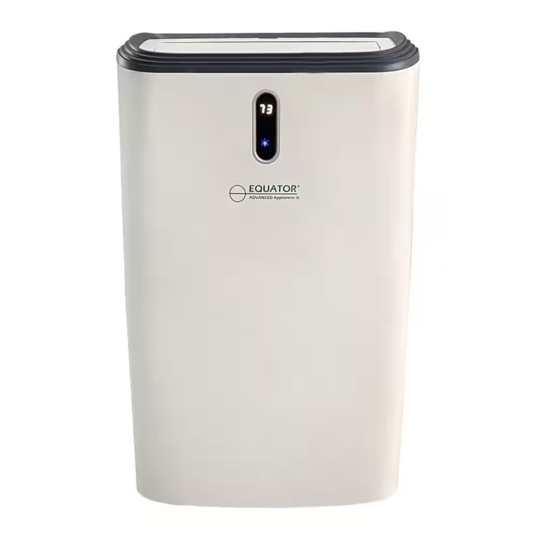
Summary of Contents for Equator PAC 162 W
- Page 1 Portable Air Conditioner PAC 162 W OWNER’S MANUAL Please read the instructions carefully and keep for future reference...
- Page 3 Equator Appliances undertakes to the consumer/owner to repair or, at our option, to replace any part of this product which proves to be defective in workmanship or material under normal personal, family or household use in USA and Canada, for a period of one year from the date of original purchase.
- Page 4 either 1. Scan the QR Code QR Code 1. Open Smart Phone 2. Open Photo 3. Scan QR Code 4. Click the Link 2. Online at: ApplianceDesk.com/Warranty...
- Page 5 Keep the appliance away from volatile and flammable substances. Keep ventilation openings clear of obstructions. Use a power outlet that is grounded and the correct voltage. When positioning the appliance, ensure the electrical cord is not trapped or damaged. Never unplug the appliance by pulling on the power cord. Grip the plug firmly and pull straight out to remove from wall socket.
- Page 6 Introduction This self-contained compact appliance operates as an air conditioner, air purifier/fan or dehumidifier. It is easily portable with castors and does not require permanent installation. Control Panel Air outlet with adjustable louver Front Panel FRONT VIEW Recessed Handle Inside Air inlet with air filter Air Exhaust Upper Drain Outlet...
- Page 7 Accessories 1. Inlet / Exhaust hoses 2. Hose connectors 3. Window kit adapters 4. Window kit 5. Drain Hose 6. Remote control...
- Page 8 Placement 20 inches space around unit Place the unit on a firm, level surface in an area with at least 20 inches (50 cm) of free space around it to allow for proper air circulation. If tipped more than 45°, allow the unit to stand upright for at least 24 hours before starting it.
- Page 9 Installation Attaching the Hoses This is an advanced portable AC where there are 2 hoses: The Right Hose brings fresh air into the unit. The Left Hose blows hot exhaust air to the outdoors. Do not replace or extend the hoses which will result in decreased efficiency, or even worse shut down the unit due to low back pressure.
- Page 10 Close your window to secure the Step 4: kit in place. To hold the window kit firmly in place, secure the window kit with duct tape if required. It is recommended that the gap between the adapter and the sides of the window should be sealed off...
-
Page 11: Control Panel And Display
Operation CONTROL PANEL AND DISPLAY Cool Timer Power Heat POWER Press to switch the unit on or off MODE Press to switch the operation mode between Cool , Air , Heat MODE Displays the Mode: Cool , Dry , Air Indicator Heat SLEEP... - Page 12 Operation Start-up and Shutdown Press Power to turn the unit on or off. Air (Air Purifier/Fan) mode is the default. Press Mode button to select the desired operation mode. The unit has three operation modes: Cool, Dry and Air (Air Purifier/Fan). Cool - Air Conditioner Press Mode button repeatedly until the Cool icon lights up.
- Page 13 Dehumidifier Drainage When using the Dehumidifier, water collects in the unit and needs to be drained either continuously or when it gets full. Water can be drained either from the Upper Drain Outlet or from the Lower Drain Outlet. For continuous draining, while the unit is operating as a Dehumidifier: Securely connect the drain hose provided to the unit at the Upper Drain Outlet.
- Page 14 Heat - Heater Press Mode button repeatedly until the Heat icon lights up. Press Up/Down arrows to adjust the temperature which is displayed on the screen. Press Speed button to select the desired fan speed. Sleep mode Press the Sleep button when the unit is in Cool mode. After 1 hour the preset temperature is increased by one degree, after another hour the preset temperature will again be increased by one degree.
- Page 15 WiFi Pairing ACTION ON SMART PHONE 1. Download the Tuya smart APP. 2. Open WIFI to connect to the router to which appliance needs to be connected. 3. Open BLUETOOTH and connect to the Tuya APP. ACTION ON APPLIANCE 4. Power on the appliance a.
- Page 16 If not continuously drained, the unit will need to be drained manually. Note: When the water collection tank in the unit gets full, it will stop working and an error code of “Ft” will be displayed on the Control Panel. Turn off...
-
Page 17: Troubleshooting
Troubleshooting Problem Possible Cause Solution Check the power Insert the power cord connection securely into the wall outlet Check if water tank in Empty the water tank by The unit is unit is full removing the drain plug not operating Check the room The operating temperature temperature... - Page 18 Error Codes Communication faults Check the wire harness of between main PCB and the display PCB for damage display PCB Ambient temperature Check connection or replace sensor failure it. Clean or replace the Error temperature sensor Codes Coil temperature sensor Check connection or replace failures it.
- Page 19 Specifications Table Model PAC 162 W 15891 Ft³ / h Air Circulation / Flow Application Area 269-323 sq ft Adapter Input / Output 115V / 12V 2A Noise Level 65 dB Net Weight 69.5 lbs Product Dimensions (HxWxD) 30" x 18.5" x 14"...


Need help?
Do you have a question about the PAC 162 W and is the answer not in the manual?
Questions and answers