Advertisement
Quick Links
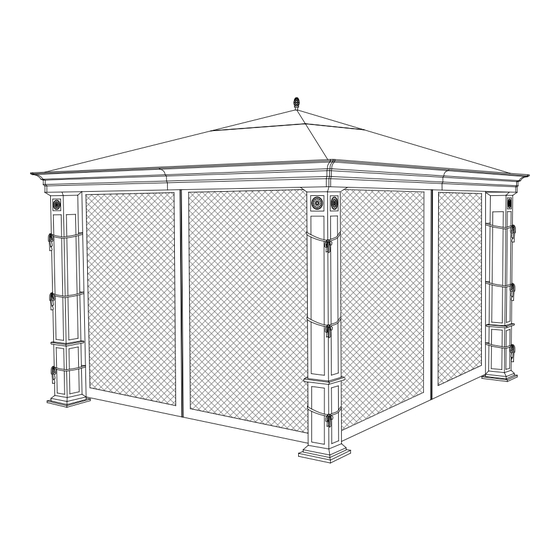
Sean Conway Gazebo II # G-GZ107PST
1. WARNING
1. When assembling and using this product, basic safety precautions should always be followed to
reduce the risk of personal injury and damage to equipment. Please read all instructions before
assembly and use.
2. Some parts may contain sharp edges, wear protective gloves if necessary. At least two or more
people are recommended for safe assembly.
3. Keep all children and pets away from assembly area.
4. Begin assembly not less than 6 feet from any obstruction such as fence, garage, house,
overhanging branches, laundry line or electrical wires.
5. Install on level ground. This gazebo cannot be permanently staked or attached to concrete floor or
platform. This gazebo is intended for decorative and sunshade purposes only and is not meant to
Owner's manual
Advertisement

Subscribe to Our Youtube Channel
Related Manuals for Sunjoy G-GZ107PST


Summary of Contents for Sunjoy G-GZ107PST
- Page 1 Owner’s manual Sean Conway Gazebo II # G-GZ107PST 1. WARNING 1. When assembling and using this product, basic safety precautions should always be followed to reduce the risk of personal injury and damage to equipment. Please read all instructions before assembly and use.
- Page 2 withstand inclement weather including high winds, rain and snow. Gazebo fabric is water resistant, not water proof and may leak during exposure to precipitation. 6. Check all nuts and bolts for tightness before and during usage. 7. Keep all flame and heat sources away from this gazebo fabric. This gazebo is made with fabric that meets cpai-84 specifications for flame resistance.
- Page 3 G2.C1,D1 connector (2pcs) H. column roof cover (4pcs) I.U shape connector (4pcs) J. straight connector (4pcs) K. 90 °beam connector (4pcs) L.90°short beam (2pcs) M. 90°long beam (2pcs) N. long curtain pole (4pcs) O. top connector (1pc) P. finial (1 pcs) R.
- Page 4 2.2 Assembly: (Tools required for assembly: a screwdriver) Fig.6 Fig.4 Fig.5 Fig.8 Fig.3 Fig.1 Fig.2 Fig.7 Fig.9 step1. Check all parts and hardware listed in the parts list. Lay them on a clear and level surface prior to assembly. Ideally, the gazebo frame should be set up in its desired location to avoid moving it after assembly.
- Page 5 B1(E1) B1(E1) C1(D1) C1(D1) B2(E2) B2(E2) C2(D2) C2(D2) B1(E1) C1(D1) B2(E2) C2(D2) Fig.2 step4. Make sure the screw holes on the beam connector K and the unfixed screw holes on the frames are lined up, attach the K with connected frames by inserting the screws X, tighten them tightly by screwdriver.(fig2) step5.
- Page 6 them by screw R,BUT DON’T FIX THE TWO HOLES NEXT TO JOINT ON F1 IN THIS MOMENT( fig step8. Make sure the holes on the G1 and unfixed holes on frames are lined up, attached G1 to the connected frames by inserting screw R, fix them tightly by screwdriver.(fig 3) step 9.
- Page 7 Fig.6 Top Frame step 12. Attach whole top frame to the assembled rectangle frame. lifting top frame , connecting the four corners to the four columns. make sure two sides of the columns with the patterns are outside facing. and the screw holes in the upper column A and lower frame B1&E1 are lined up, and tighten them tightly with R screws.(fig 7) R R R Fig.7...
- Page 8 Fig.9 step 16.Tighten all the hardware. Now your gazebo is ready for use! Warning This gazebo is not meant to withstand extreme weather, such as: moderate to high winds, continued exposure to ice, or freezing conditions. We recommend removing your canopy if heavy rain, snow, or big wind. Do not leave the gazebo out in the winter unprotected.
- Page 9 For technical assistance on assembly or replacement parts Please do not return this product to the store, call Sunjoy Industries at 1(866) 578-6569 from 8:30 AM to 5:30 EST Monday to Friday or fax the replacement part form which put into the package to (740)-283-3549 or Email target05@sunjoygroup.com...
Need help?
Do you have a question about the G-GZ107PST and is the answer not in the manual?
Questions and answers