Table of Contents
Advertisement
Quick Links
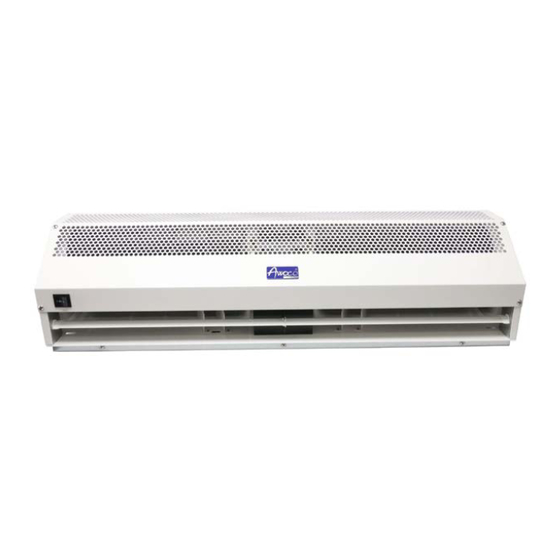
Super Power Models: FM-1506SA1, FM-1509SA1, FM-1510SA1,
FM-1512SA1, FM-1515SA1, FM-1518SA1
STOP and Read
1. Do NOT plug in power cord to power source; use a screw driver to rotate
the fan wheels from the air outlet below the L/Off/H switch.
2. If the fan doesn't rotate smoothly, remove the screws and take off the
front cover.
3. Remove the side panel's screws and reseat the fan wheel bearings and
align the motor to fix the issues. Then replace the front cover back with
tighten the screws.
4. Plug in 120V power source (some old air curtains might use 240V, verify
the power voltage if not sure); press the front switch to H or L to test it. If
the air curtain works normally, refer to section 3 through 7 to install the
air curtain. Refer to section 10 for technical support.
5. If the fan wheel is broken, contact Awoco (refer to section 10) to get the
fan wheel replacement.
6. After installation, if the air curtain doesn't run, first step is to check the
magnetic switch. Refer to section 7 for troubleshooting.
PLEASE READ AND SAVE THESE INSTRUCTIONS.
Strongly recommend to test the unit before installation for any
defective or damage during shipment.
USER'S GUIDE
Version: FM15-202009M
AIR CURTAINS
! Test before installing
Advertisement
Table of Contents

Subscribe to Our Youtube Channel
Related Manuals for Awoco FM-1506SA1


Summary of Contents for Awoco FM-1506SA1
- Page 1 3 through 7 to install the air curtain. Refer to section 10 for technical support. 5. If the fan wheel is broken, contact Awoco (refer to section 10) to get the fan wheel replacement.
-
Page 2: Table Of Contents
WARNING – TO REDUCE THE RISK OF FIRE, ELECTRIC SHOCK, OR INJURY TO PERSONS, READ THE FOLLOWING CAREFULLY before attempting to assemble, install, operate or maintain the product. A. Always disconnect, lock and tag power source before installing or servicing product. Failure to disconnect power source can result in fire, shock or serious injury. -
Page 3: Installation Planning & Cautions
2. INSTALLATION PLANNING & CAUTIONS Must observe the following when installing air curtains: Strongly recommend to test the unit before installation for any defective or damage during shipment. 2.1 Please install the unit on a sturdy 2.2 Please install the unit inside the room. supporting structure to avoid shaking and ensure its security (because the unit running may cause the wall to become loose or... -
Page 4: Installation Instructions
3. INSTALLATION INSTRUCTIONS A. Installing on the concrete wall: 3.1.1 Unscrew the fixing screws to remove 3.1.2 Determine the mounting location with the mounting plate from the back of the main the mounting plate. Drill holes and insert the body. Zinc-Plated Steel Hex-Nut-Head Sleeve Anchor (not included). -
Page 5: Technical Parameter
Noise Air volume Max air level Model Voltage entry Power Current (CFM) velocity weight (dB) opening (V~Hz) (FPM) (Lb) (Inch) FM-1506SA1 2.40 26.5 3.13 FM-1509SA1 1177 33.1 120V, 2559 (H), FM-1510SA1 3.65 1354 1059 37.5 60Hz 1968 (L) FM-1512SA1 3.65... -
Page 6: Wiring Diagram
5. WIRING DIAGRAM 6. OPTIONAL MAGNETIC SWITCH INSTALLATION This air curtain comes with a magnetic door switch, contact seller or Awoco if you are missing a magnetic switch. The dedicated 2 wires (Yellow) are to connect to the magnetic switch. - Page 7 Mount the 2 pieces magnetic switch to the door/window edge and frame; keep them close when the door/window is closed. If needed, apply a metal “Z” bracket to raise the magnet to the same position. Note: Do NOT use big screws!!! Oversized screws will damage the magnetic switch internally. Note: Don’t place the magnetic switch close to existing alarm sensors.
-
Page 8: Troubleshootings
Open means defective. Feel free to contact Awoco technical support at 1-888-412-3428 if you need help. Awoco has all the parts for 1 year limited warranty, including fan wheels, magnetic switches, circuit boards, motors, etc. 8. OPERATING INSTRUCTIONS 8.1 Connect power (120V 60Hz) to the unit. -
Page 9: Maintenance And Cleaning
9.6 Dry the case with a soft dry cloth before operating the unit. 10. SUPPORT AND CONTACT Contact your local seller for exchange or repair. Visit www.awoco.com for most updated information. Email to sales@awoco.com or call 1-888-412-3428 for technical support and sales activity.
Need help?
Do you have a question about the FM-1506SA1 and is the answer not in the manual?
Questions and answers