Advertisement
Quick Links
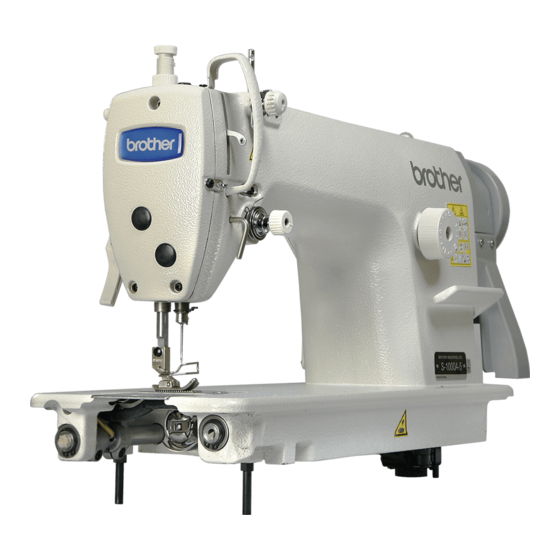
S-1000A
HIGH SPEED SINGLE NEEDLE STRAIGHT LOCK STITCHER
Please read this manual before using the machine.
Please keep this manual within easy reach for quick reference.
CONTENTS
SAFETY INSTRUCTIONS ............................... i
1. INSTALLATION........................................... 1
Table processing diagram ........................ 2
1-1.
Motor ......................................................... 2
1-2.
Installation ............................................... 3
1-3.
Ground wire connections ......................... 7
1-4.
1-5.
.................................................... 8
1-6.
rotating direction ..................................... 8
Basic Operation Manual
Advertisement

Summary of Contents for Brother S-1000A-5
-
Page 1: Table Of Contents
Basic Operation Manual S-1000A HIGH SPEED SINGLE NEEDLE STRAIGHT LOCK STITCHER Please read this manual before using the machine. Please keep this manual within easy reach for quick reference. CONTENTS SAFETY INSTRUCTIONS ....... i 1. INSTALLATION........... 1 Table processing diagram ......2 1-1. - Page 2 Thank you very much for buying a BROTHER sewing machine. Before using your new machine, please read the safety instructions and the explanations given in the instruction manual. With industrial sewing machines, it is normal to carry out work while positioned directly in front of moving parts such as the needle and thread take-up, and consequently there is always a danger of injury that can be caused by these parts.
-
Page 3: Safety Instructions
SAFETY INSTRUCTIONS [1] Safety indications and their meanings This instruction manual and the indications and symbols that are used on the machine itself are provided in order to ensure safe operation of this machine and to prevent accidents and injury to yourself or other people. The meanings of these indications and symbols are given below. - Page 4 Furthermore, do not excessively bend the cords or secure them too Contact your Brother dealer or a qualified firmly with staples, otherwise there is the danger electrician for any electrical work that may need to that fire or electric shocks could occur.
- Page 5 Ask your Brother dealer or a qualified electrician to carry out any maintenance and inspection of the Secure the table so that it will not move when tilting electrical system.
- Page 6 Please follow the instructions on the labels at all times when using the machine. If the labels have been removed or are difficult to read, please contact your nearest Brother dealer. Be sure to connect the ground. If the ground...
- Page 7 0870D Oil pan 3871M 0869D 0871D S-1000A...
-
Page 8: Installation
If the table moves, it may crush your feet or cause other injuries. Contact your Brother dealer or a qualified electrician for any electrical work that may need to be done. Use both hands to hold the machine head when tilting it back or returning it to its original position. -
Page 9: Motor
1. INSTALLATION 1-1. Table processing diagram The top of the table should be 40 mm in thickness and should be strong enough to hold the weight and with-stand the vibration of the sewing machine. Drill holes as indicated in the illustration below. Head rest hole Ground wire hole Motor mounting holes... -
Page 10: Installation
1. INSTALLATION 1-3. Installation 1. Oil pan Left side: White Right side: Black (1) Head cushions (left) [2 pcs] (2) Head cushions (right) [2 pcs] (3) Oil pan (4) Magnet Operator 4065M 2. Rubber cushions (1) Rubber cushions [2 pcs] (2) Nails [4 pcs] 3. - Page 11 1. INSTALLATION 5. Knee lifter plate (1) Knee lifter plate (2) Bolt * Loosen the bolt (2) and move the knee lifter plate (1) to a position where it is easy to use. 3832M <Knee lifter adjustment> 1. Turn the machine pulley so that the feed dog is below the top of the needle plate.
- Page 12 1. INSTALLATION 7. Bobbin winder 1. Push down the bobbin presser arm (1) as far as it will go. 2. Place the bobbin winder wheel (2) so that it pushes the belt (3) by approximately 5 mm, and then place the bobbin winder (4) so that it is parallel with the belt hole in the table.
- Page 13 1. INSTALLATION 2. Remove the screw (5) and washer (6) from the rear of the sewing machine. 3. Place belt cover U (4) onto the machine pulley. 4. Install belt cover U (4) to the sewing machine with the screw (5) and washer (6), and then install it to the belt cover (1) with the two screws which...
-
Page 14: Ground Wire Connections
1. INSTALLATION 9. Cotton stand (1) Cotton stand NOTE: Securely tighten the nut (4) so that the two rubber cushions (2) and the washers securely clamped and so that the cotton stand (1) does not move. Install the column cap (5). 0868D 1-4. -
Page 15: Lubrication
JX Nippon Oil & Energy Use only the lubricating oil ( Corporation Sewing Lube 10N; VG10 ) specified by Brother. * If this type of lubricating oil is difficult to obtain, the recommended oil to use is <Exxon Mobil Essotex SM10; VG10>. - Page 16 * Please note that the contents of this manual may differ slightly from the actual product purchased as a result of product improvements. http://www.brother.com/ 1-5, Kitajizoyama, Noda-cho, Kariya 448-0803, Japan. S-1000A © 2014 Brother Industries, Ltd. All Rights Reserved. SB5568-101 This is the original instructions. 2014.07.DC(2)


Need help?
Do you have a question about the S-1000A-5 and is the answer not in the manual?
Questions and answers