Table of Contents

Related Manuals for Circor IMO OptiLine LPE4


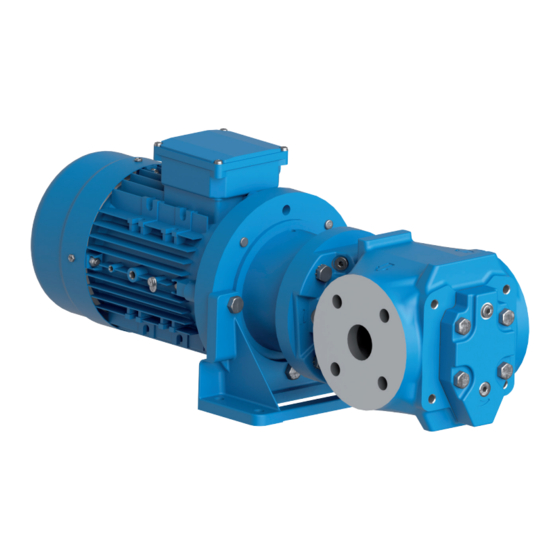
Summary of Contents for Circor IMO OptiLine LPE4
-
Page 1: Table Of Contents
Screw pumps OptiLine LPE4 Original Operating Manual Contents Page Introduction Safety Installation Start-up Trouble shooting Maintenance and Service Service intervals List of components Exploded View/Ordering code Dismantling and reassembling the pump Dismantling Reassembly Before commencing any work, read this instruction carefully! Failure to comply with these instructions may cause damage and personal injury! -
Page 2: Introduction
Introduction Other applicable documents Document Purpose ATEX additional instructions Operation in explosion-hazard areas Order data sheet Technical specifications, conditions of operation Technical description Technical specifications, operating limits Supplier documentation Technical documentation for parts supplied by subcontractors, e.g. drive system, coupling or auxiliary operating system. - Page 3 • Refrain from any procedures and actions that would pose a risk to personnel or third parties. • In the event of any safety-relevant malfunctions, shut down the pump immediately and have the malfunc- tion corrected by the personnel responsible. •...
- Page 4 Specific hazards Explosion-hazard area • (→ ATEX additional instructions). Hazardous pumped liquids • Observe the safety regulations for handling hazardous substances (e.g. hot, flammable, poisonous or po- tentially harmful) when handling hazardous pumped liquids. • Use personal protective equipment when carrying out any work on the pump. •...
-
Page 5: Installation
Installation For pumps in explosion-hazard areas (→ ATEX additional instructions). Design limitations and technical data for each pump are found in the Product description. Installation of IMO AB low pressure pumps does not require special skills. However, these instructions presume that the work is carried out by experienced fitters! Failure to comply with these instructions may cause damage and personal injury... - Page 6 Pipe connections The pipe work shall be installed and supported so that no pipe stresses are transferred to the pump body. The pipe forces and torque transferred to the pump shall be in accordance with ISO 14847. The pipe work should be tight in order to avoid leakage and infiltration of foreign particles and/or air.
- Page 7 Gauges Gauges for monitoring the pump’s working conditions are recommended. These gauges should be placed readable as close to the pumps in- and outlet flanges as possible. On the LPE Optiline standard pumps there are gauge connections for both in- and outlet. Fig.
-
Page 8: Startup
Startup For pumps in explosion-hazard areas (→ ATEX additional instructions). Pressure testing and flushing The system must be flushed and pressure tested before connecting the pump. If corrosive liquid, such as water is used, the system must be thoroughly drained, dried and protected against corrosion after having been flushed. -
Page 9: Trouble Shooting
Trouble shooting Problem Cause What to do Wrong direction of rota- - Electric cables to motor wrongly Reverse the terminal connection on tion connected. electric motor. Connecting and disconnec- ting of electric cables must be done only by personnel authorized to do such work. - Page 10 Problem Cause What to do Pressure too low - The pressure relief valve is set too Readjust the pressure relief valve. low. - Counter pressure in the discharge Check the components in the discharge line is too low due to a major leak- line inclusive the recipients.
- Page 11 www.imo.se...
-
Page 12: Maintenance And Service
Maintenance and Service For pumps in explosion-hazard areas (→ ATEX additional instructions). Introduction A screw pump from IMO is a quality product that is designed for a long problem free operation in tough environ- ments. As all other mechanical products they do however requires a certain grade of maintenance and service in order to guarantee a faultless and economic favourable operation. -
Page 13: Service Intervals
Service intervals ATTENTION! In areas where permanent magnetic couplings are handled or The intervals for inspection and replacement of wear stored with open access, persons with parts vary greatly with the properties of the pumped liq- heart should keep a distance uid and can only be determined by experience. -
Page 14: List Of Components
List of components Valid for all LPE Optiline Generation 4 pumps with sizes 025, 032, 038 and leads L, K, N & D With version codes, NJBP, NKBP, NLBP & NMBP Explanations PosNo Designation Qty G012 G054 G057 G070 G098 Notes G012: Rotorset Motor G054: Major kit... -
Page 15: Exploded View/Ordering Code
Exploded View Before commencing any work, read this instrucion carefully! Failure to comply with these instrutions may cause damage and personal injury! For more information about the pumps identification code, technical data and performance we refer to the LPE Product description. 998B 702A 005A... -
Page 16: Dismantling And Reassembling The Pump
Dismantling and reassembling the pump Tightening Torque List of tools necessary for dismantling and reassembly table Tightening torque (Nm) Pos No Torque 0006A 0007A 702 IEC 80-90 100-132 A = Puller E = Screw driver 703B IEC B = Spanner 16 mm F = Plier 80-90 C = Plastic mallet... -
Page 17: Dismantling
Dismantling 701B • Turn the electricity OFF. • Close the valves. Use appropriate vessels to collect oil • Loosen the nut 701B with a spanner. spillage when removing and opening the pump. 007A 005B 007B • Pull out the pump in a straight line from the •... - Page 18 5010 • Unscrew the bolts 451 with an allen key. •remove the key 113 with a suitable tool. • Remove the front cover 5010 with its gasket 506. 1020 124A • Remove the circlip 124 with a suitable plier from the main rotor 1020. •...
- Page 19 6120 • Release tension spring by turning the set screw • Loosen and remove screw 453. 6120 CCW as much as possible. • Remove gasket 556. Note: Count number of turns when opening to get correct settings when reassembly. • Remove the relief valve and replace the o-ring 605.
-
Page 20: Reassembly
• Measure the distance between motor shaft • Remove the drive hub from the electrical motor end and the drive hub. with a puller. Reassembly 998B • Measure the distance so that it will be the same as before the dismount. •... - Page 21 124A • Mount the ball bearing onto the rotor 1020 by • Mount the washer 124A and the circlip 124 onto either using a mounting tool as above or by the main rotor 1020. heating up the ball bearing (max 110 deg). •...
- Page 22 • Mount the o-ring 007B and the seal can 005B • Mount the idlers 202 into the pump body after and tight the screws 007A with the correct thoroughly lubricating them. torque as stated on page 8. • Mount the valve 6000 with its o-ring 605 into •...
- Page 23 www.imo.se...
- Page 24 Adress: IMO AB PO Box 42090, 126 14 Stockholm Sweden www.imo.se...
Need help?
Do you have a question about the IMO OptiLine LPE4 and is the answer not in the manual?
Questions and answers