Table of Contents
Advertisement
Installation
Instructions
Questions? Call
1-800-944-9044(US)
BEFORE YOU BEGIN
Read these instructions completely and carefully.
IMPORTANT –
•
instructions for local inspector's use.
IMPORTANT –
•
governing codes and ordinances.
Note to Installer –
•
instructions with the Consumer.
or
Save these
Observe all
Be sure to leave these
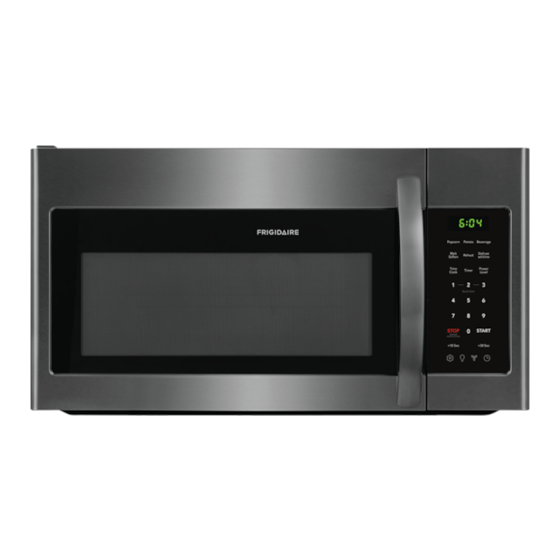
Over the Range
Microwave Oven
1-800-265-8352(Canada)
Note to Consumer –
•
instructions for future reference.
• Skill level – Installation of this appliance requires
basic mechanical and electrical skills.
• Proper installation is the responsibility of the installer.
• Product failure due to improper installation is not
covered under the Warranty.
KEEP THESE INSTRUCTIONS
Keep these
READ CAREFULLY.
p/n A06823421
January 2020
.
Advertisement
Table of Contents


Need help?
Do you have a question about the LFMV1846VFA and is the answer not in the manual?
Questions and answers
Is there a way to order the wall and top templates?