Sign In
Upload
Download
Table of Contents
Contents
Add to my manuals
Delete from my manuals
Share
URL of this page:
HTML Link:
Bookmark this page
Add
Manual will be automatically added to "My Manuals"
Print this page
×
Bookmark added
×
Added to my manuals
Manuals
Brands
Dahua Manuals
Security Camera
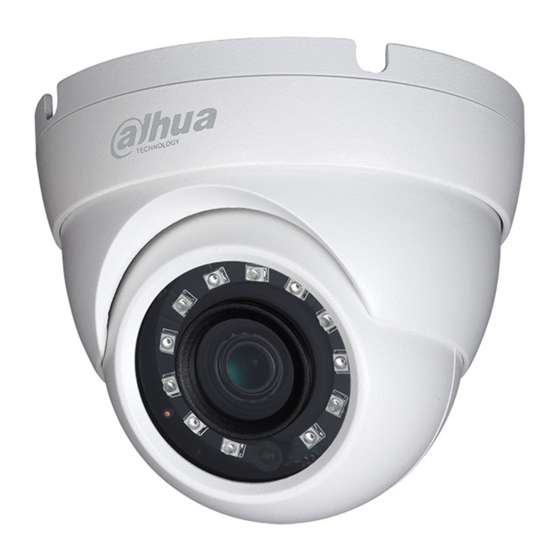
HAC-HDW2231RP-Z
User manual
Dahua HAC-HDW2231RP-Z User Manual
Hdcvi camera
Hide thumbs
1
Table Of Contents
2
3
4
5
6
7
8
9
10
11
12
13
14
15
16
17
18
page
of
18
Go
/
18
Contents
Table of Contents
Bookmarks
Table of Contents
Table of Contents
General Introduction
Overview
Features
Device Framework
Device Cable Structure
Installation
Installation for Model a and Model B
Installation for Model C and Model D
Installation for Model E
Menu
HCVR Settings
Set Audio Coax
Menu Operation
Appendix Ⅰ Maintenance
Advertisement
Quick Links
Download this manual
HDCVI Camera User's Manual
Version 1.0.0
Table of
Contents
Previous
Page
Next
Page
1
2
3
4
5
Advertisement
Table of Contents
Need help?
Do you have a question about the HAC-HDW2231RP-Z and is the answer not in the manual?
Ask a question
Questions and answers
Related Manuals for Dahua HAC-HDW2231RP-Z
Security Camera Dahua HAC-HDWXXXXCP/N-IR2 User Manual
Hdcvi icr ir water proof dome camera (19 pages)
Security Camera Dahua HAC-HDW1100MP User Manual
(12 pages)
Security Camera Dahua HAC-HDW1100MN User Manual
(12 pages)
Security Camera Dahua HAC-HFW1100S User Manual
1 megapixel hdcvi fixed and dome camera (14 pages)
Security Camera Dahua HAC-HD3103P User Manual
1 megapixel hdcvi icr sync-focus dome camera (17 pages)
Security Camera Dahua HAC-HDW1100RP/N-VF User Manual
1 megapixel hdcvi ir vari-focal dome camera series (12 pages)
Security Camera Dahua HAC-HDBW2120EP User Manual
1/2 megapixel 720p/1080p vandal-proof ir hdcvi dome cameras (18 pages)
Security Camera Dahua HAC-HDW2220MP User Manual
1/2 megapixel 720p/1080p vandal-proof ir hdcvi dome cameras (18 pages)
Security Camera Dahua HAC-HDW2401EMP User Manual
Hdcvi (19 pages)
Security Camera Dahua HDW2501TP-Z-A User Manual
Hdcvi eyeball camera (19 pages)
Security Camera Dahua HAC-HDW2501TP-A User Manual
Hdcvi eyeball camera (19 pages)
Security Camera Dahua HAC-HDW2231M User Manual
Hdcvi camera (18 pages)
Security Camera Dahua HAC-HDW1200M-0280B-S4 User Manual
Hdcvi camera (18 pages)
Security Camera Dahua HAC-HDW3200G-M28 User Manual
Hdcvi camera (18 pages)
Security Camera Dahua HAC-HDW2231R-Z User Manual
Hdcvi camera (18 pages)
Security Camera Dahua HAC-HFW2501T-Z-A User Manual
5mp starlight hdcvi ir bullet camera (18 pages)
This manual is also suitable for:
Hac-hdw2231m
Hac-hdw2231em
Dh-hac-hdw2241mp-0360b
Dh-hac-hdw2231rp-z
Table of Contents
Print
Rename the bookmark
Delete bookmark?
Delete from my manuals?
Login
Sign In
OR
Sign in with Facebook
Sign in with Google
Upload manual
Upload from disk
Upload from URL


Need help?
Do you have a question about the HAC-HDW2231RP-Z and is the answer not in the manual?
Questions and answers