Table of Contents

Related Manuals for Chauvet Q-SCAN Q-Scan 250


Summary of Contents for Chauvet Q-SCAN Q-Scan 250
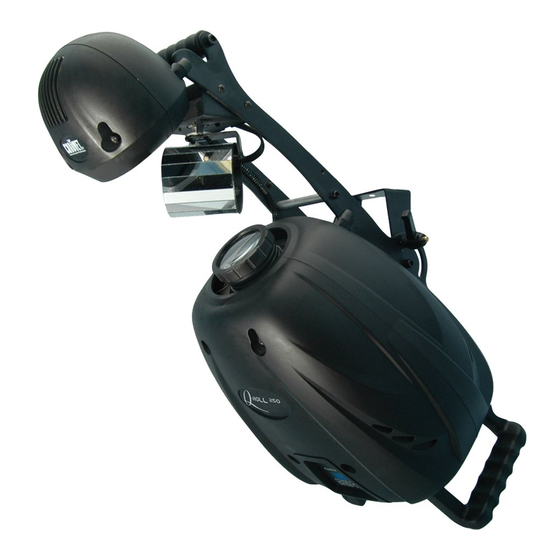
- Page 1 Q-Scan™ 250 250W HSD Intelligent Scanner Q-Roll™ 250 250W HSD Intelligent Barrel Scanner USER MANUAL CHAUVET, 3000 N 29 Ct, Hollywood, FL 33020 U.S.A (800) 762-1084 – (954) 929-1115 FAX (954) 929-5560 www.chauvetlighting.com 2005-11-15/13:24...
-
Page 2: Table Of Contents
Table of Content BEFORE YOU BEGIN... 3 ... 3 HAT IS INCLUDED ... 3 NPACKING NSTRUCTIONS AC P ... 3 OWER ... 3 AFETY NSTRUCTIONS INTRODUCTION ... 4 ... 4 ECHNICAL EATURES DMX C ... 4 HANNEL UMMARY ... 5 RODUCT VERVIEW SETUP ... -
Page 3: Before You Begin
Caution! There are no user serviceable parts inside the unit. Do not open the housing or attempt any repairs yourself. In the unlikely event your unit may require service, please contact CHAUVET. Q-Scan 250 & Q-Roll 250 User Manual ... -
Page 4: Introduction
NTRODUCTION Technical Features Q-Scan™ 250 Control Features 6-7 channel DMX Intelligent Scanner Pan: 180° Tilt: 70° Mechanical Dimmer/Shutter/Strobe Rotating Gobos - 8 interchangeable rotating gobos - 6 metal, 2 glass, 2 Free gobos - Gobo Bounce™ - Gobo wheel spin - in both directions, at variable speeds ... -
Page 5: Product Overview
Product Overview Control Board Enter Choose Down UTTONS Choose Toggles menu functions Steps backward through menu Down functions Steps forward through menu functions Confirms selected menu Enter function Q-Scan 250 & Q-Roll 250 User Manual SEGMENT BUTTONS I/O PANEL OVERVIEW I/O P ANEL DMX Out &... -
Page 6: Setup
ETUP Lamp You will need to install a lamp prior to the initial operation of the fixture. An MSD250 high intensity discharge lamp is included. Warning! When replacing the lamp, please wait 15 minutes after powering down to allow the unit to cool down! Always disconnect from main power prior to lamp replacement. -
Page 7: Power
Lamp Alignment How-To Often, after a new installation of a lamp, you will find that there is an uneven field of light or what is referred to as a hot spot. This is due to the most intense point of the lamp source not being positioned optimally within the reflector. -
Page 8: Mounting
Mounting O ri en t at ion Both fixtures can sit on stage or be mounted on a truss using a clamp in any position, provided, there is adequate room for ventilation. W ar n in g It is important never to obstruct the fan or vents pathway. ... -
Page 9: Operating Instructions
PERATING NSTRUCTIONS Control Panel On the control panel you can set the DMX address, set the fixture to Master/Slave mode, reset the fixture and change fixture personality traits. Control Board Enter Choose Control Panel Functions UNCTION PTIONS / ... -
Page 10: Operating Modes
Operating Modes A stand-alone mode will listen to sound and run through its diverse range of built in programs. Master/Slave mode will allow the command of up to as many units you want in a synchronized light show to the sound. ... -
Page 11: Dmx Mode
DM X M od e Operating in a DMX Control mode environment gives the user the greatest flexibility when it comes to customizing or creating a show. You can tailor your programming to suit a specific event. Whether it is a wedding where a spot light may be required or a lead singer requiring a color solo, the opportunities are endless. -
Page 12: User Configurations
User Configurations P 1 - Pa n I n v e rt / P 2- T ilt I nv e rt It is possible to invert the pan and tilt mirror movement from within the fixture itself. This could be helpful in situations where the positioning or rigging of a fixture led to a reverse orientation of the fixture in relation to all or most other fixtures installed. -
Page 13: Appendix
XLR male to female connectors. The shield connection is pin 1, while pin 2 is Data Negative (S-) and pin 3 is Data positive (S+). CHAUVET carries 3-pin XLR DMX compliant cables, DMX-10 (33’), DMX-4.5 (15’) and DMX-1.5 (5’) -
Page 14: Dmx Channel Values (16 Bit)
DMX Channel Values (16 Bit) EFAULT ALUE 000 255 000 255 000 005 006 120 121 140 141 255 000 005 006 063 064 095 096 127 128 159 160 ... -
Page 15: Maintenance
Package must be clearly labeled with a Return Merchandise Authorization Number (RA #). Products returned without an RA # will be refused. Call CHAUVET and request RA # prior to shipping the fixture. Be prepared to provide the model number, serial number and a brief description of the cause for the return. -
Page 16: General Troubleshooting
Remote does not work Make sure connector is firmly connected to device Stand alone mode All CHAUVET lighting fixtures featuring stand-alone functions do not require additional settings, simply power the fixture and it will automatically enter into this mode Unit wobbles when... -
Page 17: Technical Specifications
Technical Specifications WEIGHT & DIMENSIONS Length... 292 mm (11.5 in) Width... 305 mm (12 in) Height ... 736 mm (29 in) Weight... 14.52 Kgs (32 lbs) POWER Switch-selectable power settings...115V 60 Hz or 230V 50 Hz AC input ...3 prongs IEC 60320 C14 European version ...
Need help?
Do you have a question about the Q-SCAN Q-Scan 250 and is the answer not in the manual?
Questions and answers