
Related Manuals for Golf Buddy GolfBuddy I


Summary of Contents for Golf Buddy GolfBuddy I
- Page 1 GB Manager User Manual nstructions for Downloading and Using the GB Manager with GolfBuddy Plus, Pro and Tour...
- Page 2 Introduction The GolfBuddy Manager (GB Manager) allows you to update the course library in your GolfBuddy Plus, Pro or Tour GPS Rangefinder. Although the GolfBuddy comes with courses already pre-loaded into the unit, we are continually updating our course library by adding new courses and updating our existing ones. The GB Manager allows you to keep your GolfBuddy GPS unit updated with the latest course data.
- Page 3 Chapter 1 - Setting up the GB Manager Step 1 - Download and Install the GolfBuddy Manager Important: Do not connect your GolfBuddy to your computer until after you have installed the GB Manager and restarted your computer. **In order to download GB Manager, your internet browser default must be set to Microsoft Internet Explorer 1.1 Go to...
- Page 4 1.3.4 Next, an installShield Wizard, welcome screen will appear, (fig. 7) Click “Next” to continue. 1.3.5 The InstallShield Wizard will then ask you if you would like to begin the installation. (fig. 8) Click “Install” to proceed. 1.3.6 Once you begin the installing the GB Manager, a progress bar will appear. (fig. 9) 1.3.7 After the GB Manager has been successfully installed, please make sure to restart your computer before proceeding to the next step.
- Page 5 (fig. 13) Fill out all the required information to complete the process and click submit. Once you have completed the registration, you will be directed to the main page of the GolfBuddy website. You may close your internet browser at this time, as you will no longer need it open in order to run the GB Manager.
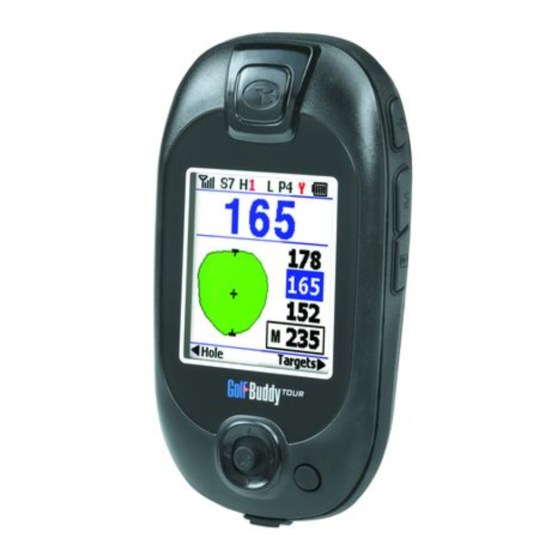
- Page 6 GolfBuddy unit, (fig. 14) and the other end into your computer’s USB port. (fig. 15) GolfBuddy Plus users If you are using a GolfBuddy Plus, you must perform an additional step before before logging in to the GB Manager. 1) Make sure that your unit is powered off.
- Page 7 3.3 Once you complete the log in process, the GB manager window will appear and will begin performing an auto update. (fig. 16) When the auto update is complete, you will be prompted to restart the GB Manager. (fig. 17) Click “yes”...
- Page 8 Chapter 2 - Using the GB Manager The GolfBuddy Manager (GB Manager) allows you to manage your courses, perform firmware upgrades, track your scores, and customize your GolfBuddy by adding images or logos to your welcome screen. 1. Course Tab The Course tab allows you to manage the courses in your GolfBuddy unit by adding new courses, and updating exisiting course data your unit when they are revised.
- Page 9 1.1.1 Click on a country along the column on the left, (fig.21) A list of courses for that country will appear along the right column . If you click on a country, a list of states or provinces will appear for that country as subfolders in the column. (fig.22) (fig.21) (fig.22) You can then select an individual subfolder to view a list of courses available for that state or provinces...
- Page 10 “New, Latest, or Renovated”. Choosing one of these options will narrow down the list, and only show the selection you wish to view. A total number of courses in GolfBuddy’s course library can be found towards the bottom of the window under the right column. (fig. 27) New - Newly mapped courses that have been updated to GolfBuddy’s library but have not been loaded...
-
Page 11: Device Tab
3. Device Tab Allows you to customize your GolfBuddy’s welcome screen with images or logos that will appear each time your GolfBuddy is powered on, and allows you to type in your user information (name / phone number). Also allows you to perform software updates as they become available. - Page 12 (3.2.1 Continued) Important Note: after choosing a logo, you must click the green button labeled “Download User Information” to save your logo on your unit. (fig. 41) To set your Sub Logo and Main logo, click on the drop menu (fig. 42) make a selection, and repeat the steps to insert an additional logo.
- Page 13 2. Score The GolfBuddy allows you to track and store scores for up to 1000 rounds in the unit. The score function on the GB Manager makes it easy for you to view your list of scores by categorizing them into folders that are sorted by the course name.
- Page 14 3. Device Allows you to customize your GolfBuddy’s welcome screen with images or logos that will appear each time your GolfBuddy is powered on, and allows you to type in your user information (name / phone number). Also allows you to perform software updates as they become available.
- Page 15 (3.2.1 Continued) Important Note: after choosing a logo, you must click the green button labeled “Download User Information” to save your logo on your unit. (fig. 41) To set your Sub Logo and Main logo, click on the drop menu (fig. 42) make a selection, and repeat the steps to insert an additional logo.
-
Page 16: Firmware Upgrade
4. Firmware Upgrade If your GolfBuddy unit is in need of a firmware upgrade, a message prompting you to “Please Upgrade Firmware” will appear and flash on the upper right corner of the GB Manager window. (fig. 45) 4.1 Performing Firmware Upgrade 4.1.1 To begin performing the firmware upgrade, click on the small white box next to the “Please... - Page 17 Once the download is complete, another Security Warning will appear. (fig. 48) Click run again. (fig. 49) 4.1.2 Next, a “GolfBuddy Firmware Upgrade” window will appear. (fig. 50) Click “Start Upgrade (Bootloader + Firmware) and wait for the progress bar to indicate that the installation is complete.
Need help?
Do you have a question about the GolfBuddy I and is the answer not in the manual?
Questions and answers