
Subscribe to Our Youtube Channel
Related Manuals for Daikin REQ-BW1


Summary of Contents for Daikin REQ-BW1
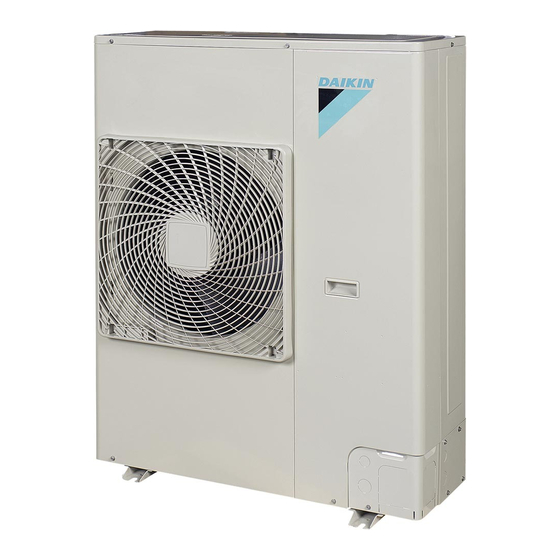
- Page 1 INSTALLATION MANUAL Split System air conditioners REQ71B7V3B REQ100B7V3B REQ71B7W1B REQ100B7W1B REQ125B7W1B...
- Page 2 B 2 B 2 D 2 D 2 D 2 D 2 L 1 L 1 B 1 B 1 L 2 L 2 D 1 D 1 (1000) B 2 B 2 D 2 D 2 D 2 D 2 (1500) L 1 L 1 B 1 B 1...
- Page 3 3PW14488-6E...
-
Page 4: Table Of Contents
Make sure that all wiring is secure, using the specified OTHER DAMAGE TO THE EQUIPMENT. BE SURE ONLY wires and ensuring that external forces do not act on TO USE ACCESSORIES MADE BY DAIKIN WHICH ARE the terminal connections or wires. SPECIFICALLY DESIGNED FOR USE WITH THE Incomplete connection or fixing may cause a fire. -
Page 5: Before Installation
EFORE INSTALLATION CAUTION Ground the air conditioner. Since design pressure is 4.15 MPa or 41.5 bar, pipes of Grounding resistance should be according to national larger wall thickness may be required. Refer to "Selection regulations of piping material" on page 4 Do not connect the earth wire to gas or water pipes,... -
Page 6: Selecting Installation Site
When installing the unit in a place frequently exposed to snow, ELECTING INSTALLATION SITE pay special attention to the following: Select an installation site where the following conditions are Elevate the foundation as high as possible. satisfied and that meets with your customer's approval. Remove the rear suction grille to prevent snow from Places which are well-ventilated. -
Page 7: Installation Servicing Space
In case of installing multiple units (2 units or more) in lateral NSTALLATION SERVICING SPACE connection per row. The numerical figures used in here represent the dimensions for the 71-100-125 class models. Figures between ( ) indicate the dimensions for the 100-125 class models. (Unit: mm) (Refer to "Precautions on installation"... -
Page 8: Precautions On Refrigerant Piping
Refrigerant pipe size When using existing refrigerant piping Pay attention to the following points when using existing Pair system (See figure 2) refrigerant piping In the following situations, the existing piping should not be Refrigerant pipe size re-used and new piping should be installed. Gas pipe - If the previously used model had problems with its Class... - Page 9 Preventing foreign objects from entering How to use the shut-off valve Plug the pipe through-holes with putty or insulating material Use hexagonal wrenches 4 mm and 6 mm. (procured locally) to close up all gaps, as shown in the figure. Opening the valve Place the hex wrench on the valve bar and turn counter- clockwise.
-
Page 10: Evacuating
Cautions for brazing Be sure to insulate the liquid and gas-side field piping. Be sure to carry out a nitrogen blow when brazing. NOTE Any exposed piping may cause condensation or burns Brazing without carrying out nitrogen replacement or releasing if touched. -
Page 11: Charging Refrigerant
Total charging weight of the refrigerant (after a leak, NOTE Following should be executed if there is a possibility of etc.) moisture remaining in the pipe (if piping work is carried out during the raining season or over a long period of time, When the entire refrigerant pipe length is within 7.5 meters, charge rainwater may enter the pipe during work). -
Page 12: Electrical Wiring Work
When cables are routed from the unit, a protection sleeve for the LECTRICAL WIRING WORK conduits (PG-insertions) can be inserted at the knock-out hole. (See figure 4) All wiring must be performed by an authorized Inside electrician. Outside All components procured on the site and all electric Wire construction should comply with the applicable local Bush... -
Page 13: Test Operation
Specifications of standard wiring components At first test-run of the unit, the valves are checked if they are not closed. Therefore the unit starts in cooling mode (even if the remote controller is set to heating mode) for about 2-3 minutes Power supply and then switches automatically to heating mode. -
Page 14: Wiring Diagram
IRING DIAGRAM : Field wiring : Black : Live : Blue : Neutral : Orange : Terminal : Red : Connector : White : Protective earth (screw) : Yellow : Short circuit connector A1P ......Printed circuit board Q1M,Q2M ....Thermo switch (M1F-M2F) BS1 ...... - Page 15 NOTES NOTES...
- Page 16 Zandvoordestraat 300, B-8400 Oostende, Belgium 4PWEN19495-1B...
Need help?
Do you have a question about the REQ-BW1 and is the answer not in the manual?
Questions and answers