Advertisement
INSTALLATION MANUAL
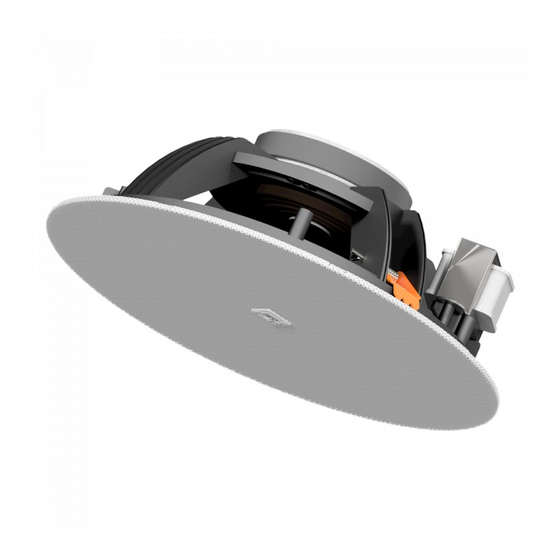
CENA SERIES SPRING-FIT™ CEILING SPEAKERS
STEP 1
Cut a hole on the desired mounting location in the
ceiling. Make sure the dimension is matching the
cut-out measurement for the installing loudspeaker
•
CENA506 = Ø 150 mm
•
CENA706 = Ø 167 mm
•
CENA812 = Ø 207 mm
Double check if there are no cables or other
obstructions behind the mounting surface before
making the cut-out.
STEP 3
Bend the spring loaded mounting arms inwards by
pushing them by fingers, making them fit through the
provided ceiling cut-out.
STEP 2
Connect the wires coming from the amplifier to
the terminal block connector on the rear of the
loudspeaker.
The correct power tapping is chosen by connecting the
appropriate terminals of the connector. A description
of the power tap selection is shown on the magnet
sticker on the rear side of the loudspeaker.
CENA506/CENA706:
•
Red: 6 Watt / 1667 Ω
•
White: 3 Watt / 3333 Ω
•
Black: COM
CENA812:
•
Red: 12 Watt / 833 Ω
•
White: 6 Watt / 1667 Ω
•
Black: COM
STEP 4
Insert the speaker through the provided ceiling cut-
out, make sure the spring loaded mounting arms are
behind the clamping surface and release them. The
ceiling is clamped between the mounting arms and
the speaker baffle and is installed correctly.
The speaker is now ready for use.
Advertisement
Table of Contents

Related Manuals for AUDAC SPRING-FIT CENA812


Summary of Contents for AUDAC SPRING-FIT CENA812
- Page 1 INSTALLATION MANUAL CENA SERIES SPRING-FIT™ CEILING SPEAKERS STEP 1 STEP 2 Cut a hole on the desired mounting location in the Connect the wires coming from the amplifier to ceiling. Make sure the dimension is matching the the terminal block connector on the rear of the cut-out measurement for the installing loudspeaker loudspeaker.
- Page 2 INSTALLATION MANUAL CENA SERIES SPRING-FIT™ CEILING SPEAKERS PRECAUTIONS • IF THERE IS ANY DAMAGE TO THE CARTON BOX • ALWAYS KEEP THESE INSTRUCTIONS FOR FUTURE OR THE UNIT ITSELF, INFORM YOUR VENDOR REFERENCE. NEVER THROW THEM AWAY • ALWAYS HANDLE THIS UNIT WITH CARE IMMEDIATELY.
Need help?
Do you have a question about the SPRING-FIT CENA812 and is the answer not in the manual?
Questions and answers