Sign In
Upload
Download
Table of Contents
Contents
Add to my manuals
Delete from my manuals
Share
URL of this page:
HTML Link:
Bookmark this page
Add
Manual will be automatically added to "My Manuals"
Print this page
×
Bookmark added
×
Added to my manuals
Manuals
Brands
Makita Manuals
Lawn Mower
DLM460PG2
Instruction manual
Makita DLM460PG2 Instruction Manual
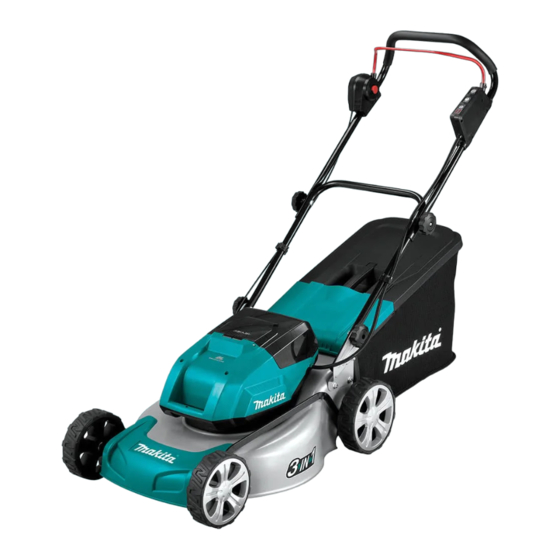
Cordless lawn mower
Hide thumbs
1
2
3
4
5
6
7
8
9
10
11
12
13
14
15
16
17
18
19
20
Table Of Contents
21
page
of
21
Go
/
21
Contents
Table of Contents
Troubleshooting
Bookmarks
Table of Contents
Specifications
Intended Use
EC Declaration of Conformity
Safety Warnings
Save All Warnings and Instruc- Tions for Future Reference
Installing the Handle
Installing the Grass Basket
Functional Description
Installing or Removing Battery Cartridge
Overload Protection
Overheat Protection
Overdischarge Protection
Control Panel
Main Power Switch
Adjusting the Mowing Height
Adjusting the Handle Height
Operation
Electronic Function
Emptying the Grass Basket
Maintenance
Carrying the Mower
Troubleshooting
Optional Accessories
Advertisement
Quick Links
Download this manual
INSTRUCTION MANUAL
Cordless Lawn Mower
DLM460
DLM461
Read before use.
Table of
Contents
Previous
Page
Next
Page
1
2
3
4
5
Advertisement
Table of Contents
Need help?
Do you have a question about the DLM460PG2 and is the answer not in the manual?
Ask a question
Questions and answers
Related Manuals for Makita DLM460PG2
Lawn Mower Makita DLM460 Instruction Manual
Cordless lawn mower (129 pages)
Lawn Mower Makita DLM460 Instruction Manual
Cordless lawn mower (121 pages)
Lawn Mower Makita DLM460 Instruction Manual
(117 pages)
Lawn Mower Makita DLM460 Instruction Manual
Cordless lawn mower (117 pages)
Lawn Mower Makita DLM460 Instruction Manual
Cordless lawn mower (116 pages)
Lawn Mower Makita DLM460 Instruction Manual
Cordless lawn mower (113 pages)
Lawn Mower Makita DLM460 Instruction Manual
Cordless lawn mower (112 pages)
Lawn Mower Makita DLM460 Instruction Manual
Cordless lawn mower (105 pages)
Lawn Mower Makita DLM460 Instruction Manual
Cordless lawn mower (93 pages)
Lawn Mower Makita DLM460 Instruction Manual
Cordless lawn mower (93 pages)
Lawn Mower Makita DLM460 Instruction Manual
Cordless lawn mower (93 pages)
Lawn Mower Makita DLM460 Instruction Manual
Cordless lawn mower (89 pages)
Lawn Mower Makita DLM460 Instruction Manual
Cordless lawn mower (52 pages)
Lawn Mower Makita DLM460 Instruction Manual
Cordless lawn mower (45 pages)
Lawn Mower Makita DLM460 Instruction Manual
Cordless lawn mower (28 pages)
Lawn Mower Makita DLM460 Instruction Manual
Cordless lawn mower (17 pages)
This manual is also suitable for:
Dlm461
Dlm460
Dlm460pt4
Dlm460pt2
Dlm460z
Table of Contents
Print
Rename the bookmark
Delete bookmark?
Delete from my manuals?
Login
Sign In
OR
Sign in with Facebook
Sign in with Google
Upload manual
Upload from disk
Upload from URL


Need help?
Do you have a question about the DLM460PG2 and is the answer not in the manual?
Questions and answers