
Subscribe to Our Youtube Channel
Related Manuals for SEWOO SLK-T21EB Series


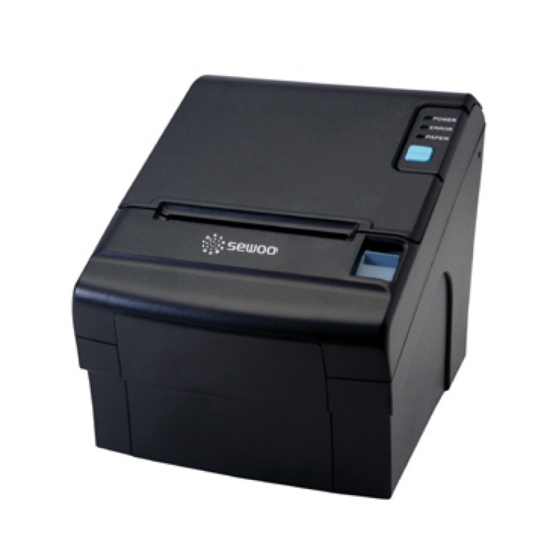
Summary of Contents for SEWOO SLK-T21EB Series
- Page 1 MODEL : SLK-T21EB Series Receipt Printer User’s Manual All specifications are subject to change without notice T21EB Rev. D 03/16...
-
Page 3: Table Of Contents
Table of Contents 1. Parts Identifications 1. Parts Identifications CONTROL PANEL 2. Setting up the printer Features LED indicators 2.1 Unpacking to indicate printer status and switches to operate PRINTER COVER 2.2 Connecting the cables the printer. Open this cover to 2.3 Loading the roll paper load or replace paper. -
Page 4: Setting Up The Printer
2. Setting Up the Printer 2-1. Unpacking 2-2. Connecting the Cables Your printer box should include these items. If any items are damaged or missing, please contact your You can connect up the cables required for printing to the printer. dealer for assistance. - Page 5 2-2-1. Interface Connector Ethernet Interface SIGNAL Data Out + Output Data + Data Out - Output Data - Ground Data IN + Input Data + Data IN - Input Data - <9 Pin Serial> <USB “B” Type> This equipment is indoor use and all the communication wirings are limited to inside of the building. 2-2-2.
-
Page 6: Loading The Roll Paper
2-3. Loading the Roll Paper 5. Be sure to note the correct direction that the paper comes off the roll. Notes: Be sure to use paper rolls that meet the specifications. Do not use paper rolls that have the paper glued to the core because the printer cannot detect the paper end correctly. (Turn off power switch) 1. -
Page 7: Adjustment Of Paper Width
2-4. Adjustment of paper width ♣CAUTION: When the paper is jammed with cutter, the top cover might be stuck. In this case, repeat power on 1. Please adjust the Paper Guide to fit to the paper width as the direction of arrow. and off several times. -
Page 8: Control Panel And Other Functions
3. Control panel and other functions 4. Self Test 3-1. Control panel The self-test result indicated whether the printer is operating properly. Also with this, user can check You can control the basic paper feeding operations of the printer with the button on the control panel. following options or status of the printer. -
Page 9: Ascii Print
5. ASCII Print 7. Hexadecimal Dump ASCII PRINT is printing a test page constructed ASCII code. You can able to check the printer works This feature allows experienced users to see exactly what data is coming to the printer. This can be properly with this useful in finding software problems. -
Page 10: Printer Cleaning
8. Printer cleaning 9. Specifications If the interior of the printer is dusty, printing quality can be lowered. Appendix A : Specifications In this case, follow the instructions below to clean the printer. 9-1. General Specifications ♣Note : (1) Printing Method Direct line thermal printing. -
Page 11: Auto Cutter Specifications
9-2. Auto Cutter Specifications ♣Important! (1) Cutting Frequency Max. 30 cuts per minute When connecting or disconnecting the power supply from the printer, be sure that the following cautions are observed. (2) Thickness of paper 0.06 ~ 0.09 mm (1) Use a power supply (Limited Power Supply) of DC 24V±10% and more than 1.75A. (2) Be careful about installing the printer in an area where there is noise. -
Page 12: Command List
10. Command List Command Function REMARKS Command Function REMARKS Horizontal tab ESC t Select character code table Print and line feed ESC { Turn upside-down printing mode on/off Print and carriage return FS p Print NV bit image Print and return to standard mode(in page mode) FS q Define NV bit image Cancel print data in page mode...
Need help?
Do you have a question about the SLK-T21EB Series and is the answer not in the manual?
Questions and answers