Table of Contents
Advertisement
Quick Links
Advertisement
Table of Contents

Related Manuals for Envision EN7450


Summary of Contents for Envision EN7450
-
Page 2: Table Of Contents
TECHNICAL SPECIFICATIONS PRECAUTIONS The monitor may be damaged if placed too near a source of heat. Be aware of the location of radiators, cookers, open fires etc. Do not cover the slots and openings on the back or top of the cabinet as the monitor requires ventilation. -
Page 3: Caring For Your Lcd Monitor
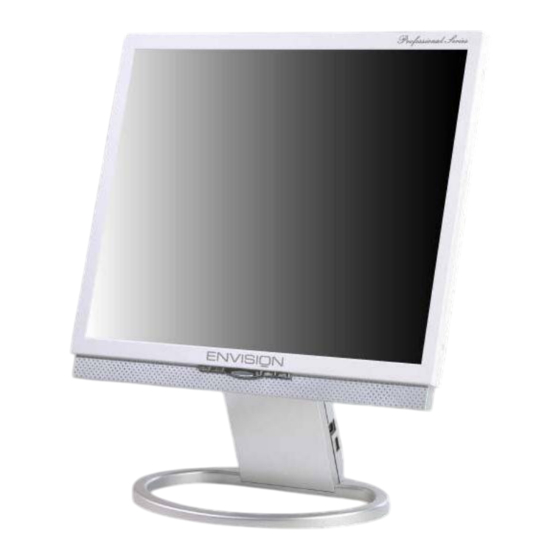
Carefully lift the monitor out of the packaging and make sure that all components are included (see fig. 1). Save the original box and packing material in case you have to ship or transport the monitor. To set up the device, you must fit the monitor base together. Monitor... -
Page 4: Connecting
2. Connect the 15-pin signal cable to the monitor and the computer. If you have a graphic card with a digital DVI-D connector (24-pin socket), then connect one end of the DVI-D cable to the DVI-D connector of your monitor, the other end to the computer. -
Page 5: Startup
STARTUP First start your computer and then turn on your monitor using the power switch. The status indicator should light up blue. Adjust the image to meet your requirements (see the following sections “Basic Setup" and “Image settings using the OSD menu"). -
Page 6: Image Settings Using The Osd Menu
IMAGE SETTINGS USING THE OSD MENU The OSD menu is a window on your screen that allows you to view and change display settings. To change an OSD setting: Press the MENU button ( ⑤ in fig. 4) to display the OSD menu on the screen. There are a total of 5 OSD submenus divided by categories. -
Page 7: Osd Menu Functions
OSD MENU FUNCTIONS Brightness/Contrast Brightness: Adjusts brightness by using the buttons < or > ( ① and ② in fig. 4). Contrast: Adjusts screen contrast by using the buttons < or > ( ① and ② in fig. 4). Image Control (not available in DVI digital mode) Auto Adjustment: Automatically selects the optimal settings for image parameters (image position, phase, etc.) by using the button MENU ( ⑤... - Page 8 Other Language: English, French, Spanish, Input: Controls the selection of the input signal. The monitor allows you to make the following connections: analog graphics card via the 15-pin mini D-Sub interface., digital graphics card via the 24-pin DVI-D interface. Speaker Volume: Adjusts the monitor loudspeaker output volume.
-
Page 9: Troubleshooting
Power indicator is off Make sure the power cable and the power adapter are connected properly (see section “Connecting" ). Make sure that the monitor was turned on using the power switch (see section “ Startup" ). Power indicator lights orange A screen saver may have activated automatically after a certain period of inactivity. -
Page 10: Technical Specifications
TECHNICAL SPECIFICATIONS Display Characteristics Display Type Viewable Diagonal Area Native (Maximum) Resolution Colors Dot Pitch User Interface Controls On-Screen Display Functions Input Signal Line Frequency Image Frequency (Refresh Rate) Video Signal Synchronization Signal Connection 17“ active matrix Thin Film Transistor Liquid Crystal Display 43.18 cm / 17”... - Page 11 Physical Characteristics Power Management Maximum Power Consumption Power Saving Mode Operating Voltage Dimensions (W x H x D) Weight Temperature (Operating) Air Humidity (Operating) Regulatory Certification Safety EMI/EMC Other Energy Star 40 Watts < 1 Watts Automatic switched mode power supply, 100 - 240 V, 50 - 60 Hz 368 x 420 x 173mm 3.3 kg...
Need help?
Do you have a question about the EN7450 and is the answer not in the manual?
Questions and answers