Edimax PS-2207SU Quick Installation Manual
Fast ethernet / wireless 11b/g print server with storage server (nas)
Hide thumbs
Also See for PS-2207SU:
- Compatibility listing (11 pages) ,
- Specifications (2 pages) ,
- User manual (92 pages)
Table of Contents
Advertisement
Quick Links
Download this manual
See also:
User Manual
Advertisement
Table of Contents

Related Manuals for Edimax PS-2207SU


Summary of Contents for Edimax PS-2207SU
-
Page 1: Quick Installation Guide
Quick Installation Guide Version: 1.0 (January, 2007) - Page 2 Č ý Anglického průvodce rychlou instalací aleznete na Č ý přiloženém CD s ovladači Finden Sie bitte das englische QIG beiliegend in der Treiber CD (German) ñ Incluido en el CD el QIG en Ingles. ñ ç Veuillez trouver l’anglais QIG ci-joint dans le CD ç...
-
Page 3: Product Introduction
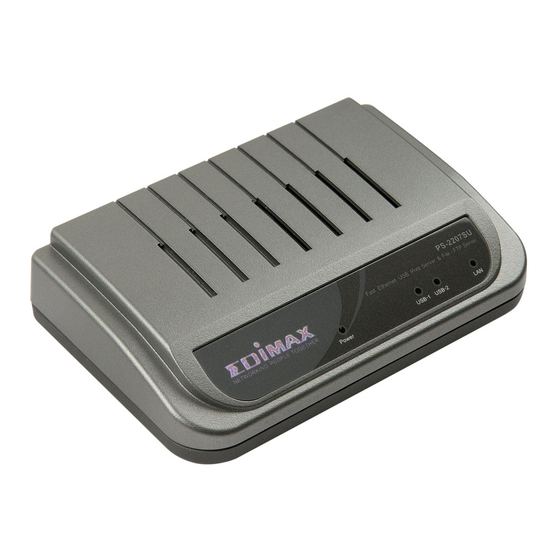
NAS (Network Attached Storage) system allowing user to share files in the storage. When the printer is connected, the device can be a print server allowing user to share printer through the network. -
Page 4: Product Package
2. Product Package This package contains the following components: One Print Server with Storage Server (NAS) One Dipole Antenna (only for Wireless model) One Power Adapter One Quick Installation Guide One CD-ROM (Including all the software utilities, drivers and User’s Manual) 3. - Page 5 can be run in Windows 98SE/Me/2000/XP. The following procedures are operated in Windows XP. (Procedures are similar for Windows 98SE/Me/2000.) 1. Insert the CD shipped along with the server into your CD-ROM drive. The Autorun.exe program should be executed automatically. If not, run Autorun.exe manually from “Autorun”...
- Page 6 4. Please enter user name and password to login the server. By default, the user name is “Admin” and password is “1234”. Click “Next” to continue. 5. The wizard will try to determine your network settings automatically. If a DHCP Server is present within the network, the wizard will automatically obtain and configure the network settings assigned by the DHCP Server to the server.
- Page 7 If no DHCP Server is present within the network, please assign the network settings of the server manually. Please click “Next” once you have found appropriate network settings for the server. By default, the network settings are as follows. IP Address: 192.168.2.5 Subnet Mask: 255.255.255.0 6.
- Page 8 7. The server is saving the settings and rebooting, please wait for a while. 8. The configuration is finished. For more settings, please click “Advanced Settings” to get into the web management of the server. Or click “Finish” to close the wizard.
-
Page 9: Print Server Installation
5. Print Server Installation This server provides a Print Server Setup tool for you to add the network port of the server to your computer automatically. After you have added the network port, you can run the standard “Add Printers” procedures in the... - Page 10 1. Insert the CD shipped along with the server into your CD-ROM drive. The Autorun.exe program should be executed automatically. If not, run Autorun.exe manually from “Autorun” folder in the CD. 2. The following screen will be displayed. Click “Print Server Utility”. 3. The “PrintServer Utilities” window will be displayed. Click “Next”.
- Page 11 4. Click “Next” to install the utilities in the default folder or click “Browse” to specify the destination folder where you would like to install the utilities. 5. The system will start to install the utilities automatically.
- Page 12 6. The “Remote Port Setup” is for you to add the network port of the print server to your computer. Please click “Add”. 7. Enter the “Print Server Name” and the “IP Address” of the server and also select the port number, then click “OK” to add the print server port to your computer.
- Page 13 8. The network port of the print server is set completely. Click “Exit”. 9. Click “Finish” to complete the installation.
-
Page 14: Add Printer
Add Printer After adding a “Network Port” of the print server to your PC, you can follow the procedure described below to add printer to the Windows. Note that following “Add Printer” steps are running in Windows XP, the steps in other Operating Systems are similar. - Page 15 4. Select “Local printer attached to this computer” and make sure that “Automatically detect and install my Plug and Play printer” is not selected. Click “Next”. 5. Choose the suitable “Print Server Network Port” which was created by the installation process and click “Next”.
- Page 16 6. Select the printer manufacturer and the printer model and click “Next”. If your printer is not in the list, click “Have Disk…” to install the driver of the printer. After installation, the printer model will be added to the list. 7.
- Page 17 8. Choose to print the test page or not. It is recommended to print a test page. Click “Next”. 9. You have added the printer to the PC successfully. The information of the printer is displayed in the windows. Click “Finish”. 10. Now you can start to print from your PC to the print server.
-
Page 18: File Server
6. File/FTP Server (NAS) Configuration The server provides FTP/File Server function, which let you share a USB storage device to all PCs in your Intranet/Internet. It supports SAMBA protocol in File Server, let you share files via Network Neighborhood. And also supports FTP Server for your FTP clients to upload/download files from the server. - Page 19 3. Set the share folders of the USB storage device, which are allowed to access by authorized users in the “Storage Server” menu of “FTP/File Server” page. Set the following information to identify your USB storage device on the network. Storage Name: By default the storage name is the last 6-digit of MAC ID with prefixes “MS”.
- Page 21 4. Access the share folder of the USB storage device. Double click “My Network Places” in Windows. You will find the USB storage device. Note: If you cannot find the device in “My Network Places”, you can click “Start” and select “Run….” Enter “\\IP Address of the server” to access the device.
- Page 22 Double click the device to logon to the folder. User Name: Please enter the user’s name who has been allowed to access the folder. Password: Please enter the user’s password. Note1: In Windows, multiple connections to a server or shared resource by the same user, using more than one user name, is not allowed.
- Page 23 6.2 FTP Server To set the USB mass storage or USB Flash Disk as FTP Server for your FTP clients to upload/download files from the server, please follow the procedures below. 1. Open your Web Browser and enter the IP address of the server to logon to the web management of the server.
- Page 24 3. Set the shared folders of the USB storage device which are allowed to access by authorized users in the “FTP Server” menu of “FTP/File Server” page. Please assign the shared folders and the user’s read/write authority. User: Select the user who has the right to access the FTP Server. Path: Designated the shared folder path.
Need help?
Do you have a question about the PS-2207SU and is the answer not in the manual?
Questions and answers