Table of Contents
Advertisement
Quick Links
Download this manual
See also:
User Manual
Advertisement
Table of Contents

Summary of Contents for Edimax PS-1216U
-
Page 1: Combo Print Server
Fast Ethernet Combo Print Server Quick Installation Guide Version: 1.0 (November, 2006) - Page 3 Č ý Anglického průvodce rychlou instalací aleznete na Č ý přiloženém CD s ovladači Finden Sie bitte das englische QIG beiliegend in der Treiber CD (German) ñ Incluido en el CD el QIG en Ingles. ñ ç Veuillez trouver l’anglais QIG ci-joint dans le CD driver ç...
-
Page 4: Product Introduction
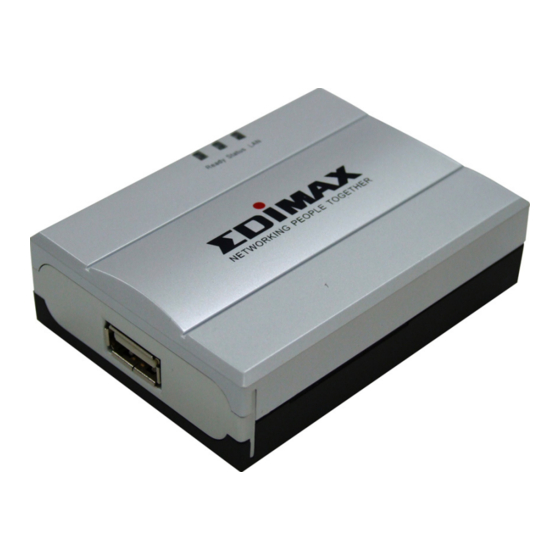
1. Product Introduction Thank you for purchasing Edimax Combo Print Server. This Print Server allows you to share a GDI/Host-based USB printer to the network users. GDI printer is a printer that has built-in support for Windows Graphical Device Interface (GDI), so it is no need to convert the output from Windows to another format such as PostScript or PCL language. -
Page 5: Product Package
2. Product Package This package contains the following components: One Combo Print Server One Power Adapter One Quick Installation Guide One CD-ROM (Including all the software utilities, drivers and User’s Manual) -
Page 6: Getting Started
1. Unpack the Print Server box and verify that all the items listed in the previous section are provided. 2. Plug the USB cable to the Print Server with the GDI printer that you want to share on the network. -
Page 7: Software Installation Procedure
Windows 2000 SP4 above or Windows XP SP1 above. Please follow the steps below to start installation. Tip: You have to uninstall all the Print Server drivers and utilities if you have installed the previous version. - Page 8 3. The “Print Server Utilities - InstallShield Wizard” is displayed, click "Next". 4. Click “Next” to install the Print Server utilities in the default folder or click “Change” to specify the destination folder where you would like to install the Print Server utilities.
- Page 9 5. The system starts installing the Print Server Utilities. 6. The utilities are all installed. Please click “Finish” to go to next step.
- Page 10 Please click “Next”. 8. The program will search the Print Server within the network. Select the Print Server you would like to setup and click “Next” to continue.
- Page 11 Print Server directly, please click “Cancel”. You will be led to Step 13. Following is the completed procedures for configuring the Print Server. Set the “Alias Name” what you like to the Print Server here. Click on “Next”.
- Page 12 IP Address: 192.168.2.2 Subnet Mask: 255.255.255.0 If you have selected “DHCP”, the Print Server will try to determine the network settings automatically. If a DHCP Server is present within the network, the Print Server will automatically obtain and configure the network settings assigned by the DHCP Server.
- Page 13 “Next” once you have found appropriate network settings for the Print Server. Note: The Print Server IP Address must be set to have the same network segment within your network environment or connected computer. If the network IP address settings are incorrect, then print server will not be able to communicate throughout the network.
- Page 14 The configurations are finished. Please click “Save” to apply new settings and restart the Print Server. The “Install Printer Driver” page allows you to install the printer drivers and bind your printer with the Print Server to your computer. Please click “Yes” to start the installation.
- Page 15 When the system stops prompting, the drivers are all installed. Please wait for a moment. 2. When the Print Server Drivers are all installed, the following screen is displayed. Before you click “Connect”, please put your GDI printer’s installation CD to your CD-ROM drive and read the manual of the CDI printer carefully.
- Page 16 3. The system starts to connect the printer to print server and automatically search and install the GDI printer’s drivers.
- Page 17 4. You will see some prompt messages in the system tray. If there is driver needed you to manually install. In the “Found New Hardware Wizard”, please select “No, not this time” and click “Next” to continue. 5. Select “Install the software automatically (Recommended)” and click “Next”.
- Page 18 6. Select the correct driver and click “Next”. 7. After the driver is installed, click “Finish”.
- Page 19 After the drivers are installed completely (no more prompt message). Your GDI printer has been bound with the Print Server to your computer. Please click “Print Test Page” to confirm that you can print through the network successfully Tip1: Before you click “Print Test Page” or “Finish”, please make sure the printer drivers and utilities are all installed.
- Page 20 Congratulations, the printer is installed successfully. The installed printer will be added to the “Printers & Faxes” in the Windows. If you want to print documents, please select “Printer Model Name(Network)”. The following message will alert you to restart your computer before you start using the network printer.
- Page 21 3.2.1.1 Using GDI Printer After restarting the computer, you will find there are two printer icons added to “Printers and Faxes” in the Windows. The “Printer Model Name(Network)” will stand for the printer. If you want to print a file or document, please print to “Printer Model Name(Network)”.
-
Page 23: Print Server Utilities
Section 3.2, you can run this setup wizard to install the printer drivers and bind the Print Server to your computer. Server Manager – Allows you to configure the Print Server’s IP Address, network protocols and other advanced features.


Need help?
Do you have a question about the PS-1216U and is the answer not in the manual?
Questions and answers