Table of Contents
Advertisement
Quick Links
All about the
Use
of your
Product Record and Registration . . . . . . . . . . . . . . 2
Important Safety Instructions . . . . . . . . . . . . . . . . . 3
Before Setting Surface Controls . . . . . . . . . . . . . . . 9
Setting Surface Controls . . . . . . . . . . . . . . . . . . . . 12
Before Setting Oven Controls . . . . . . . . . . . . . . . . 15
www.frigidaire.com USA 1-800-944-9044
&
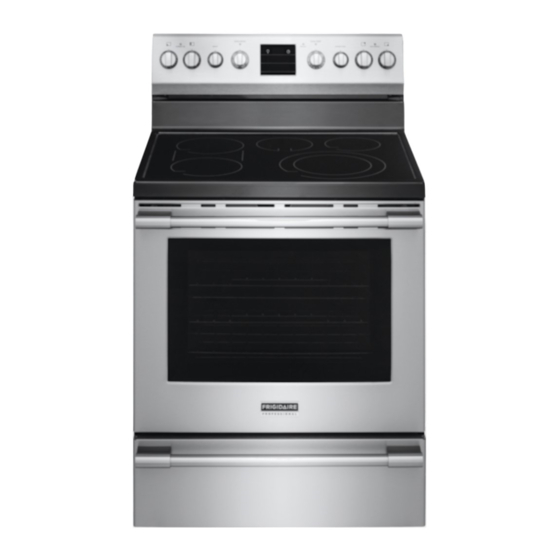
Electric Range
TABLE OF CONTENTS
www.frigidaire.ca Canada 1-800-265-8352
Care
Setting Oven Controls . . . . . . . . . . . . . . . . . . . . . . 16
Care and Cleaning . . . . . . . . . . . . . . . . . . . . . . . . 31
Before You Call . . . . . . . . . . . . . . . . . . . . . . . . . . . 36
Warranty . . . . . . . . . . . . . . . . . . . . . . . . . . . . . . . . 39
Advertisement
Table of Contents


Need help?
Do you have a question about the FPEF3077QFG and is the answer not in the manual?
Questions and answers