Sign In
Upload
Download
Table of Contents
Contents
Add to my manuals
Delete from my manuals
Share
URL of this page:
HTML Link:
Bookmark this page
Add
Manual will be automatically added to "My Manuals"
Print this page
×
Bookmark added
×
Added to my manuals
Manuals
Brands
DeDietrich Manuals
Oven
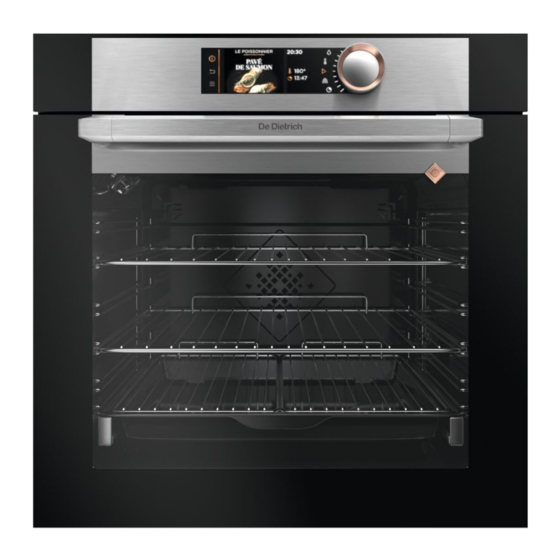
DOP7785X
User manual
DeDietrich DOP7785X User Manual
Hide thumbs
1
2
Table Of Contents
3
4
5
6
7
8
9
10
11
12
13
14
15
16
17
18
19
20
21
22
23
24
25
26
27
28
29
page
of
29
Go
/
29
Contents
Table of Contents
Bookmarks
Table of Contents
Table of Contents
Description of the Oven
The Controls and Display
The Accessories
Initial Settings - Using the Oven for the First Time
The Cooking Modes
Expert" Mode
Cooking Functions
Drying
Favourites (Saved Cooking)
Recipes" Mode
Chef" Mode
Low Temperature" Mode
Pastry" Mode
Settings
º Time
Language
Sound
Demo Mode
Lamp Management
Locking the Controls
Minute Minder
Cleaning and Maintenance
External Surface
Removing the Shelf Runners
Cleaning the Inner Glass
Removing and Putting Back the Door
Cleaning Function (Pyrolysis)
Replacing the Light Bulb
Anomalies and Solutions
After-Sales Service
Advertisement
Quick Links
Download this manual
EN USER GUIDE
OVEN
Table of
Contents
Previous
Page
Next
Page
1
2
3
4
5
Advertisement
Table of Contents
Need help?
Do you have a question about the DOP7785X and is the answer not in the manual?
Ask a question
Questions and answers
Related Manuals for DeDietrich DOP7785X
Oven DeDietrich DOP760XS User Manual
(19 pages)
Oven DeDietrich DOP7574G User Manual
(28 pages)
Oven DeDietrich DOP 770 XS User Manual
(23 pages)
Oven DeDietrich DOP770 Series User Manual
(200 pages)
Oven DeDietrich DOP 750 User Manual
(200 pages)
Oven DeDietrich DOP740X User Manual
(136 pages)
Oven DeDietrich DOP7574A User Manual
(27 pages)
Oven DeDietrich DOP7780X User Manual
(29 pages)
Oven DeDietrich DOP7200BM User Manual
(19 pages)
Oven DeDietrich DOP350 Series Manual
(30 pages)
Oven DeDietrich DOP499 Series Manual
(156 pages)
Oven DeDietrich DOP8786A Manual
(690 pages)
Oven DeDietrich DOP8785X User Manual
(32 pages)
Oven DeDietrich DOP8785A User Manual
(32 pages)
Oven DeDietrich DOP8574 Series User Manual
(190 pages)
Oven DeDietrich DOP4546HT User Manual
(562 pages)
This manual is also suitable for:
Dop7780x
Table of Contents
Print
Rename the bookmark
Delete bookmark?
Delete from my manuals?
Login
Sign In
OR
Sign in with Facebook
Sign in with Google
Upload manual
Upload from disk
Upload from URL


Need help?
Do you have a question about the DOP7785X and is the answer not in the manual?
Questions and answers