Sign In
Upload
Download
Table of Contents
Contents
Add to my manuals
Delete from my manuals
Share
URL of this page:
HTML Link:
Bookmark this page
Add
Manual will be automatically added to "My Manuals"
Print this page
×
Bookmark added
×
Added to my manuals
Manuals
Brands
Atag Manuals
Oven
CX4574M/A03
Instructions for use manual
Atag CX4574M/A03 Instructions For Use Manual
Hide thumbs
1
2
Table Of Contents
3
4
5
6
7
8
9
10
11
12
13
14
15
16
17
18
19
20
21
22
23
24
25
26
27
28
29
30
31
32
33
34
35
36
37
38
39
40
41
42
43
44
45
46
47
48
49
50
51
52
page
of
52
Go
/
52
Contents
Table of Contents
Bookmarks
Table of Contents
Table of Contents
Your Oven
Introduction
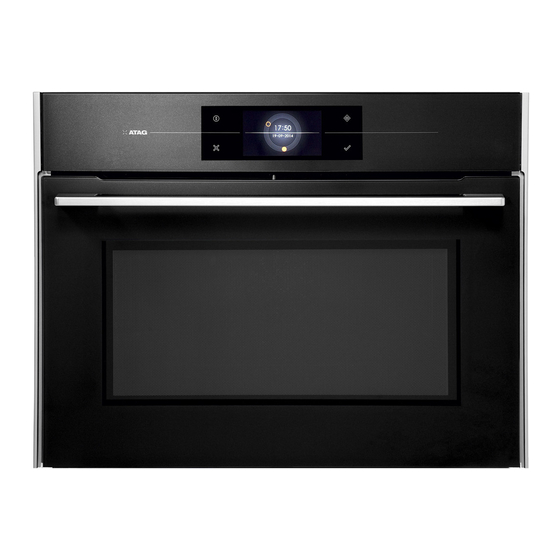
Control Panel
Description
Guide Rails/Telescopic Guide Rails
Accessories
Door
Cooling Fan
Touch Screen
Main Displays
Function-Setting Display
Stand-By Display
Initial Use
Operation
Using the 'Plus' Menu
Opening the Keyboard
Use
Oven Function
Using the Microwave
Microwave Function
Using the 'Extras' Functions
Functions Table
Delayed Start
Stage Cooking
Additional Functions
Settings
Cleaning
Cleaning the Appliance
Steam Clean
Removing and Cleaning the Guide Rails
Replacing the Oven Light Bulb
Solving Problems
General
Your Oven and the Environment
Disposal of the Appliance and Packaging
Cooking Test
Food Tested in Compliance with the en 60350-1 Standard
Food Tested in Compliance with the en 60705-2 Standard
Advertisement
Quick Links
Download this manual
Instructions for use
oven
CX4574M
Table of
Contents
Previous
Page
Next
Page
1
2
3
4
5
Advertisement
Table of Contents
Need help?
Do you have a question about the CX4574M/A03 and is the answer not in the manual?
Ask a question
Questions and answers
Related Manuals for Atag CX4574M/A03
Ranges Atag CX4574M Instructions For Use Manual
(94 pages)
Oven Atag CX4511C Instructions For Use Manual
(28 pages)
Oven Atag CX4592C Instructions For Use Manual
(32 pages)
Oven Atag CX4595C Instructions For Use Manual
(32 pages)
Oven Atag CX46 D Series Manual
Combi-magnetron oven (164 pages)
Oven Atag CX4611C Instructions For Use Manual
(32 pages)
Oven Atag CX4692C Instructions For Use Manual
(32 pages)
Oven Atag CX4612C Instructions For Use Manual
(32 pages)
Oven Atag CX4574MN Instructions For Use Manual
(52 pages)
Oven Atag CX46 C Series Instructions For Use Manual
(128 pages)
Oven Atag CX4695C/A01 Instructions For Use Manual
(32 pages)
Oven Atag CX4511D Instructions For Use Manual
Combi microwave oven (44 pages)
Oven Atag CX4592D Instructions For Use Manual
Combi microwave oven (76 pages)
Oven Atag CX45 C Series Instructions For Use Manual
(128 pages)
Oven Atag CX45 C Series Instructions For Use Manual
(32 pages)
Oven Atag CX14411A Instructions For Use Manual
(224 pages)
This manual is also suitable for:
Cx4574m
Cx4574m/a08
Cx4574mn/a15
Cx4574m/a09
Cx4574mn/a01
Cx4574mn
...
Show all
Cx4574m/a01
Table of Contents
Print
Rename the bookmark
Delete bookmark?
Delete from my manuals?
Login
Sign In
OR
Sign in with Facebook
Sign in with Google
Upload manual
Upload from disk
Upload from URL


Need help?
Do you have a question about the CX4574M/A03 and is the answer not in the manual?
Questions and answers