Table of Contents
Advertisement
Quick Links
REFRIGERATOR - FREEZERS
Models
BEFORE USE, PLEASE READ AND FOLLOW ALL SAFETY RULES AND
OPERATING INSTRUCTIONS.
Keep proof of original sales date (such as your sales slip) with this
manual to establish the warranty period.
Write the Model and Serial Numbers here. You'll find them on a plate
located either on the back of the appliance or on an interior wall.
Model No. _____________________________
Serial No. _____________________________
FF1084W
FF1085SS
FF1386W
FF1387SS
Use and Care Guide
Felix Storch, Inc.
As ISO 9001:2008 registered company
770 Garrison Avenue
Bronx, NY 10474
www.summitappliance.com
FF1071W
FF1072B
FF1073SS
FF1371W
FF1373SS
Advertisement
Table of Contents

Related Manuals for Summit FF1386W


Summary of Contents for Summit FF1386W
- Page 1 REFRIGERATOR - FREEZERS Models FF1084W FF1071W FF1085SS FF1072B FF1386W FF1073SS FF1387SS FF1371W FF1373SS Use and Care Guide BEFORE USE, PLEASE READ AND FOLLOW ALL SAFETY RULES AND OPERATING INSTRUCTIONS. Keep proof of original sales date (such as your sales slip) with this manual to establish the warranty period.
-
Page 2: Important Safeguards
IMPORTANT SAFEGUARDS Before the refrigerator-freezer is used, it must be properly positioned and installed as described in this manual, so read the manual carefully. To reduce the risk of fire, electrical shock or injury when using this appliance, follow basic precautions, including the following: ... -
Page 3: Risk Of Child Entrapment
DANGER! Risk of child entrapment! Child entrapment and suffocation are not problems of the past. Junked or abandoned refrigerators are still dangerous, even if they will "just sit in the garage a few days." Before you throw away your old refrigerator: Take off the doors. Leave the shelves in place so that children may not easily climb inside. -
Page 4: Location Of Parts
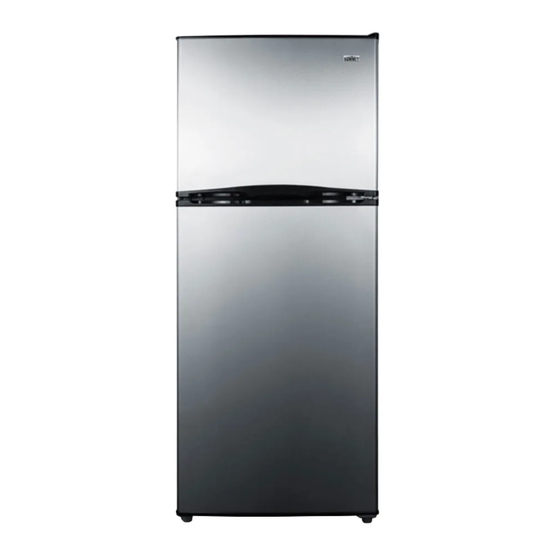
Location of Parts The figure below represents this series of refrigerator-freezers, which have similar structures but different capacities. 1. Thermostat 2. Temperature control panel 3. Refrigerator shelf 4. Crisper 5. Adjustable foot 6. Freezer shelf 7. Freezer door shelf 8. Switch for internal light 9. -
Page 5: Installation
Installation CAUTION: After unpacking you MUST allow this appliance to stand upright for at least 2 hours to allow the lubricant and refrigerant to drain back into the compressor and stabilize. Failure to do so may adversely affect performance and the lifetime of this unit. Unpacking Your Refrigerator-Freezer: WARNING: Use two or more people to move this appliance. -
Page 6: Operation
Leveling: If the appliance is not leveled during installation, the doors may not close or seal properly, causing cooling, frost, or moisture problems. It is very important for the refrigerator-freezer to be level in order to function properly. To level your refrigerator-freezer you may either turn the adjustable foot clockwise to raise that side of the appliance or turn it counter-clockwise to lower that side. -
Page 7: Fresh Food Storage
If there is a malfunction, the appropriate LED combination will show the failure code (see chart below): Fault indication Display Malfunction LEDs 1 and 2 are lit Refrigerator temperature sensor circuit LEDs 1 and 3 are lit Freezer defrost sensor LEDs 1 and 4 are lit Ambient temperature sensor In case of a malfunction, notify SUMMTI®... -
Page 8: Cleaning And Maintenance
Freezing Fresh Food Ensure that your freezing operations are carried out under the most hygienic conditions as freezing alone does not sterilize the food. It is advisable to freeze the food by packing it into separate meal portions and not in bulk form. - Page 9 Changing the Reversible Door: Before reversing the door swing, be sure the appliance is unplugged and empty. Provide additional support for the doors while hinges are being removed. Do not depend on the door magnets to hold the door in place. It is recommended that two people perform this task.
- Page 10 Remove right pin assemblies from the bottom Place the refrigerator door on the bottom hinge. Be of the freezer and refrigerator doors. On the sure the door is aligned horizontally and vertically. opposite side, attach the replacement pin Attach middle hinge to refrigerator door and attach assemblies (located in the plastic bag with the bolt washer to the back of the hinge, then fix them Use and Care Manual) with a screwdriver.
-
Page 11: Troubleshooting
Requesting Assistance or Service: If the problem is not due to one of the items listed in Troubleshooting, contact the dealer or authorized service company. You can also call our SUMMIT® Customer Service line at 1-800-932-4267 weekdays from 8:30 AM to 5:00PM (ET). -
Page 12: Limited Warranty
Limited Warranty ONE-YEAR LIMITED WARRANTY Within the 48 contiguous United States, for one year from the date of purchase, when this appliance is operated and maintained according to instructions attached to or furnished with the product, warrantor will pay for factory-specified parts and repair labor to correct defects in materials or workmanship.
Need help?
Do you have a question about the FF1386W and is the answer not in the manual?
Questions and answers