
Subscribe to Our Youtube Channel
Related Manuals for Icom F6220D 16 USA


Summary of Contents for Icom F6220D 16 USA
- Page 1 INSTRUCTION MANUAL VHF DIGITAL TRANSCEIVER iF5220D UHF DIGITAL TRANSCEIVER iF6220D...
-
Page 2: Important
See the operating guide for details of IDAS (ICOM Digital tion manual, may cause harmful interference to radio com- Advanced System) system operations. Ask your dealer for munications. -
Page 3: Precautions
Other microphones Icom, Icom Inc. and the Icom logo are registered trademarks of Icom have different pin assignments and may damage the trans- Incorporated (Japan) in Japan, the United States, the United King- ceiver. -
Page 4: Table Of Contents
VOICE CODING TECHNOLOGY TABLE OF CONTENTS IMPORTANT ................i The AMBE+2™ voice coding Technology embodied in this EXPLICIT DEFINITIONS ............i product is protected by intellectual property rights including FCC INFORMATION ............. i patent rights, copyrights and trade secrets of Digital Voice Sys- PRECAUTIONS .............. -
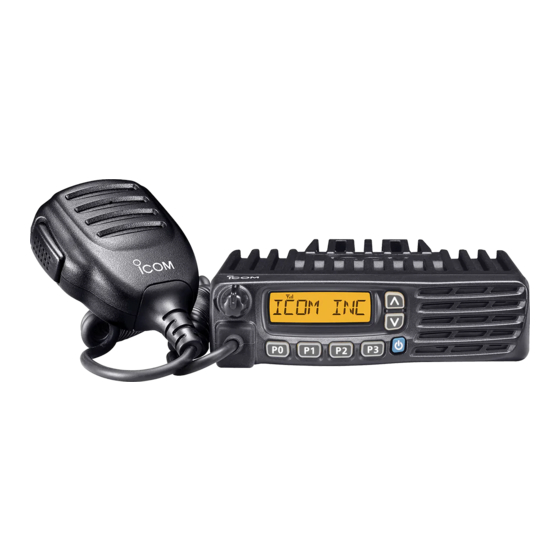
Page 5: Panel Description
PANEL DESCRIPTION Front panel ■ Function display (p. 2) Speaker q AF VOLUME CONTROL KNOB [VOL] r DEALER-PROGRAMMABLE KEYS Rotate the knob to adjust the audio output level. Required functions can be independently programmed by • Minimum audio level is preprogrammed. (p. 8) your dealer. -
Page 6: Function Display
PANEL DESCRIPTION Function display ■ r LOW POWER ICON y u i Appears when low output power is selected. t AUDIBLE ICON In the analog mode, appears when the CTCSS (DTCS) ➥ squelch mute is released while holding down [Monitor]. In the digital mode, appears while holding down [Moni- ➥... -
Page 7: Programmable Function Keys
➥ • When a scan is started with the Power ON Scan or Automatic Consult your Icom dealer or system operator for details con- scan function, push this key to cancel it. The cancelled scan re- cerning your transceivers programming. - Page 8 PANEL DESCRIPTION Programmable function keys (Continued) ■ PRIORITY A CHANNEL, PRIORITY B CHANNEL LOCK Push to select the Priority A or Priority B channel. Hold down this key until “LOCK ON” is displayed to elec- ➥ tronically lock all programmable keys except the following: PRIORITY A CHANNEL (REWRITE), [Moni], [Lock], [Emergency]*, [Power OFF Emergency]*, PRIORITY B CHANNEL (REWRITE)
- Page 9 PANEL DESCRIPTION HOOK SCAN ANNOUNCE When the Hook Scan function is preprogrammed, push this Push to turn the Channel Announce function ON or OFF. key to temporarily disable the function. Push this key again to When this function is turned ON, the transceiver announces enable the function.
-
Page 10: Basic Operation
BASIC OPERATION Turning ON the power Channel selection ■ ■ Push [ ] to turn ON the power. There are several ways to select channels, and they may dif- If the transceiver is programmed for a start up password, fer, depending on your system set up. input the digit codes that were set by your dealer. -
Page 11: Receiving And Transmitting
BASIC OPERATION Receiving and transmitting ■ Transmitting notes Receiving: Hold down [ ] for 1 second to turn ON the power. • Transmit inhibit function Push [CH Up] or [CH Down] to select a channel. The transceiver has several inhibit functions which restrict When receiving a call, rotate [VOL] to adjust the audio out- transmission under the following conditions: put level to a comfortable listening level. -
Page 12: User Set Mode
BASIC OPERATION User Set mode Priority A channel selection ■ ■ The User Set mode allows you to set seldom-changed set- When one of the following operations is performed, the trans- tings. If the transceiver has [User Set Mode] assigned to it, ceiver automatically selects the Priority A channel. -
Page 13: Connection And Maintenance
CONNECTION AND MAINTENANCE Rear panel connection ■ q ANTENNA CONNECTOR e MICROPHONE HANGER Antenna Connect to an antenna. Ask your Connect the supplied micro- dealer about antenna selection phone hanger to the vehicle’s ground for microphone ON/OFF and placement. hook functions. (See page 1) w EXTERNAL SPEAKER JACK Connect to a 4 to 8 ø... -
Page 14: Supplied Accessories
CONNECTION AND MAINTENANCE Supplied Accessories ■ Microphone Microphone Microphone hanger Microphone and screw set hanger cable The supplied or optional microphone has a PTT switch and a hanger hook. • The following functions are available when the microphone is ON or OFF hook (depending on the preprogramming): - Automatic scan starts when you put it ON hook. -
Page 15: Mounting The Transceiver
CONNECTION AND MAINTENANCE Mounting the transceiver Antenna ■ ■ The universal mounting bracket supplied with your transceiv- A key element in the performance of any communication sys- er allows overhead mounting. tems is its antenna. Contact your dealer for more information •... -
Page 16: Cleaning
Approved Icom optional equipment is designed for optimal performance when used with an Icom transceiver. Icom is not responsible for the destruction or damage to an Icom transceiver in the event the Icom transceiver is used with equipment that is not manufactured or approved by Icom. -
Page 17: Safety Training Information
SAFETY TRAINING INFORMATION 3. IC-F5220D: Your Icom radio generates RF electromagnetic en- Transmit only when people outside the vehicle are at least the rec- ergy during transmit mode. This radio is designed ommended minimum distance of 100 centimeters away from the for and classified as “Occupational Use Only”,... - Page 18 “PTT” switch. Electromagnetic Interference/Compatibility During transmissions, your Icom radio generates RF energy that can possibly cause interference with other devices or systems. To avoid such interference, turn OFF the radio in areas where signs are posted to do so.
- Page 19 MEMO...
- Page 20 MEMO...
- Page 21 MEMO...
- Page 22 MEMO...
- Page 23 MEMO...
- Page 24 A-7079H-1EX-q Printed in Japan © 2013 Icom Inc. 1-1-32 Kamiminami, Hirano-ku, Osaka 547-0003, Japan Printed on recycled paper with soy ink.
Need help?
Do you have a question about the F6220D 16 USA and is the answer not in the manual?
Questions and answers