
Related Manuals for Caple RIF123


Summary of Contents for Caple RIF123
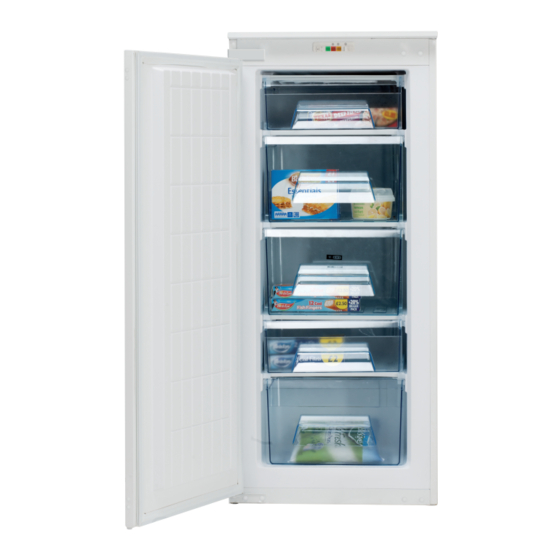
- Page 1 Instruction manual for built in freezer Model code: RIF123 Contact Caple on 0117 938 7420 or for spare parts www.caple.co.uk...
- Page 2 European Safety Certificate Compliance Declaration The manufacturer assumes full responsibility for the compliance of products manufactured with relevant safety, health and environmental protection requirements set out in European Directives. Test reports are available for verification upon request. The manufacturer will present the quality certificate or manufacture license to a refrigerator dealer if so required.
- Page 3 Compression-type appliances which use flammable refrigerants shall be marked with the symbol “Caution: risk of fire”. Caution:risk of fire The height of the triangle in the symbol “Caution: risk of fire” shall be at least 15 mm. – WARNING: Keep ventilation openings, in the appliance enclosure or in the built-in structure, clear of any obstruction.
-
Page 4: Table Of Contents
Important! Content Page 1. Environmental protection and correct disposal..2 It must be noted that refrigeration systems contain 2. Location..............2 refrigerants, which require specialized waste disposal. 3. Installation ..............2-3 Contact your local waste disposal center for proper 4. Rating plate..............3 disposal of an old appliance and contact your local 5. -
Page 5: Environmental Protection And Correct Disposal
Make sure the air vent is not obstructed. Any doubt, please contact Caple Customer Service for a thorough checkup of the appliance. Never unplug the refrigerator by pulling on the power cord. -
Page 6: Rating Plate
Warning! Write down the technical data for later reference to avoid the need for moving the refrigerator when such data are needed. After the refrigerator is positioned, allow it to stand still for at least 12 hours before star ting it up to ensure stable Model / Type refrigerant circulation and faultless operation. -
Page 7: Freezer Compartment
To select a lower temperature: Turn clockwise 2 The higher the temperature regulator is set, the lower the temperature within the freezer will be. To select a higher temperature: Turn anti-clockwise Normally, when food requires only short period of Turn temperature regulator counterclockwise to the lowest storage, select a medium setting. -
Page 8: Ice & Ice Cream Making
Making ice cubes: If a heat exchanger, i.e. condenser, is mounted on the back of refrigerator, dust and lint should be removed regularly to enable efficient heat dissipation and avoid · Add water to ice tray to 3/4 of its volume, place it at the excessive power consumption. -
Page 9: Problem Diagnosis
the evaporator surface may get damaged. frequently; Please check: · Wipe off defrosted water from time to time with sponge. · The refrigerator/freezer compartment should stand still for at least 2 hours after installation to stabilize the · Place a container of hot water (do not use boiling refrigerant circulation system. -
Page 10: During A Power Interruption
17. Warranty handle. · Defrost and clean the freezer compartment (see “Defrosting”). A thick ice layer will impede refrigeration The terms and conditions as well as the period of performance and increase power consumption. warranty are indicated in the enclosed warranty card. The dealer will brief you of the same upon purchase. - Page 11 Caple Fourth Way Avonmouth Bristol BS11 8DW www.caple.co.uk...
- Page 12 Installation guide Contact Caple on 0117 938 7420 or for spare parts www.caple.co.uk...
- Page 13 Positioning and installing the appliance Once the appliance has been unpacked, check the main voltage is the same as that indicated on the rating plate. If the door opening direction is as required, contine with the installation. Otherwise, reverse the position of the hinges.
- Page 14 Sealing gasket Fill the gap on the non-hinged side with the sealing gasket, as shown in the image to the left.
- Page 15 Once the slider has been fitted to to the furniture door please add the decorative cover to cover the screw fixings. This simply clips into place. Tip: It can help if the door slider blocks are fitted after the sliders have been fully fixed to the furniture door and the covers cliped into place.
- Page 16 GRILL/SENSE600. This can be purchased from your retailer or www.caple.co.uk. To ensure the correct operation of the appliance it is important the top of the housing is not blocked off. The top of the cabinet needs to be vented into the room, the recommended size of the vent opening is 500mm x 40mm.
- Page 17 (mm) (mm) (mm) (mm) RI556/RI558 1776 550-560 1778-1785 RI735/RI737 RIR179/RIL179 1776 550-560 1778-1785 RIF178 1574 1574 550-560 1576-1580 1440 1440 550-560 1442-1449 1440 1440 550-560 1442-1449 RIF123 1221 550-560 1223-1230 RIL124 1221 550-560 1223-1230 1020 550-560 1022-1028 RIL891/RIF89 550-560 873-880...
- Page 18 12. Check that doors are properly aligned with the appliance body. 13. Replace the hinge caps. 14. Switch on the appliance as described in the relevant section of its operating instruc- tions. * This action applies to appliances with both refrigeration and freezer chambers. www.caple.co.uk...
Need help?
Do you have a question about the RIF123 and is the answer not in the manual?
Questions and answers