Sign In
Upload
Download
Add to my manuals
Delete from my manuals
Share
URL of this page:
HTML Link:
Bookmark this page
Add
Manual will be automatically added to "My Manuals"
Print this page
×
Bookmark added
×
Added to my manuals
Manuals
Brands
STOVES Manuals
Stove
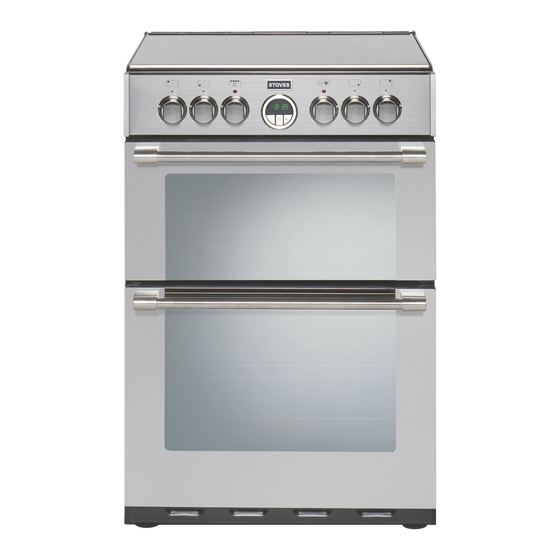
Sterling 600E
Users manual & installation handbook
STOVES Sterling 600E Users Manual & Installation Handbook
Hide thumbs
1
2
3
4
5
6
7
8
9
10
11
12
13
14
15
16
17
18
19
20
21
22
23
24
25
26
27
28
29
30
31
32
33
34
35
36
page
of
36
Go
/
36
Bookmarks
Advertisement
Quick Links
Download this manual
Users Guide & Installation
Handbook
Stoves
Freestanding Electric UK
Part No 083138504 Date 04/12/2014
Previous
Page
Next
Page
1
2
3
4
5
Advertisement
Need help?
Do you have a question about the Sterling 600E and is the answer not in the manual?
Ask a question
Questions and answers
Related Manuals for STOVES Sterling 600E
Stove STOVES SEC60DO Users Manual & Installation Handbook
(36 pages)
Stove STOVES SIHF604T User Manual
(21 pages)
Stove STOVES RICHMOND S900 DF User Manual
(73 pages)
Stove STOVES ST BI600G User Manual
(21 pages)
STOVES RICHMOND, PRECISION, STERLING DELUXE, D900DF Manual
(article)
Stove STOVES Richmond Installation Instructions Manual
110/100cm dual fuel (all models) (113 pages)
Stove STOVES Built In Fanned 60cm User Manual
(17 pages)
Stove STOVES K-TAM Installation And Operating Instructions Manual
(29 pages)
Stove STOVES 083645101 User Manual
(73 pages)
Stove STOVES Genus User Manual
Built in electric multifunction oven and grills, with genus functions (72 pages)
Stove STOVES EI User Manual
(48 pages)
This manual is also suitable for:
Richmond 550e
444440992
444449013
444441979
Print
Rename the bookmark
Delete bookmark?
Delete from my manuals?
Login
Sign In
OR
Sign in with Facebook
Sign in with Google
Upload manual
Upload from disk
Upload from URL


Need help?
Do you have a question about the Sterling 600E and is the answer not in the manual?
Questions and answers