Table of Contents
Advertisement
ATTENTION INSTALLING PERSONNEL
As a professional installer you have an obligation to know the product better than the customer. This includes all
Prior to actual installation, thoroughly familiarize yourself with this Instruction Manual. Pay special attention to all
safety warnings. Often during installation or repair it is possible to place yourself in a position which is more
Remember, it is your responsibility to install the product safely and to know it well enough to be able to instruct a
Safety is a matter of common sense...a matter of thinking before acting. Most dealers have a list of specific good
The precautions listed in this Installation Manual are intended as supplemental to existing practices.
there is a direct conflict between existing practices and the content of this manual, the precautions listed here take
IO-370A
May 2010
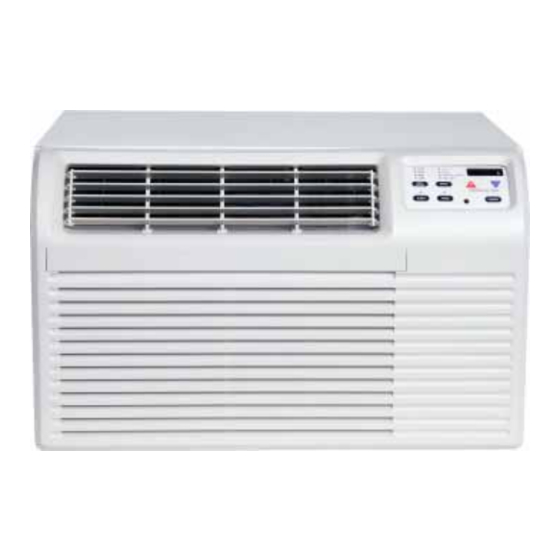
THROUGH THE WALL
ROOM AIR CONDITIONER
WITH OPTIONAL ELECTRIC HEAT
I
NSTALLATION
RECOGNIZE THIS SYMBOL AS A SAFETY PRECAUTION.
safety precautions and related items.
hazardous than when the unit is in operation.
customer in its safe use.
safety practices...follow them.
is a registered trademark of Maytag Corporation or its related companies and is used under
license to Goodman Company, L.P., Houston, TX. All rights reserved.
www.amana-ptac.com
© 2010 Goodman Company, L.P.
I
NSTRUCTIONS
precedence.
However, if
Advertisement
Table of Contents


Need help?
Do you have a question about the AHQ246 and is the answer not in the manual?
Questions and answers