
Subscribe to Our Youtube Channel
Related Manuals for Gorilla Carts GOR866D-C


Summary of Contents for Gorilla Carts GOR866D-C
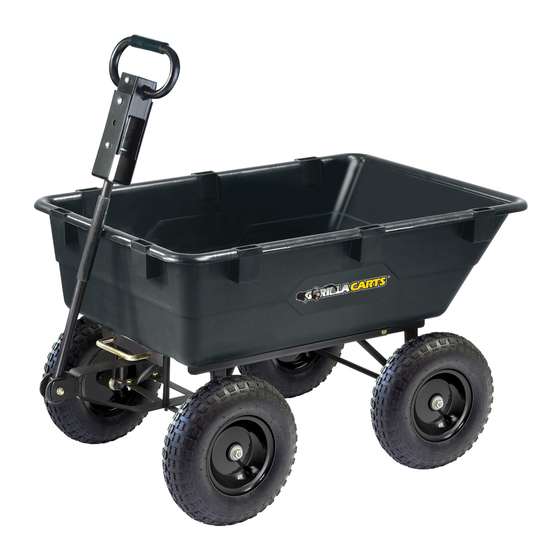
- Page 1 HEAVY DUTY GARDEN DUMP CART MODEL # GOR866D-C Questions, problems, missing parts? Before returning to your retailer, visit us online at www.tricam.com or call our customer service department at 1-800-867-6763, 9 a.m. - 4 p.m., CST, Monday-Friday. REV - PD...
-
Page 3: Package Contents
PACKAGE CONTENTS Part Description Quantity Tray Dump Lock Assembly Rear Strut Rear Frame Rear Axle Assembly Front Frame Front Strut Front Axle Assembly Wheel Handle Hardware Kit (see Hardware Contents for details) -
Page 4: Hardware Contents
HARDWARE CONTENTS Images are not to scale Description Part Description Quantity Picture Part Quantity Picture M8 x 60mm Internal Button Head Bolt Wheel Spacer M8 x 25mm Carriage Bolt M12 Flat M8 x 20mm Washer Carriage Bolt M8 x 20mm M8 Lock Nut Internal Button Head Bolt... - Page 5 PREPARATION Before beginning assembly of product, make sure all parts are present. Compare parts with package contents list and diagram above. If any part is missing or damaged, do not attempt to assemble the product. Contact customer service for replacement parts. Estimated Assembly Time: 30 minutes Tools Required for Assembly: Phillips screwdriver and metric socket set (or two adjustable wrenches).
- Page 6 ASSEMBLY INSTRUCTIONS Fig. 2 2. Attach the front struts (G) to connect the the front axle assembly (H) to the front frame (F) using four M8 x 20mm carriage bolts (CC), using four M8 lock nuts (JJ), and four M8 washers (FF), as shown in Fig.
- Page 7 ASSEMBLY INSTRUCTIONS Fig. 4 4. The rear axle assembly (E) attaches to the rear section of the rear frame (D). Double check the rear frame (D) placement before assembling to the tub. The side holes on the rear frame (D) must be towards the rear of FRONT the tray (A).
- Page 8 ASSEMBLY INSTRUCTIONS Fig. 7 5. Attach the rear axle assembly (E) with the rear struts (C) and the rear frame (D) to the tray (A) using five M8x25 carriage bolts (BB), one M8 x 20mm carriage bolts (CC), six M8 lock nuts (JJ), six M11 washers (GG), and six M8 washers (FF), as shown in Fig.
- Page 9 ASSEMBLY INSTRUCTIONS Fig. 8 6. Attach the rear frame (D) to the front frame (F) using two M8 x 25mm internal button head bolts (DD), two M8 lock nuts (II), and two M8 washers (FF), as shown in Fig. 8. Hardware Used M8 x 20mm M8 Lock Nut...
- Page 10 ASSEMBLY INSTRUCTIONS Fig. 10 8. Attach the four wheels (I) by first placing the wheel spacers (HH) onto each axle, then the wheels (I) and M12 flat washers (II), and M12 lock nuts (KK), as shown in Fig. 10. Hardware Used Wheel Spacer M12 Lock Nut M12 Flat Washer...
- Page 11 OPERATION INSTRUCTIONS Fig. 1 USING THE SWIVEL HANDLE 1. Remove clips and cotter pins. 2. Rotate the handle and insert cotter pin. Secure by attaching the clip. 3. The second cotter pin is used to attach the handle to the trailer hitch, as shown in Fig.
-
Page 12: Replacement Parts List
OPERATION INSTRUCTIONS Fig. 1 STAKE OUT SIDES To increase the cubic foot capacity of this item, these 8 pockets can be used to fit stake out side panels as shown. Actual pocket dimensions: 0.75in x 2.0in as shown in Fig. 1. REPLACEMENT PARTS LIST For replacement parts, visit us online at www.tricam.com to fill out a replacement parts submission form or call our customer service department at...
Need help?
Do you have a question about the GOR866D-C and is the answer not in the manual?
Questions and answers