Table of Contents
Advertisement
Quick Links
Advertisement
Table of Contents

Related Manuals for National 205-RLED


Summary of Contents for National 205-RLED
- Page 1 National Optical & Scientific Instruments Inc. 6508 Tri-County Parkway Schertz, Texas 78154 Phone (210) 590-9010 Fax (210) 590-1104 INSTRUCTIONS FOR MODEL 205-RLED (formerly Model 205) COMPOUND MICROSCOPE Copyright © 4/06/2010 National Optical & Scientific Instrument Inc.
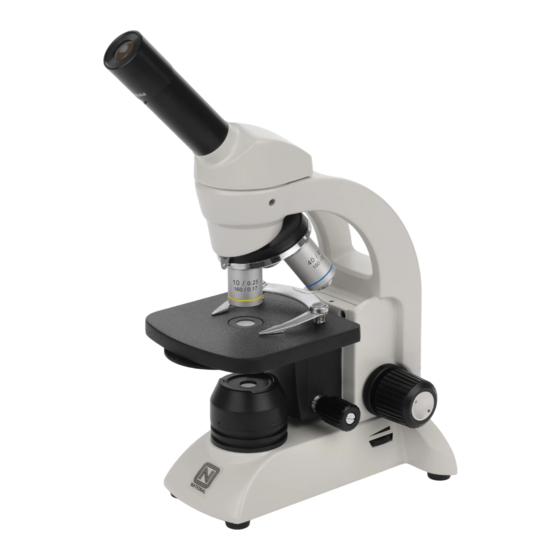
- Page 2 Eyepiece (ocular lens) Eyepiece tube Eyepiece Locking screw Head of microscope Objective turret (nosepiece) Safety rack stop Objective lens set screw Stage Linked single Tension adjustment control stage clips Disc diaphragm Coarse focus knob Condenser lens Illuminator field lens housing Base Rheostat control Fine focus knob...
- Page 3 For optimum viewing satisfaction, follow these simple procedures. Nomenclature used to describe components and controls can be identified by referring to the diagram at left. UNPACKING 1. Carefully remove microscope, WF10x eyepiece, dustcover, 2mm “L” hex wrench (for rack stop adjustment), 0.90mm “L”...
- Page 4 OPERATION 1. Place microscope directly in front of you in a manner which permits you to comfortably look into the eyepiece. Note that the head of microscope rotates 360º, permitting you to operate the microscope from the front or from the back, whichever is most convenient for you. It also permits convenient sharing of microscope by more than one user, by simply rotating head, without needing to move entire microscope.
- Page 5 10. Changing magnification. a. Magnification is changed by rotating objective turret until a different objective lens is moved into optical path. Always turn turret until you hear the “click”, indicating that lens is properly indexed. Otherwise, you will not be able to see anything when looking through the microscope. b.
- Page 6 If a microscope is returned to National for warranty repair, and it is determined that such contaminants are the problem, this is not covered under warranty and National will submit a cost estimate for cleaning.
- Page 7 b. Replacing batteries: Your microscope includes 3 rechargeable AA nickel metal hydride batteries. These may be recharged up to 500 times, but if you observe that a recharge is providing significantly less than 40 hours of operation. It is probably time to replace to batteries. IMPORTANT WARNING: DO NOT USE REGULAR ALKALINE BATTERIES IN THIS MICROSCOPE.
- Page 8 OPTIONAL ACCESSORIES AND PARTS: #610-045R WF10x eyepiece w/reticle, 10mm/100div. #615-045 WF15x eyepiece w/pointer #800-001 Replacement LED light #802-003 Auto cut-off recharger for rechargeable LED microscope #951 Dustcover, 16” tall x 13”, heavy vinyl with stitched seams. #975-001 Carrying case, anodized aluminum, fabric lining, accessory pockets, Velcro straps, keyed lock.
Need help?
Do you have a question about the 205-RLED and is the answer not in the manual?
Questions and answers