Table of Contents
Advertisement
Quick Links
Advertisement
Table of Contents

Related Manuals for AEG BES331111M


Summary of Contents for AEG BES331111M
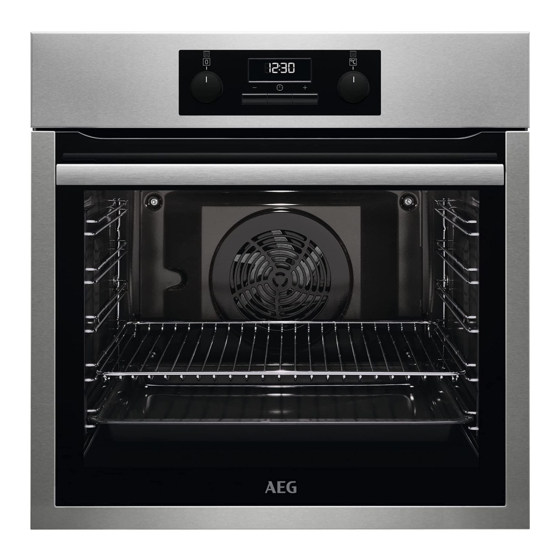
- Page 1 BES331111M User Manual Oven USER MANUAL...
-
Page 2: Table Of Contents
FOR PERFECT RESULTS Thank you for choosing this AEG product. We have created it to give you impeccable performance for many years, with innovative technologies that help make life simpler – features you might not find on ordinary appliances. Please spend a few minutes reading to get the very best from it. -
Page 3: Safety Information
SAFETY INFORMATION Before the installation and use of the appliance, carefully read the supplied instructions. The manufacturer is not responsible for any injuries or damage that are the result of incorrect installation or usage. Always keep the instructions in a safe and accessible location for future reference. -
Page 4: Safety Instructions
Always use oven gloves to remove or put in accessories or • ovenware. Before carrying out any maintenance, disconnect the • appliance from the power supply. WARNING: Ensure that the appliance is switched off before • replacing the lamp to avoid the possibility of electric shock. Do not use the appliance before installing it in the built-in •... - Page 5 • The electrical installation must have an isolation device which lets you disconnect Built in depth of the appli‐ 548 mm the appliance from the mains at all poles. ance The isolation device must have a contact Depth with open door 1022 mm opening width of minimum 3 mm.
- Page 6 • Open the appliance door carefully. The • Before maintenance, deactivate the use of ingredients with alcohol can cause appliance and disconnect the mains plug a mixture of alcohol and air. from the mains socket. • Do not let sparks or open flames to come •...
-
Page 7: Installation
3. INSTALLATION 3.1 Building in WARNING! Refer to Safety chapters. www.youtube.com/electrolux www.youtube.com/aeg How to install your AEG/Electrolux Oven - Column installation (*mm) min. 550 min. 560 (*mm) min. 550 min. 560 ENGLISH... -
Page 8: Product Description
3.2 Securing the oven to the cabinet 4. PRODUCT DESCRIPTION 4.1 General overview Control panel Knob for the heating functions Power lamp / symbol Display Control knob (for the temperature) Temperature indicator / symbol Heating element Lamp Shelf support, removable Shelf positions 4.2 Accessories •... -
Page 9: Control Panel
5. CONTROL PANEL 5.1 Sensor fields / Buttons To set the time. To set a clock function. To set the time. 5.2 Display A. Clock functions B. Timer 6. BEFORE FIRST USE WARNING! Refer to Safety chapters. 6.1 Before first use The oven can emit an odour and smoke during preheating. -
Page 10: Daily Use
Turn off the oven and wait until it is cold. Place the accessories and the removable shelf supports in the oven. 7. DAILY USE WARNING! Heating func‐ Application Refer to Safety chapters. tion 7.1 How to set: Heating function To grill thin pieces of food and to toast bread. -
Page 11: Clock Functions
8. CLOCK FUNCTIONS 8.1 Clock functions Clock function Application To set, change or check the time of day. Time of Day To set how long the oven works. Duration To set a countdown. This function has no effect on the operation of the oven. -
Page 12: Using The Accessories
How to set: Minute Minder Step 2 - press to set the time. The function starts automatically after 5 sec. When the set time ends, the signal sounds. Step 3 Press any button to stop the signal. Step 4 Turn the knobs to the off position. How to cancel: Clock functions Step 1 - press repeatedly until the clock function symbol starts to flash. -
Page 13: Additional Functions
Deep pan: Push the tray between the guide bars of the shelf support. Wire shelf, Deep pan: Push the tray between the guide bars of the shelf support and the wire shelf on the guide bars above. 9.2 Using telescopic runners Make sure you push back the telescopic runners fully in the oven before you close the Do not oil the telescopic runners. -
Page 14: Hints And Tips
supply. The oven turns on again automatically when the temperature drops. 11. HINTS AND TIPS If you use two baking trays at the same time, Refer to Safety chapters. keep one empty level between them. Cooking meat and fish Use a deep pan for very fatty food to prevent 11.1 Cooking recommendations the oven from stains that can be permanent. - Page 15 Conventional Cook‐ True Fan Cooking CAKES (min) (°C) (°C) Christmas cake, 90 - 120 Cake mould, Ø preheat the empty 20 cm oven Plum cake, pre‐ 50 - 60 Bread tin heat the empty oven Muffins 140 - 150 20 - 30 Baking tray Muffins, two levels 140 - 150...
- Page 16 Conventional Cooking True Fan Cooking BREAD AND PIZZA (min) (°C) (°C) Bread rolls, 6 - 8 rolls 2 (2 and 4) 25 - 40 Baking tray Pizza 230 - 250 230 - 250 10 - 20 Enamelled tray Scones 10 - 20 Baking tray Preheat the empty oven.
- Page 17 Conventional Cooking True Fan Cooking MEAT (min) (°C) (°C) Pork shoulder, with rind 120 - 150 Pork shin, 2 pieces 100 - 120 Leg of lamb 110 - 130 Whole chicken 70 - 85 Whole turkey 210 - 240 Whole duck 120 - 150 Whole goose 150 - 200...
- Page 18 GRILL (kg) (min) (min) 1st side 2nd side Chicken, half, 2 30 - 35 25 - 30 Kebabs, 4 10 - 15 10 - 12 Chicken breast, 4 pieces 12 - 15 12 - 14 Burgers, 6 20 - 30 Fish fillet, 4 pieces 12 - 14 10 - 12...
- Page 19 FISH VEGETA‐ (STEAMED) (°C) (min) BLES (°C) Whole fish, 1 - 1.5 kg 210 - 220 40 - 60 Peppers 60 - 70 5 - 6 Vegetables for soup 60 - 70 5 - 6 11.5 Dehydrating - True Fan Mushrooms 50 - 60 6 - 8...
- Page 20 (°C) (min) Sweet rolls, 12 pieces baking tray or dripping pan 40 - 50 Rolls, 9 pieces baking tray or dripping pan 35 - 45 Pizza, frozen, 0.35 kg wire shelf 45 - 55 Swiss roll baking tray or dripping pan 30 - 40 Brownie baking tray or dripping pan...
- Page 21 (°C) (min) Small Conventional Baking tray 20 - 30 cakes, 20 Cooking per tray Small True Fan Cook‐ Baking tray 150 - 20 - 35 cakes, 20 per tray Small True Fan Cook‐ Baking tray 2 and 4 150 - 20 - 35 cakes, 20 per tray...
-
Page 22: Care And Cleaning
12. CARE AND CLEANING WARNING! Refer to Safety chapters. 12.1 Notes on cleaning Clean the front of the oven with a soft cloth with warm water and a mild detergent. Clean and check the door gasket around the frame of the cavity. Use a cleaning solution to clean metal surfaces. - Page 23 12.3 How to remove and install: Door The oven door has two glass panels. You can remove the oven door and the internal glass panel to clean it. Read the whole "Removing and installing door" instruction before you remove the glass panels. CAUTION! Do not use the oven without the glass panels.
-
Page 24: Troubleshooting
Step 8 Clean the glass panels with water and soap. Dry the glass panels carefully. Do not clean the glass panels in the dishwasher. Step 9 After cleaning, install the glass panel and the oven door. The screen-printing zone must face the inner side of the door. -
Page 25: Technical Data
Frequency 50 - 60 Hz 15. ENERGY EFFICIENCY 15.1 Product Information and Product Information Sheet* Supplier's name Model identification BES331111M 949496150 Energy Efficiency Index 95.3 Energy efficiency class Energy consumption with a standard load, conventional mode 0.93 kWh/cycle Energy consumption with a standard load, fan-forced mode 0.81 kWh/cycle... -
Page 26: Environmental Concerns
* For European Union according to EU Regulations 65/2014 and 66/2014. For Republic of Belarus according to STB 2478-2017, Appendix G; STB 2477-2017, Annexes A and B. For Ukraine according to 568/32020. Energy efficiency class is not applicable for Russia. EN 60350-1 - Household electric cooking appliances - Part 1: Ranges, ovens, steam ovens and grills - Methods for measuring performance. - Page 28 www.aeg.com/shop...
Need help?
Do you have a question about the BES331111M and is the answer not in the manual?
Questions and answers