Advertisement
Quick Links
Advertisement

Related Manuals for Lefroy Brooks M1-4533


Summary of Contents for Lefroy Brooks M1-4533
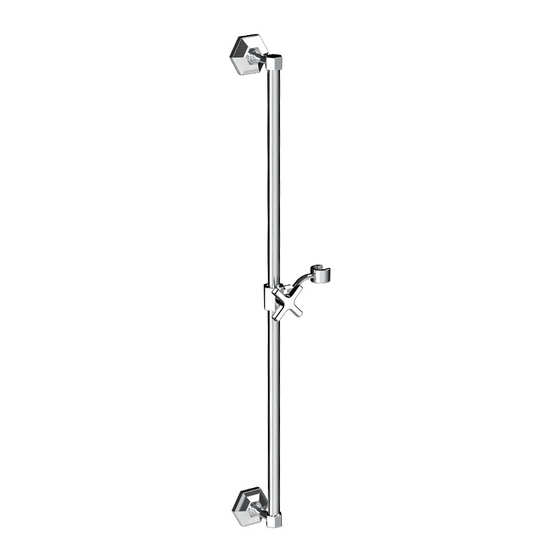
- Page 1 INSTALLATION, OPERATING & MAINTENANCE INSTRUCTIONS M1-4533 SHOWER SLIDING RAIL...
-
Page 2: Table Of Contents
Contents Dimensions Warning Information Instal ation Procedure Parts List Fault Finder Safety Tips, Care and Maintenance Guarantee... -
Page 3: Dimensions
Dimensions in Inches (& Millimetres) Ø15/16" (Ø24mm) 2 11/16" (68mm) 1 13/16" (46mm) 1 3/8" (35.6mm) Ø11/16" (Ø18mm) 2 13/16" 2 11/16" (71mm) (68.7mm) Whilst every effort is made to ensure accuracy, design and dimensions are subject to change without notice as part of the company’s product development process. -
Page 4: Warning Information
Warning (IMPORTANT INFORMATION) WARNING: Please ensure that the wall outlet of any installation with a hand shower is placed high enough on the wall, so that when fully assembled (outlet, hose & hand shower) it cannot reach the floor. This will protect both the hand shower and your decor from accidental damage should the hand shower be droppped while in use. -
Page 5: Instal Ation Procedure
Installation Procedure Steps 1-2 Lefroy Brooks always recommends that plumbing products be installed by a licensed professional. Shut off main water supply before installation. Locate the wall bracket where you want to install the sliding rail and mark for the four screw holes. - Page 6 Installation Procedure Steps 3-4 Lefroy Brooks always recommends that plumbing products be installed by a licensed professional. Shut off main water supply before installation. Insert the plastic anchor bolts into the four holes. You may need to lightly tap them into position with a hammer.
-
Page 7: Parts List
Parts List Exploded view Side bracket (117004) Shower bracket (117003) O-ring (004074N) Decorative ring (243190) Nut (009317) Adaptor (067445) Base (241682) Washer (060023) Brass tube (020982) Set screw (075039) Ball joint (067444) Handle (029685) Screw (008711) Washer (013614) Fixer (126099) Mounting bracket (293190) Spring (005156) Set screw (292598) -
Page 8: Fault Finder
Fault Finder Fault Cause Rectification Loose slider. The handle is not tightened well. Check and tighten the handle. -
Page 9: Safety Tips, Care And Maintenance
Safety Tips, Care and Maintenance Safety Tips If you are soldering during faucet installation,remove cartridges, seats, gaskets and washers prior to applying flame, otherwise you will void the warranty. Cover drain openings to avoid losing small parts. When cutting or soldering pipe, use safety glasses to protect your eyes. Important Points Prior to beginning installation. -
Page 10: Guarantee
Not Covered by this Guarantee Damage or defects arising from incorrect installation, improper use or lack of maintenance. Installed product damaged in transit Consequential loss, damage or product removal and installation costs. Lefroy Brooks is not responsible for any on site labour charges. - Page 11 TELEPHONE: 718-302-5292. FAX: 718-302-4177 The use of trademarks, product design and artwork is subject to licence or agreement with Christo A. Lefroy Brooks. The design registrations, trademark registrations and copyrights are protected by law and the use or reproduction outside the terms of an agreement is prohibited.
Need help?
Do you have a question about the M1-4533 and is the answer not in the manual?
Questions and answers