Table of Contents
Advertisement
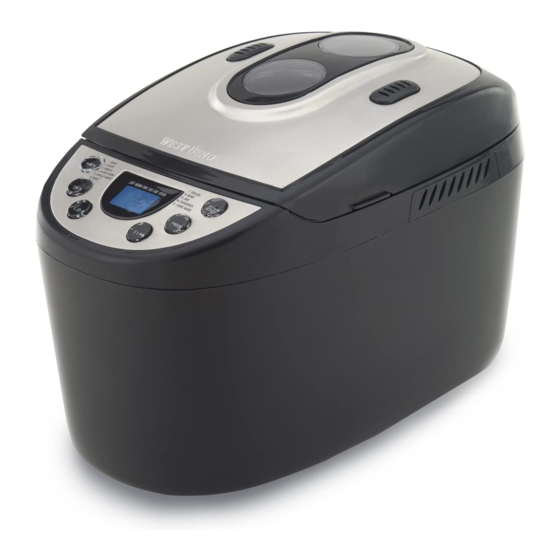
BREADMAKER
Instruction Manual
Important Safeguards ............................................................................................... 2
Before Using for the First Time ................................................................................ 3
Know Your Ingredients ............................................................................................. 6
Basic Steps in Making Bread ................................................................................... 8
Cleaning Your Breadmaker .................................................................................... 10
Troubleshooting ..................................................................................................... 11
Recipes .................................................................................................................. 14
SAVE THIS INSTRUCTION MANUAL FOR FUTURE REFERENCE
1
Advertisement
Table of Contents

Related Manuals for West Bend cook's essentials 41300B


Summary of Contents for West Bend cook's essentials 41300B
-
Page 1: Table Of Contents
BREADMAKER Instruction Manual Important Safeguards ... 2 Before Using for the First Time ... 3 Know Your Ingredients ... 6 Basic Steps in Making Bread ... 8 Cleaning Your Breadmaker ... 10 Troubleshooting ... 11 Recipes ... 14 SAVE THIS INSTRUCTION MANUAL FOR FUTURE REFERENCE... -
Page 2: Important Safeguards
IMPORTANT SAFEGUARDS To prevent personal injury or property damage, read and follow all instructions and warnings. When using electrical appliances, basic safety precautions should always be followed including the following: • Read all instructions, including these important safeguards and the care and use instructions in this manual. -
Page 3: Before Using For The First Time
• Longer, detachable power-supply cords or extension cords are available and may be used if care is exercised in their use. While use of an extension cord is not recommended, if you must use one, the marked electrical rating of the detachable power-supply cord or extension cord should be at least as great as the electrical rating of the appliance. - Page 4 CONTROL PANEL and FUNCTIONS LCD DISPLAY: The display indicates when the appliance is ready for use. When the appliance is first plugged in, there will be an audible beep and the default program is displayed. “1 3:20” appears on the display. The “1” specifies which program is selected (1-11 programs) and the “3:20”...
- Page 5 MENU SELECTIONS Menu 1: “BASIC” for white, rye, potato, egg, garlic and similar breads. The “BASIC” setting can be used for almost any bread recipe containing mostly bread flour. Menu 2: “QUICK” for quick breads that do not use yeast and require only mixing and baking.
-
Page 6: Know Your Ingredients
Over-temp Error: If the display shows “H H H” after the program has been started, it means that the temperature inside of bread pan is too high. You should stop the program and unplug the power cord immediately. Open the lid and let the machine cool down completely before using again. - Page 7 making bread. Refrigerated milk may be warmed to 80-90° F (27-32° C) however do not overheat (above 100° F, 38° C) as this could affect the yeast activity. Do not use regular milk when using the “Time Delay” function. Use dry milk and water as a substitute.
-
Page 8: Basic Steps In Making Bread
SPECIAL NOTE ON CINNAMON AND GARLIC: Adding too much cinnamon or garlic can affect the texture and size of the loaf obtained. Cinnamon can break down the structure of the dough, affecting height and texture. Too much garlic can inhibit the yeast activity. - Page 9 then the butter or margarine, next the dry ingredients and finally the yeast. For best results level the dry ingredients before adding the yeast. Plug the breadmaker cord into a 120 volt, AC electrical outlet ONLY. Use the “MENU” button to select the desired program menu. Use the “LOAF”...
-
Page 10: Cleaning Your Breadmaker
LEANING Unplug the cord from the electrical outlet and allow the appliance to cool completely before cleaning. Immediately after the bread is removed from the bread pan, fill the bread pan half full with warm water and a small amount of dish soap. Allow the bread pan to soak for 5 to 20 minutes or until the knead blade can be lifted off of the shaft. -
Page 11: Troubleshooting
Review the following Problems, Possible Causes and Solutions below. Short loaves Wheat breads will be shorter than white breads due to less gluten forming • protein in whole-wheat flour. Not enough liquid - Increase liquid by 1-2 teaspoons. • Sugar omitted or not enough added - Assemble ingredients as listed in recipe. •... - Page 12 Heavy, dense texture Too much flour – Measure accurately, leveling off measuring cup. • Not enough yeast – Add recommended amount of yeast. • Not enough sugar – Add recommended amount of sugar. • Open, coarse, or holey texture Salt omitted – Assemble ingredients as listed in recipe. •...
- Page 13 Knead blade cannot be removed Add warm water to the bread pan and allow the knead blade to soak before • trying to remove. Follow the cleaning instructions. You may need to twist the knead blade slightly after soaking to loosen. Do not immerse the bread pan in water.
-
Page 14: Recipes
Pre-packaged bread mixes can be used in your breadmaker. Simply follow the instructions given for the specific bread mix. Unless otherwise stated for the bread mix, use the 1.5 lb. setting for loaf size. Follow standard practices; liquid ingredients into the bread pan first, then dry ingredients with the yeast, if required, going in last. Following are some scratch bread recipes to get you started. - Page 15 1.0 Pound Loaf ¾ cup 2 tsp 2 cup 2 tsp 2 tsp 1 tsp 2 tsp ½ - 1 tsp (to taste) 1 ½ tsp -or- 1 tsp 1.5 Pound Loaf 1¼ cups + 1 tbsp. 1 tbsp. cups 1 cup 2 tbsp.
- Page 16 For all of the following recipes, follow these general guidelines. All Gluten-Free and Low Carb breads should be baked on setting 1, “Basic.” Gluten free breads must first have liquid ingredients whisked together in a separate bowl to ensure proper blending. Break eggs into a 2 cup measuring cup and add recommended amount of water before mixing in the liquid ingredients.
- Page 17 Whole Wheat & Seed Low Carb Bread 2.0 Pound Loaf 2 ½ cups ¼ cup 1 tsp. 1 tsp. 1 cup 4 cups 2 pkg. ½ cup ¼ cup 2 tbsp. 1.5 Pound Loaf ¾ cup 1 tbsp. 1 tsp. ½...
-
Page 18: French Bread
Banana Nut: Replace vegetable oil with ½ cup softened butter or margarine, cut into small pieces for thorough blending; reduce milk to 2 tablespoons; add 1 ripe banana (about 2 medium). Cherry Pecan: Reduce milk to ½ cup; use chopped pecans for chopped nuts; add ½ cup chopped maraschino cherries, well drained. - Page 19 For all of the following recipes, follow these general guidelines. The following should be baked on setting 4, “Super Rapid.” Many recipes can be converted to the Super Rapid cycle. Use your recipe of choice and add an additional teaspoon of yeast for those recipes using yeast.
- Page 20 1.0 Pound Loaf ¾ cup + 1 tbsp 1 ½ tbsp 1 ½ tbsp 1 tsp 1 ½ tsp -or- 1 tsp For all of the following recipes, follow these general guidelines. The following recipes should be baked on setting 6, “Sweet.” Add liquids to the bread pan first, then dry ingredients.
-
Page 21: Raisin Bread
1.0 Pound Loaf ½ cup + 2 tsp. 2 tbsp. 2 cups ¼ cup 3 tbsp. ¾ tsp. 1 tsp. 1 tbsp. ¼ cup ¼ cup For all of the following recipes, follow these general guidelines. The following recipes should be baked on setting 7, “Dough.” Add liquids to the bread pan first, then dry ingredients. - Page 22 1.5 Pound Loaf ¾ cup + 1 tbsp. 3 tbsp. 3 cups 3½ tbsp. 2 tbsp. 1 tsp. 2 tsp. -or- 1½ tsp. After dough cycle has completed, remove bread pan from breadmaker and then remove dough. Place dough onto a slightly floured surface for 15 minutes. Shape dough into desired roll shape, place on greased baking sheet, cover and place in a warm, draft free area for 45 minutes to rise.
- Page 23 OTES...
- Page 24 OTES L5815 06/10 Printed in China...
Need help?
Do you have a question about the cook's essentials 41300B and is the answer not in the manual?
Questions and answers